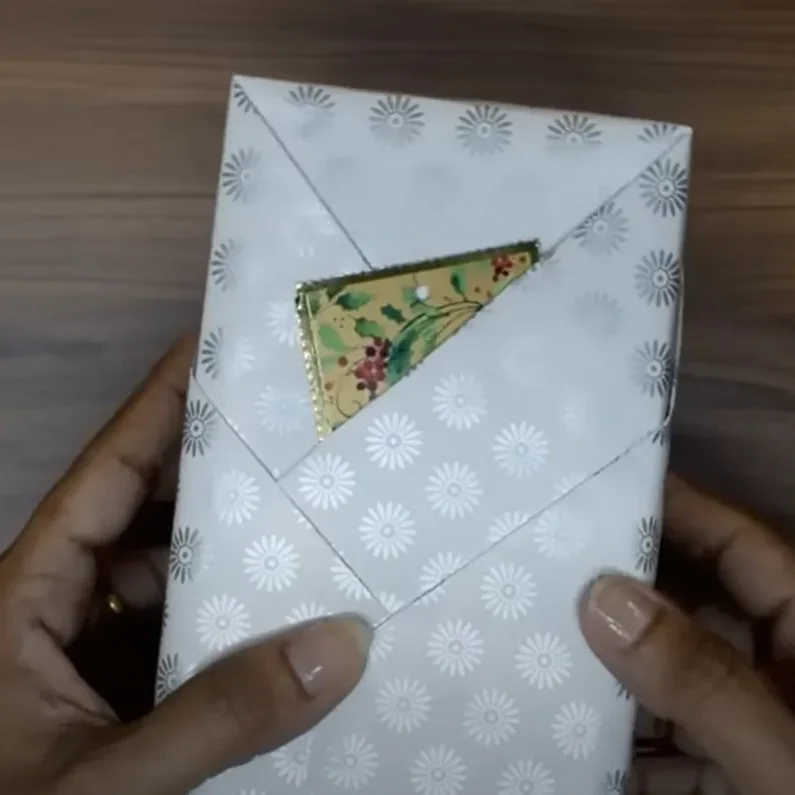
Hey there, In this “HOW TO” article, I will show you how to wrap a present or a gift like a pro… But take note This guide is only for standard gifts, like those in square or rectangular boxes. For unusually shaped items, it’s recommended to use a gift bag and fill any gaps with tissue paper.
Maybe Tissue paper and tape aren’t exactly eco-friendly, so if you have other ideas, please share them in the comments below. I’m excited to learn more about ways to wrap gifts more sustainably.

Organize your thoughts? Tell us what you think!
Review AmazingPandph on GoogleWhat Materials do you need for this?
For today, you’ll need wrapping paper, tape, and scissors. That’s all and Let’s get started!
Always Remember! Properly sized wrapping paper ensures a clean and beautiful result.
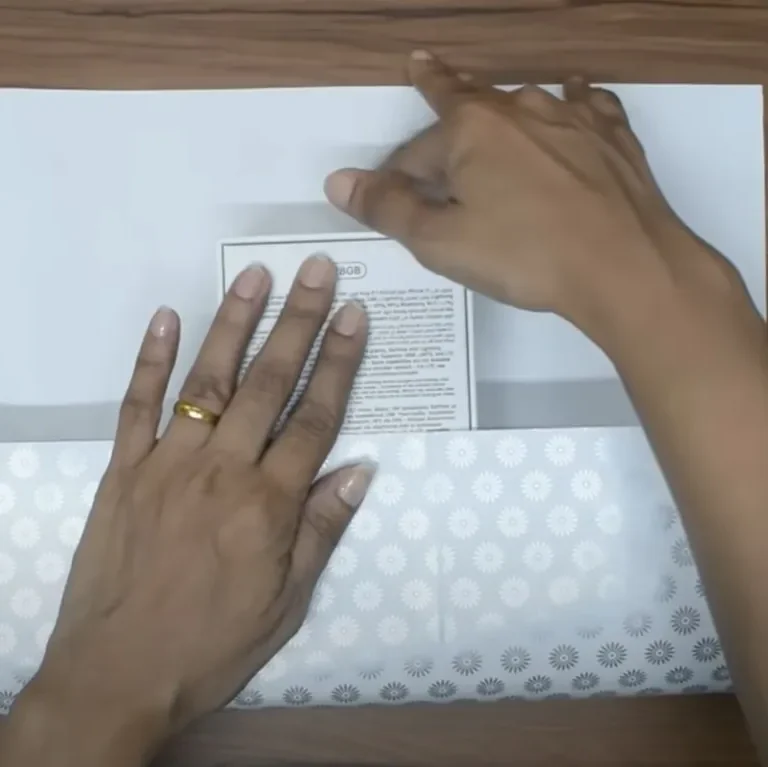
So here is how to wrap a present like a pro. First, you have to start with your box upside down. If the writing or label is on top, flip it over. Measure the long sides of the paper to ensure they meet when wrapped but without too much excess. Fold back the paper slightly to create a crease and don’t forget to mark where to cut.
Now, test to ensure both sides overlap without excess. Next, measure the short sides so the paper reaches about three-quarters of the way up the box. Use the grid lines on the back of the wrapping paper to count the squares. This helps you cut the opposite side to match perfectly.
Fold the long sides inward, ensuring they meet in the middle. If your paper has a pattern, align it to make the seam less visible. Alternatively, fold one side all the way to the edge to hide the seam entirely. The choice depends on your preference and the paper’s pattern.
Before taping the long sides, double-check that your box hasn’t shifted, making the short sides uneven. Once everything is aligned, tape down the first long side. Pull the paper snugly on the opposite side (but be gentle to avoid tearing) and tape it down as well. Double-sided tape works well for a seamless look, but clear tape can also be nearly invisible.

Now, fold the short sides. Start by folding the top flap down and taping it to the box. This step simplifies the process for the remaining folds.
Next, create “wings” on either side by creasing each side and bringing the flaps toward the box. Crease the bottom flap to align flush with the box’s edge and tape it securely.
Finally, fold up the last flap to cover the taped edges. Use double-sided tape for a polished finish.
Now, You have only to Turn the gift around and repeat these steps on the other side. Watch the video below; it help you better!
And there you have it—your present is now beautifully wrapped, even on both sides! That’s it for today. I hope this guide helps you wrap your gifts beautifully and easily.