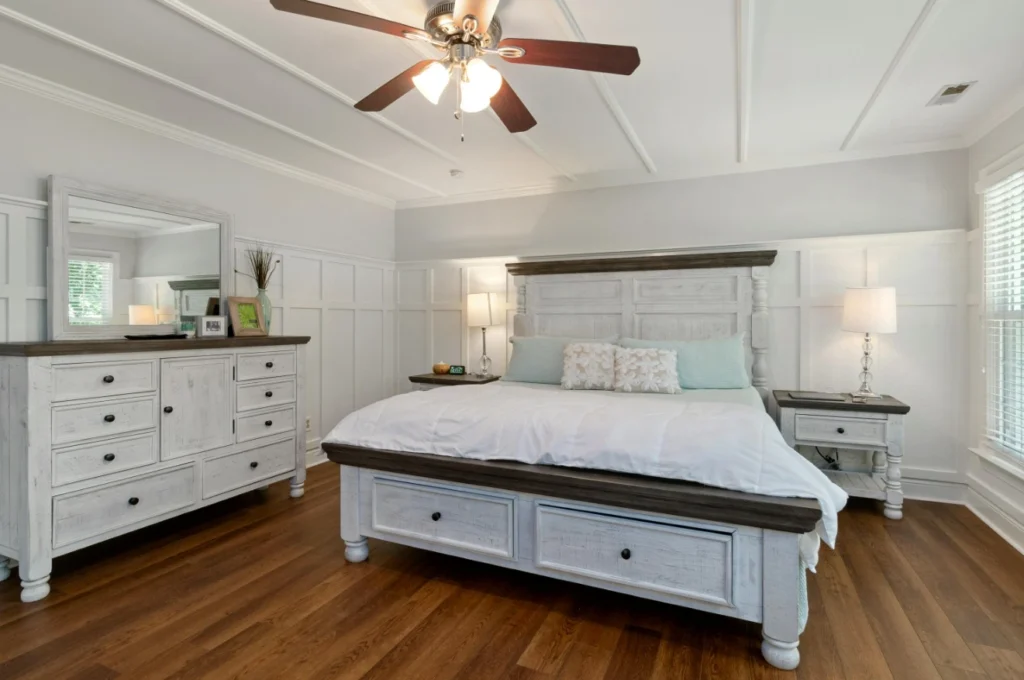
Do you have a lot of wasted space underneath your bed? In this article, We’ll show you how you can better utilize that space by making some of these under-bed drawers.
Step 1: Taking Measurements
Before starting the process of making the drawers, it is essential to obtain measurements. Assess the available space underneath the beds. It is advisable to begin with the drawer fronts before moving on to other components.
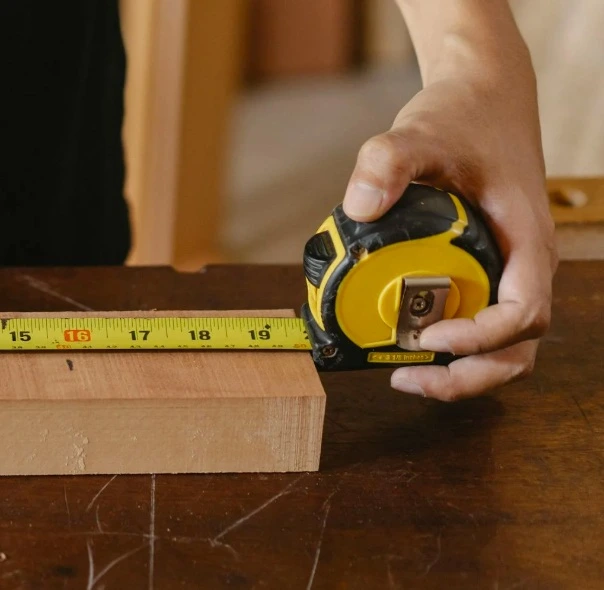
The initial measurement needed is the width available, which can be determined by measuring the distance between the back leg and the front leg of the bed. Next, establish the height for the drawer fronts by measuring from the floor to the underside of the bed rail.
Once the overall dimensions for the drawer fronts are established, it is necessary to add a one-centimeter border all around. This additional space provides flexibility and ensures proper fitting of the drawer fronts later.
With that completed, the next step is to divide the space into the desired number of drawers. In this case, two spacious functioning drawers and one full straw front will be created, especially considering the adjacent bedside table.
Once the drawer fronts are organized as desired, remember to include a one-centimeter gap between them for extra wiggle room. With the drawer front design finalized, attention can now shift to the subsequent steps.
Step 2: Determining Drawer Dimensions
To achieve the desired width of the drawers, a three-centimeter gap should be added on both sides. For the depth, measure the width of the bed and divide that measurement by two. Additionally, it is advisable to subtract approximately five centimeters to ensure there is extra space behind, allowing the drawers to sit flush against the edge later.

And once we’ve got both of those measurements, that’s going to be the overall size for the drawer trays.
When considering drawer trays, it is important to think about the desired depth. While full-depth trays are an option, a depth of around 15 centimeters is recommended. However, it is essential to keep in mind that this measurement can vary based on the height of the drawer fronts.
It’s important to ensure that the trays do not exceed the height of the drawer fronts. If you’re planning to add wheels to the bottom (as I will), remember to include those measurements in the depth of the trays. As long as this combined measurement remains less than the height of the drawer fronts, you should be in good shape.
Step 3: Cutting the Pieces
With all the measurements sorted, it is simply a matter of having the pieces cut. The decision to use 18-millimeter plywood stems from the need for durability, as the drawers being constructed are quite large and will hold a significant amount of weight, thus requiring strength.
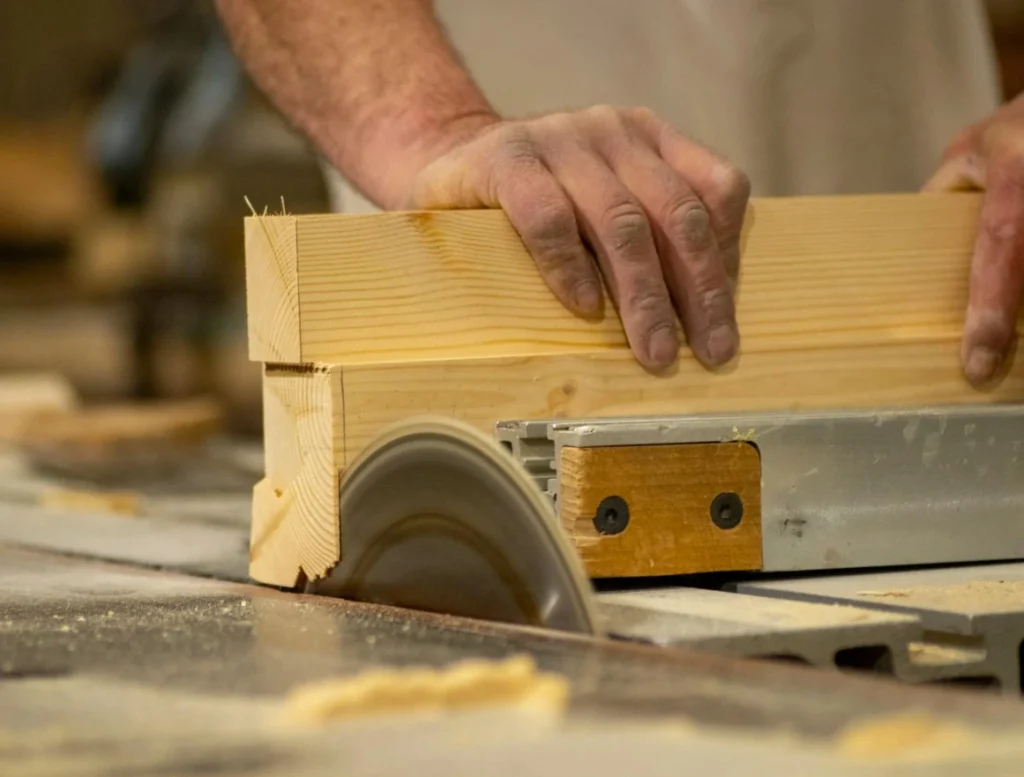
If you’re only making small drawers that won’t hold much, you can use MDF. You can cut the pieces yourself—either the traditional way with a handsaw or, if you have one, a circular saw, which will make the job much quicker.
Or, you could check with your local hardware store, where you typically purchase plywood or MDF, to see if they can offer cutting services for you. Many places will provide cutting for free, while others might allow 10 to 15 cuts at no charge and then charge around 50 pence for each additional cut. It’s definitely worthwhile to inquire about this option.
The cut pieces are ready to make the two drawers. The drawer front and the faux drawer front will be addressed a little later.
Step 4: Assembling the Drawer Frames
The two bottom pieces and the eight side pieces are ready. The next step is to assemble them to form a framework.
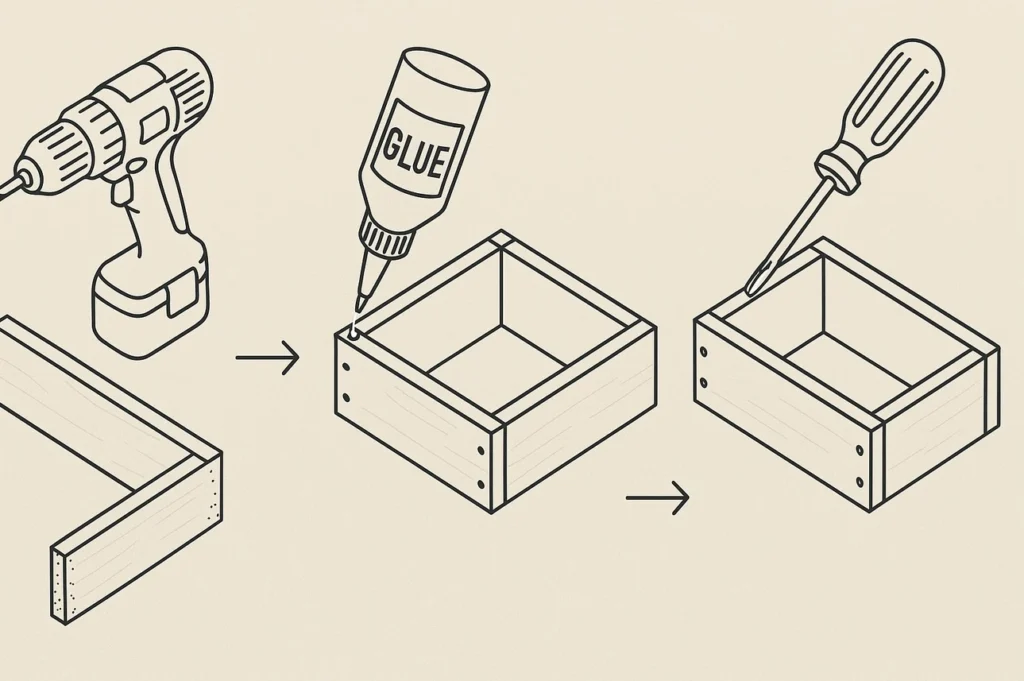
For the construction of the frame, the process begins by drilling a couple of pilot holes in the corners, adding some wood glue, and then securing the pieces in place with a couple of screws. This method may not be the strongest joinery technique, but compensations will be made later.
The process involves repeating the steps for all four corners, followed by applying a bead of glue around the bottom side of the frame. The bottom piece of plywood is then dropped into place, and the process is repeated—drilling pilot holes and securing everything in place with screws.
With that finished, it is the perfect moment to enhance the strength of the project, and using wooden dowels is preferred for this purpose. By drilling a hole in each corner, applying wood glue to a wooden dowel, and then hammering it into place, the structural integrity can be significantly boosted.
This is done to all four corners, and it is also applied to the bottom.
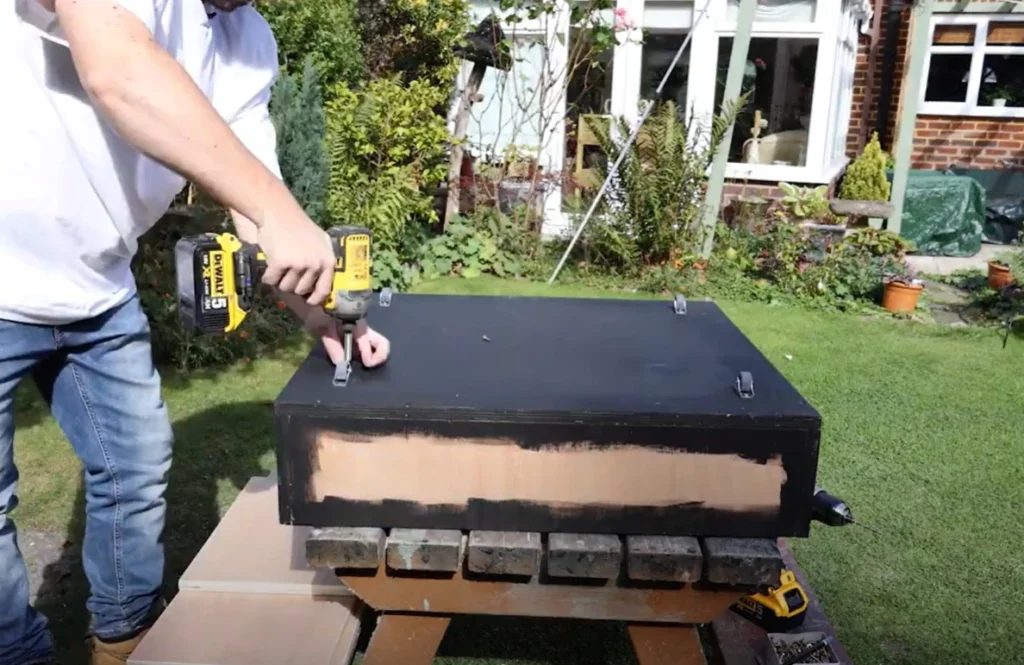
Step 5: Painting the Drawer Bases
The paint chosen for the bottom of the drawers will be a matte black. While matte black may not suit everyone’s decor, it’s possible to change this color to align with the specific aesthetics of any bedroom decor.

It is highly recommended to choose a dark color, even if it is a shade similar to what is already present in the bedroom. Opt for a darker hue, as it effectively conceals any gaps between the drawer fronts or visibility from the sides, making imperfections less noticeable compared to lighter colors.
If these were painted white, for example, a slight little gap and you’ll see that white a mile off. So, always go dark for the bases.
Step 6: Adding the Fake Drawer Front
With the main drawer bases painted, attention will now turn to the full straw front. The drawer front has already been cut out, but three more pieces will be cut next.
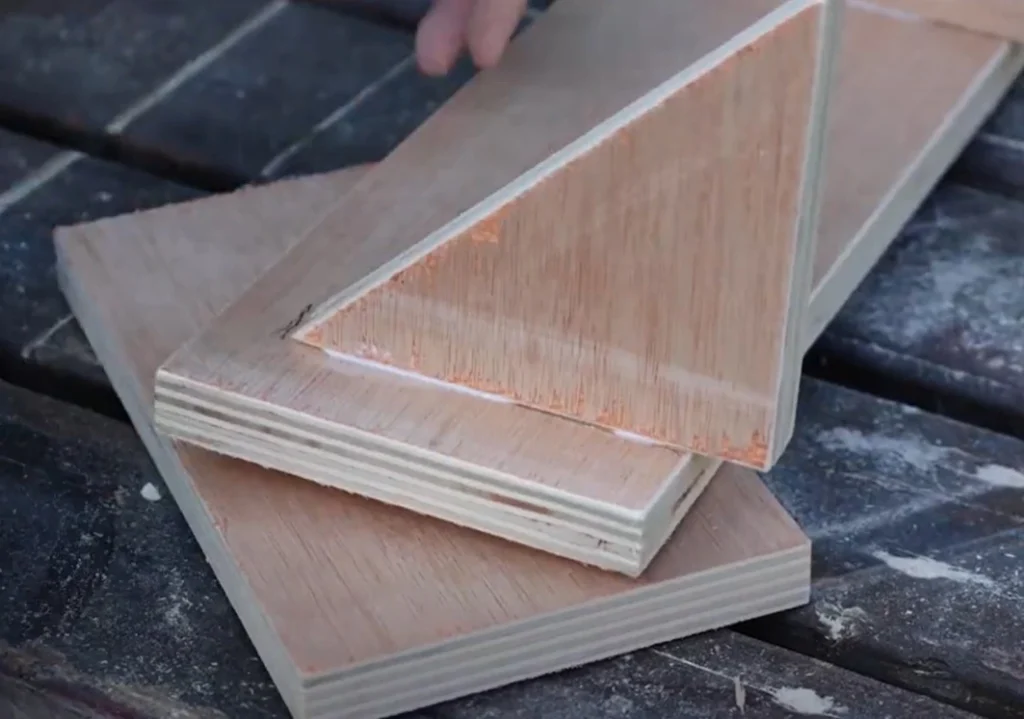
The first couple of pieces will be two triangles, and the last piece will be a scrap rectangle. These components will be joined together in the same manner as the rest of the construction for the drawers—using wood glue and screws.
Step 7: Installing Wheels
To make the drawers slide in and out more easily, wheels will be added to the undersides of them.
The proposed solution appears effective; the next task can now be addressed.
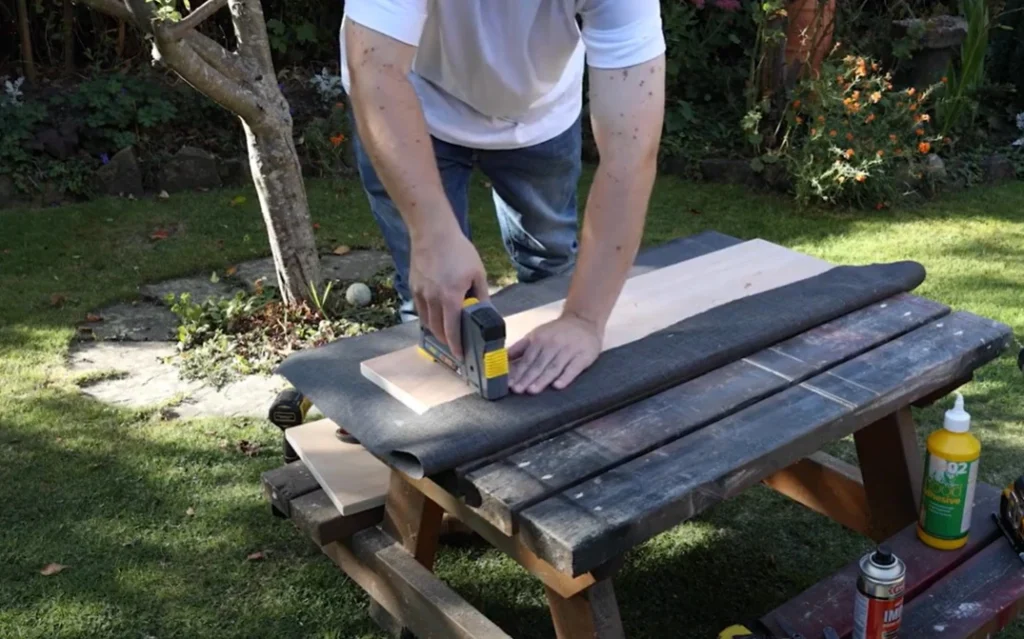
Step 8: Covering the Drawer Fronts with Fabric
For the drawer fronts, the plan is to cover them with this fabric. It resembles a tweed or perhaps even linen; it’s hard to find the right words to describe fabrics. Expertise in this area is lacking, which is why the following steps should be approached with caution.
It is uncertain if this is the best approach—it is believed that the outcome will look acceptable in the end—but if a better method is known, it is encouraged to proceed with that alternative instead.
The first step is to secure the material in place with a staple in the middle. A couple of additional staples should be added at either end to help hold it firmly in position.
With the first ones in place, spray adhesive will be added. This may not be necessary; however, it provides an added sense of security, ensuring that the fabric is held in place in multiple ways.
The material can be folded back over, pulled taut, and secured in place using staples.
The front does not appear too bad, and the back is rarely visible, so that should suffice.
The drawer pull can now be attached using the hole that was drilled earlier.
To achieve proper centering on the drawer body, a three-centimeter overhang on both sides is necessary. A couple of screws can be added to help hold the piece in place.
It is necessary to add some white to the back piece, as it needs to be a bit longer. Additionally, with that much material behind it, something should be placed on it to prevent toppling forward. This solution will be sufficient.
Step 9: Installing the Drawers
The full straw front is in place, and the bedside table is roughly positioned where it needs to be, with a positive indication that it will fit. The next step is to get the actual drawers in place now.
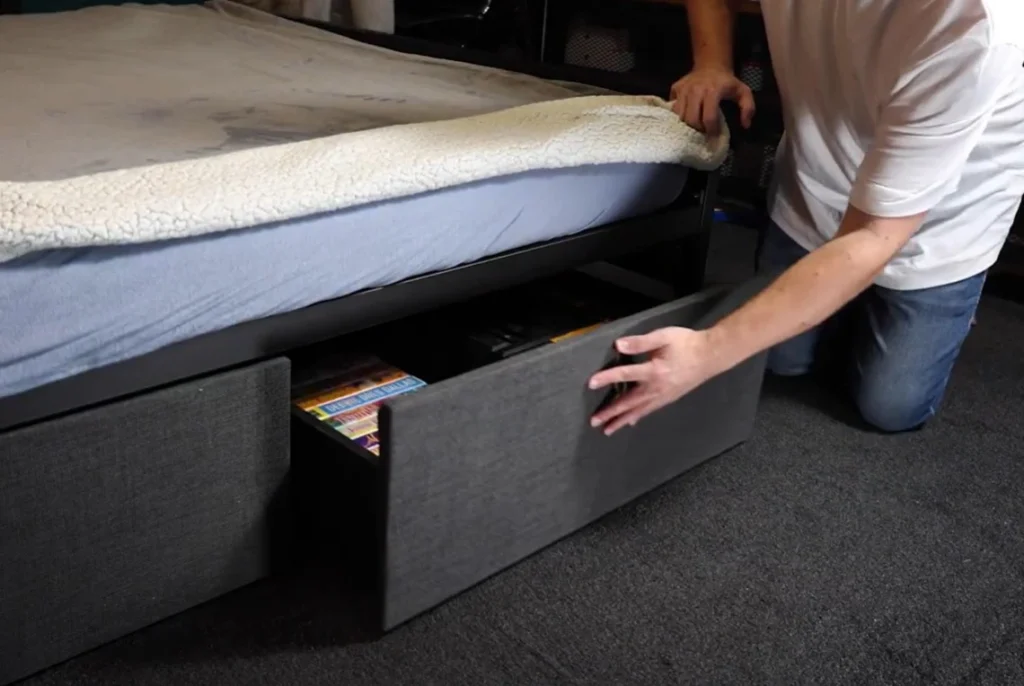
These underbed drawers have optimized the space, allowing for the organization of prized possessions within.
The outcome of these drawers is quite pleasing. They appear much neater from the outside—there are no glimpses underneath of all the rubbish that’s kept under the bed.
Moreover, it provides much easier access to the rubbish that is stored under the bed. With wheels, the items can be easily slid out, allowing for easy retrieval of what is needed, and then conveniently pushed back into place when finished.
we really hope that this article has inspired you to have a go at making some for yourself. At the end of the day, it’s a couple of trays on wheels with some drawer fronts stuck on the front, but it makes a big difference!