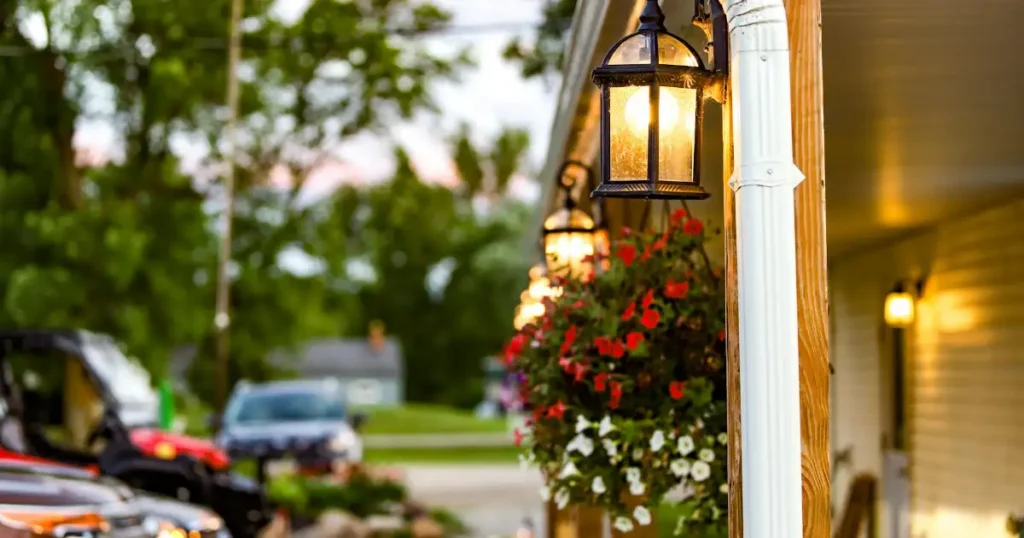
Want to install garden lighting yourself? This guide provides a clear, concise overview of how to install Outdoor lighting and choose the best lighting options for your property.
Good landscape design involves lighting balance. Evenly distribute light to avoid a lopsided look. Remember, not every feature needs to be lit. Decide between a dramatic or subtle effect.
Start by identifying key focal points and areas needing functional lighting. For example, adding lights around flower beds, walkways, and trees can create balance.
Table of contents
Planning Your Lighting Zones
Plan your landscape lighting in zones. Each zone has a main power source wire running from the lights to a main transformer.
Regardless of your design, everyone needs working outdoor power. Check the outlet to ensure it works before starting the installation.
Types of Landscape Lights
There are five main kinds of lights to use for landscape lighting projects.
An up light is a popular choice for 70 to 80 percent of projects. Use them to uplight trees, architectural features, statues, and waterfalls.
Pathway lighting is the second most popular light. There are two main styles. Traditional mushroom cap path lights work well for lighting spaces and garden beds. Newer modern path lights with angled, rectangular designs fit well with modern aesthetics.
A wash light is similar to an up light, but it has a wider angle and a softer lens. It’s great for small shrubs, flowers, and architectural parts of a home. Use a wash light for anything that doesn’t need a really intense light.

An in-ground light is similar to an up light. You can sink it into the ground so it sits flush. It’s a great light if you don’t want to see the fixture. It is also suitable for lawns because you can mow right over it.
A hardscape light is a compact wall light that fits almost anywhere. It lights up retaining walls, fences, and decks.
Wash Lights
A wash light is a good up light with a wider angle and softer lens. It works well for small shrubs and plants, low textured architectural features, statues, and anything smaller that doesn’t require intensive light.
Path and Garden Lights
Path and garden lights can be over utilized in landscape projects. Avoid placing them all over walkways and driveways. It is better to use them in garden beds with flowers or rock features. Light-colored materials reflect a lot of light. Use them in conjunction with up lighting to create balance.
Avoid using too many path lights to prevent a runway effect. Use them conservatively in flower beds and along walkways.
Path Light Considerations
When choosing path lights, avoid lights where you can see the light source. Instead of lighting features, they create a glare. A standard path light is about 15 inches high, but you can get them a bit higher. A higher light spreads the light further.
Spacing for path and garden lights is typically between eight and twelve feet apart. Darker areas allow for more spacing. Focus on even spacing in garden beds rather than covering every eight feet.
Modern path lights are more robust and fit modern designs. Space these lights 12 to 16 feet apart. While more expensive, you need fewer of them.
In-Ground Lights
In-ground lights are easy to install. Sink them into the ground. In softer areas, use play sand to help keep them dry. Use them to highlight architectural rock. They bring out subtleties and create soft shadows.
Use a standard up light if you don’t have to worry about vehicles or mowers. Up lights allow you to play with the angles of the bulbs.
To highlight architectural features, use an in-ground light where there is grass. This allows you to mow right over it, so there is no maintenance. Use play sand to pack the light and provide extra protection. Position the light close to the house to graze the brick and light up to the peaks.
Up Lights
Up lights are the most popular light for landscape lighting projects. Place them more upright under the base of a tree to create a natural effect. Integrated fixtures have an LED board built in, but replacing the bulb is more work. With a replaceable LED bulb, you can easily switch it out. If a bulb isn’t bright enough, you can change it for a brighter one. This also works as your landscape and trees grow.
Use up lights on architectural features such as stone columns. This can create a subtle glow for porch lighting. Use a hex baffle to soften the light and deflect side glare, especially near entryways or walkways.
For trees 8 to 20 feet high, use a 4-watt LED lamp. For 25 to 35 feet, use a 5-watt LED bulb. And for over 35 feet, use a 6-watt LED bulb. This light is versatile and can be used in many places.
Hardscape Lights
Hardscape lights work well on retaining walls. Their metal plate allows placement under the top cap. Use them on decks and fences. Mount them under a deck to cast light into a flower bed. You can screw it to the underside. If you have a small lip, the plate can come off for a compact fit.
Attach the light to the underside of the lip. Use a staple gun to hide the wires. Use them on stairs. If there’s a wood railing, the face plate can come off to fit the light under the ledge. On exposed stairs, mount the light underneath. Position lights to cover the area without tripping hazards.
This hardscape light has a drop-in bulb. This allows you to easily replace the bulb with any T3 LED lamp.
After learning about the different types of lights, our next step is to find the appropriate transformer.
Installing the Transformer
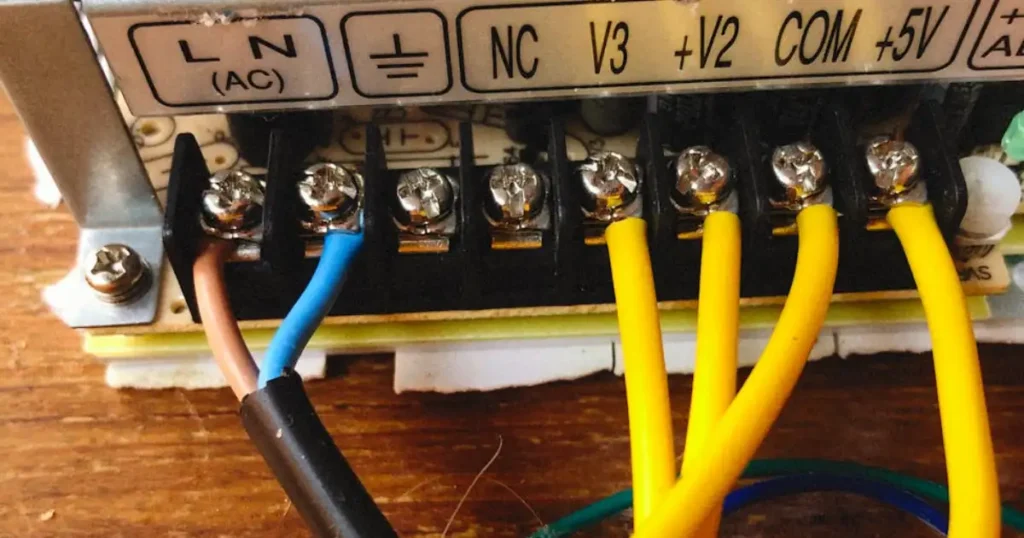
A transformer is necessary to convert 120 volts from the outlet to 12 volts for the landscape lights. This makes it homeowner-friendly.
Install the transformer by plugging it in and mounting it. Use a cedar post to avoid attaching it directly to the house. Sink the post about 18 inches into the ground, with at least 12 inches above ground. Use a post leveler to ensure it’s straight, then backfill and tamp the dirt.
The transformer includes a photocell. This sensor turns the lights on at dusk and off in the morning.
Installing Uplights
Focus on one side of the house, starting with up lights for a spruce tree. Extend the flower bed to create space for the lights. Mark out the new bed, edge it with a shovel, remove the grass, and add mulch.
Place the LED flood lights on the ground. Position them to ensure you’re happy with the design. Run the wire from the transformer to ensure sufficient lighting.
Spacing of about three to four inches inside the bed edge is recommended. This prevents damage during future edging.
Run 12-gauge wire for the project. Connect the lights to the wire, splitting and stripping the wire ends. Use wire connectors with silicone to make them waterproof. Secure the lights with a rubber mallet, leaving about an inch and a half of the stake above ground.
Coil any extra wire and use sod staples to hold it in place.
Balancing the Lighting
Add three lights to another bed to balance the lighting. Light the boulder and grasses. Place the lights and dry fit everything before digging.
Keep the wire as low profile as possible. Hide it in a bed or along the edge of the house.
Dig a small trench for the wire. Aim for a depth of five to six inches to prevent damage from lawn aeration equipment.
Lay the wire in the trench and backfill, removing any large rocks. Punch the sod back into place to flatten it.
Working Around Obstacles

In another zone, all lighting goes into a flower bed. This includes path lighting and spots on the house.
Dig two holes for the pipe to go underneath the walkway. Hammer the pipe through, using a cap to keep out dirt and rock. Lift the sod and replace it after the pipe is in place.
Combine spotlights and path lights. Place path lights on either side of the walkway for balance, and evenly space them along the stretch.
Keep the wire tight along the edge of the porch and close to the house, branching off to each path light.
Installing a Well Light
Illuminate a tree with a well light. Dig a hole using a post hole digger, about five to six inches deep. The lip should sit at the top of the mulch.
Dig trenches from the edge of the driveway to the bed and from the other side of the driveway to the walkway. Cut a channel in the driveway using a circular saw with a masonry blade. Wear safety eyewear, ear wear, and a ventilator mask.
Fill the crack with speed fill crack filler. Cover any wire within the flower beds with mulch.
Wiring the Transformer
Combine the four wires from the different zones. Attach them to the transformer, combining like wires. Reattach the transformer to the wall and plug in the photocell.
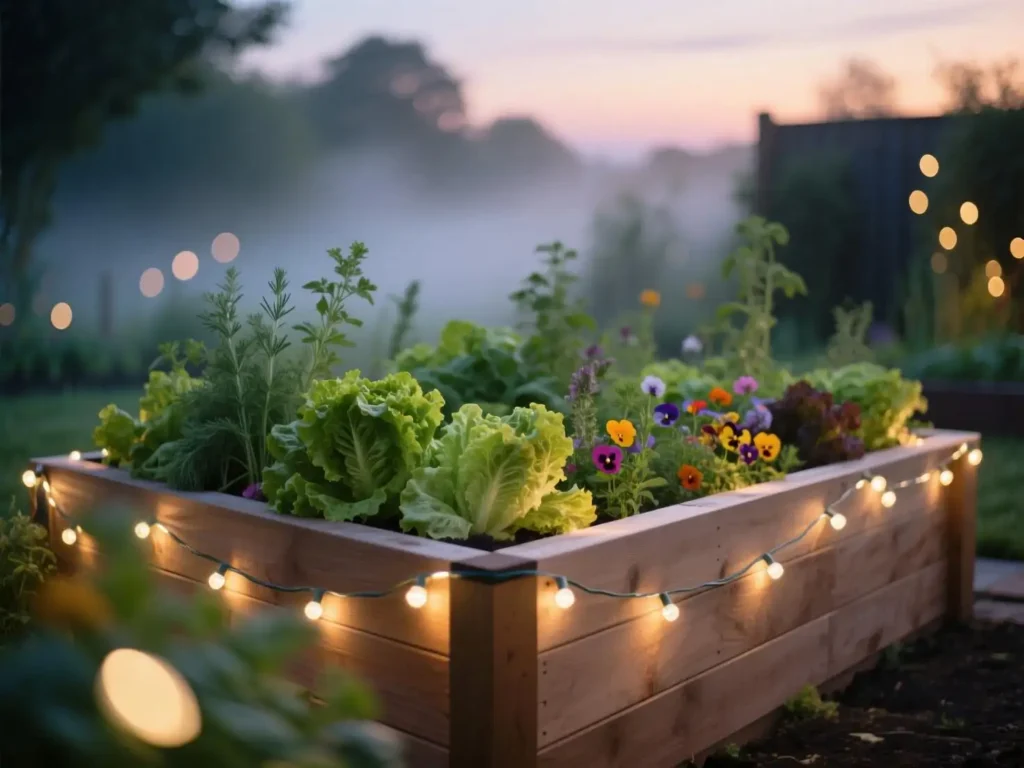
With the landscape lighting complete, the house now has enhanced curb appeal, emphasizing key features and providing secondary lighting to well-trafficked areas. The lighting creates balance and improves pathway visibility.
Now, with this guide, you should feel confident in tackling a landscape lighting project at home.
Conclusion
In summary, choosing the right landscape lights requires an understanding of the unique benefits of different types: up lights, pathway lights, wash lights, in-ground lights, and hardscape lights. By strategically applying these lighting options, you can effectively enhance your outdoor space. Additionally, it’s essential to consider factors such as fixture design, light intensity, and placement. By doing so, you can achieve stunning effects that beautifully highlight your home’s architectural features and landscaping.