If you love quick and clever home solutions! This simple invention will change the way you deal with everyday furniture problems… Who would have thought that an empty plastic bottle cap could save your wardrobe from clutter? Instead of searching for complicated metal brackets or replacing your entire hanging system, this project will show you how to build a DIY closet rod bracket that efficiently secures a clothes rail using readily available household items. Discover the steps to this clever transformation and how you can implement it right away!
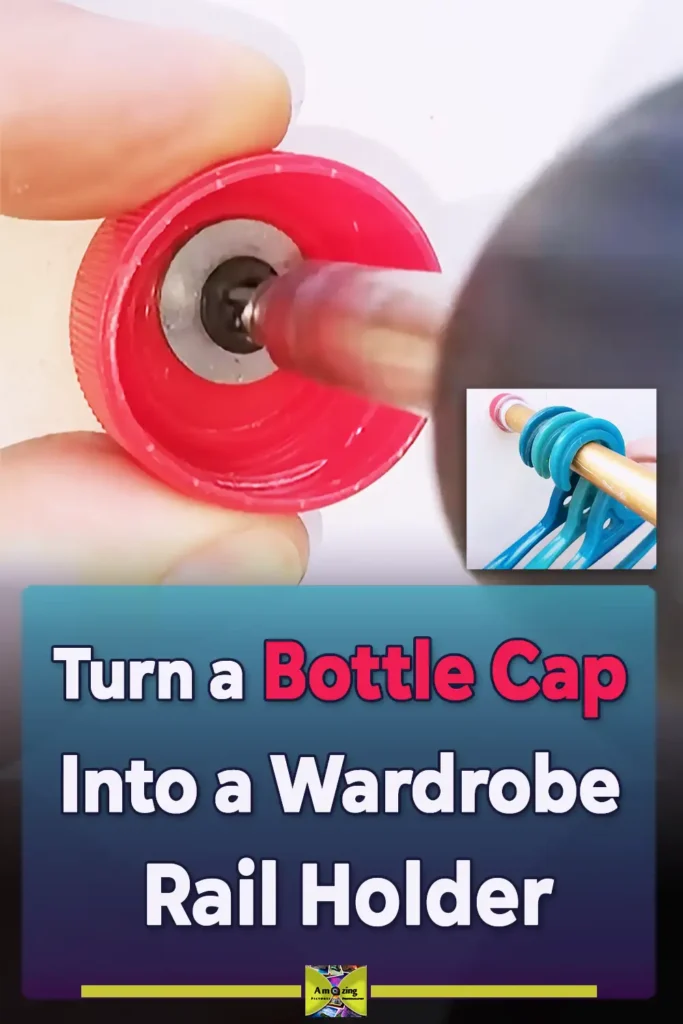
Sometimes, genius lies in the simplest things we throw away! In this amazing hack, you’ll see how the neck and cap of an ordinary plastic bottle can be transformed into a sturdy and durable clothes rail. With a few simple steps, the transparent collar is heat-bonded around the metal rail, while the cap is fixed directly to the wall with a single screw to stabilize the entire structure and support its weight. This economical and practical method proves that you don’t need expensive equipment to organize your room. Watch the video below to see this simple and effective invention work step by step before your eyes!
Here is the step-by-step process broken down into a table to make thing more clear:
| Step | What to Do | Materials / Tools | Purpose |
|---|---|---|---|
| 1 | Cut the neck section from a plastic bottle, keeping the cap and the clear plastic collar intact. | Empty plastic bottle, utility knife or strong scissors | Creates the recycled fitting that will hold the wardrobe rail. |
| 2 | Check that the bottle neck opening fits over the end of the metal rod. | Bottle neck piece, wardrobe rail or metal rod | Confirms the parts are compatible before assembly. |
| 3 | Slide the bottle neck piece onto the rod. | Rod, bottle neck section | Positions the plastic collar around the rail. |
| 4 | Warm the clear plastic collar carefully so it softens and tightens around the rod. | Heat source, heat-resistant gloves | Helps the plastic grip the rod more securely. |
| 5 | Allow the plastic to cool and harden around the rod. | Cooling time | Locks the collar into a tighter shape. |
| 6 | Remove the red bottle cap from the neck piece. | Bottle cap | Prepares the cap to become the wall-mounted bracket. |
| 7 | Drill a hole through the center of the cap. | Drill, small drill bit | Makes space for the mounting screw. |
| 8 | Mark the desired rail height on the wall or wardrobe side panel. | Pencil, measuring tape, level | Helps position the holder evenly and correctly. |
| 9 | Screw the bottle cap firmly into the marked spot. | Screw, screwdriver or drill, wall anchor if needed | Creates the fixed support point for the rod. |
| 10 | Insert the rod end, with the plastic collar attached, into the mounted cap. | Rod assembly, mounted cap | Forms the finished DIY wardrobe rail holder. |
| 11 | Repeat the process on the opposite side if the rail needs support at both ends. | Second bottle cap setup | Keeps the rod level and stable. |
| 12 | Test the rail with a few lightweight hangers first. | Plastic hangers, light clothing | Checks that the support is secure before adding more weight. |
| 13 | Tighten the screw or add stronger anchors if the holder shifts. | Screwdriver, suitable wall anchor | Improves stability and reduces the risk of failure. |
| 14 | Use the rail only for light storage unless stronger hardware is added. | Finished holder | Keeps the upcycled repair within a safer load range. |
This video sparked unexpected technical curiosity, with comments transforming into a platform for evaluating the product’s efficiency and development. Sustainability enthusiasts hailed the work as ingenious, but more practical viewers posed insightful and direct questions: “What about the other side?” and “Can this structure support heavy loads?” This constructive interaction, fueled by suggestions for adding steel fasteners and better load distribution, created a fascinating interactive experience, making watching the video and following the discussion an inspiring experience for any DIY enthusiast.
The success of any DIY solution depends primarily on its proper application. While this ingenious rack made from bottle caps proves excellent for light tasks—such as hanging scarves, baby clothes, or as a temporary hanging rod—heavy winter garments still require dedicated metal brackets and sturdy wall mountings. Nevertheless, this project serves as compelling practical proof that recycled plastic can solve real organizational problems at minimal cost. It’s an inspiring invitation for renters and quick DIY enthusiasts to consider the contents of their trash bins as clever solutions just waiting to be cleverly implemented.