DIY Embroidered Floral Wall Art on Window Screen Mesh
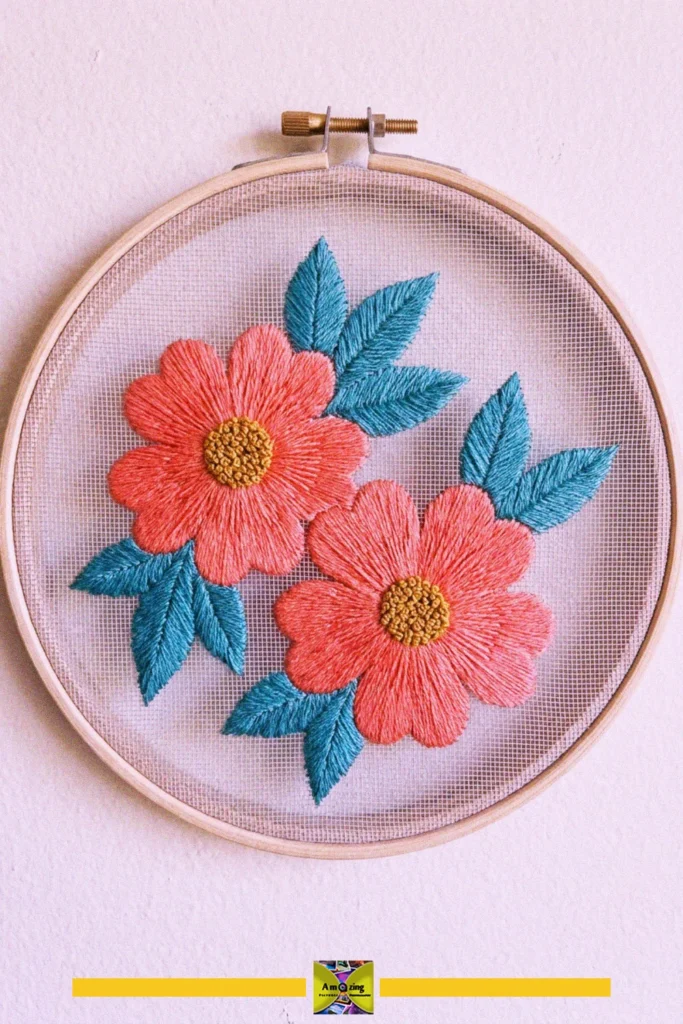
Create stunning DIY embroidered floral wall art on window screen mesh for a fresh and modern twist on traditional embroidery. This project is perfect for adding a splash of handmade charm to your home.
- Difficulty
- Medium
- Time
- 45 minutes
Materials
- embroidery hoop
- window screen mesh
- scissors
- marker or pen
- needle
- embroidery thread
How to make it
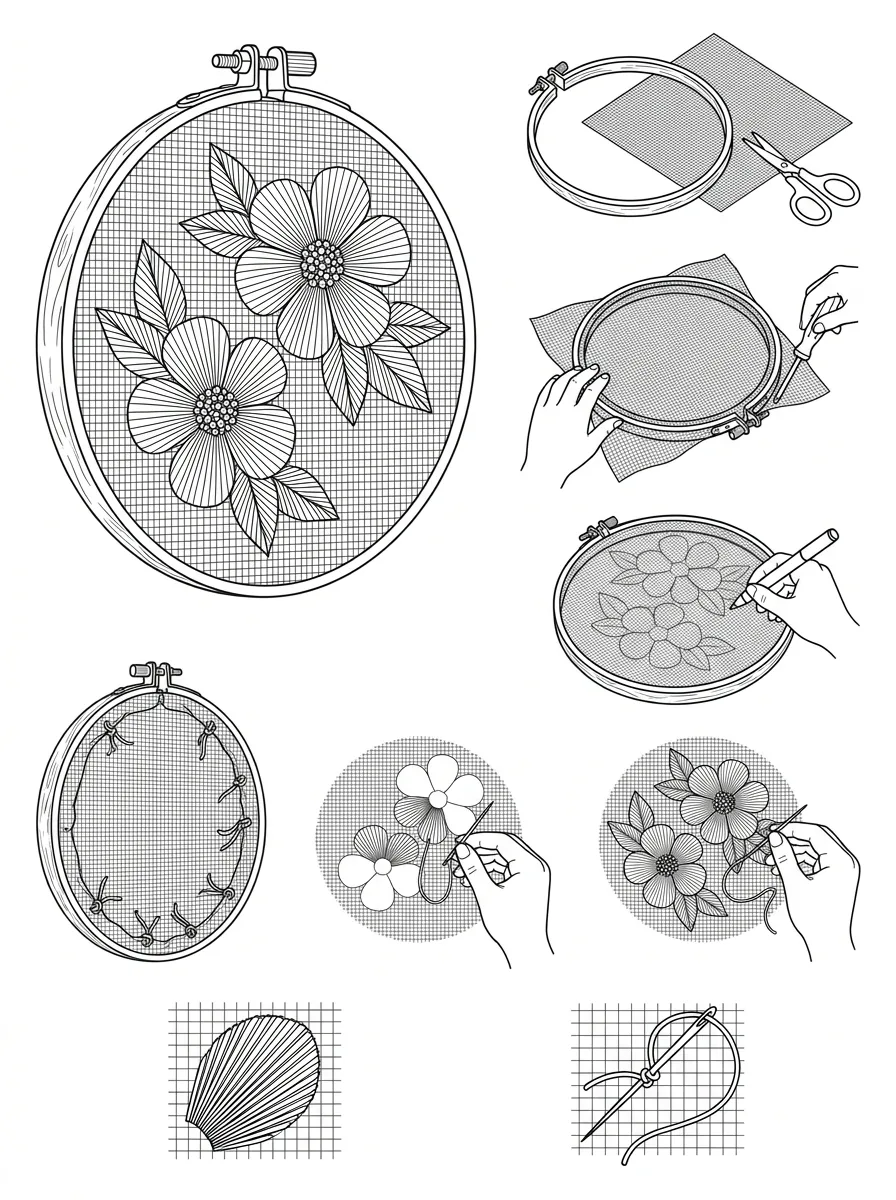
- Cut a piece of window screen mesh slightly larger than your embroidery hoop.
- Place the mesh in the embroidery hoop and tighten it securely.
- Draw your floral design onto the mesh using a marker or pen.
- Trim excess mesh from the back of the hoop if needed.
- Begin embroidering the petals and leaves using your needle and thread.
- Continue stitching until your floral design is complete.
- Tie off and secure the ends of the thread on the back side.
Embroidered floral wall art is a beautiful way to showcase your creativity and add a pop of color to any room. This project uses vibrant embroidery on window screen mesh, making it a unique and eye-catching decor piece. Displaying your finished art in a wooden hoop gives it a modern, airy look that stands out on any wall. For best results, use a sharp embroidery needle to easily stitch through the mesh and avoid fraying the threads.