DIY Button-Up Pocket Flap for an Old Denim Shirt
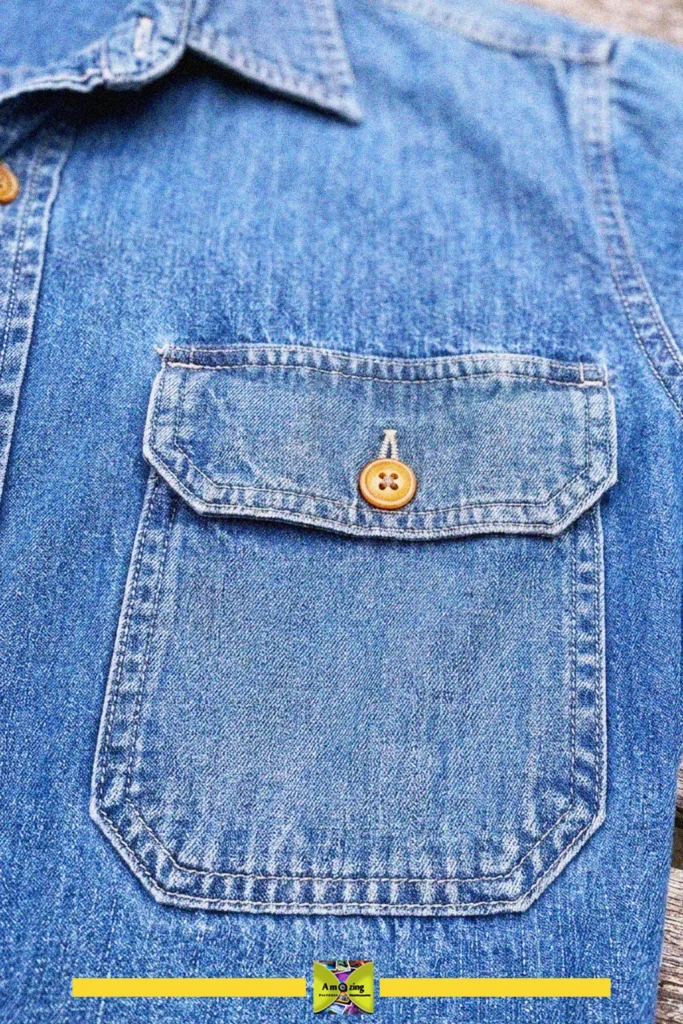
Transform your old denim shirt with this DIY button-up pocket flap. This simple upcycling project adds both style and function to your wardrobe.
- Difficulty
- Medium
- Time
- 30 minutes
Materials
- denim fabric
- scissors
- ruler
- pencil
- pins
- sewing machine
- iron
- needle
- thread
- button
How to make it
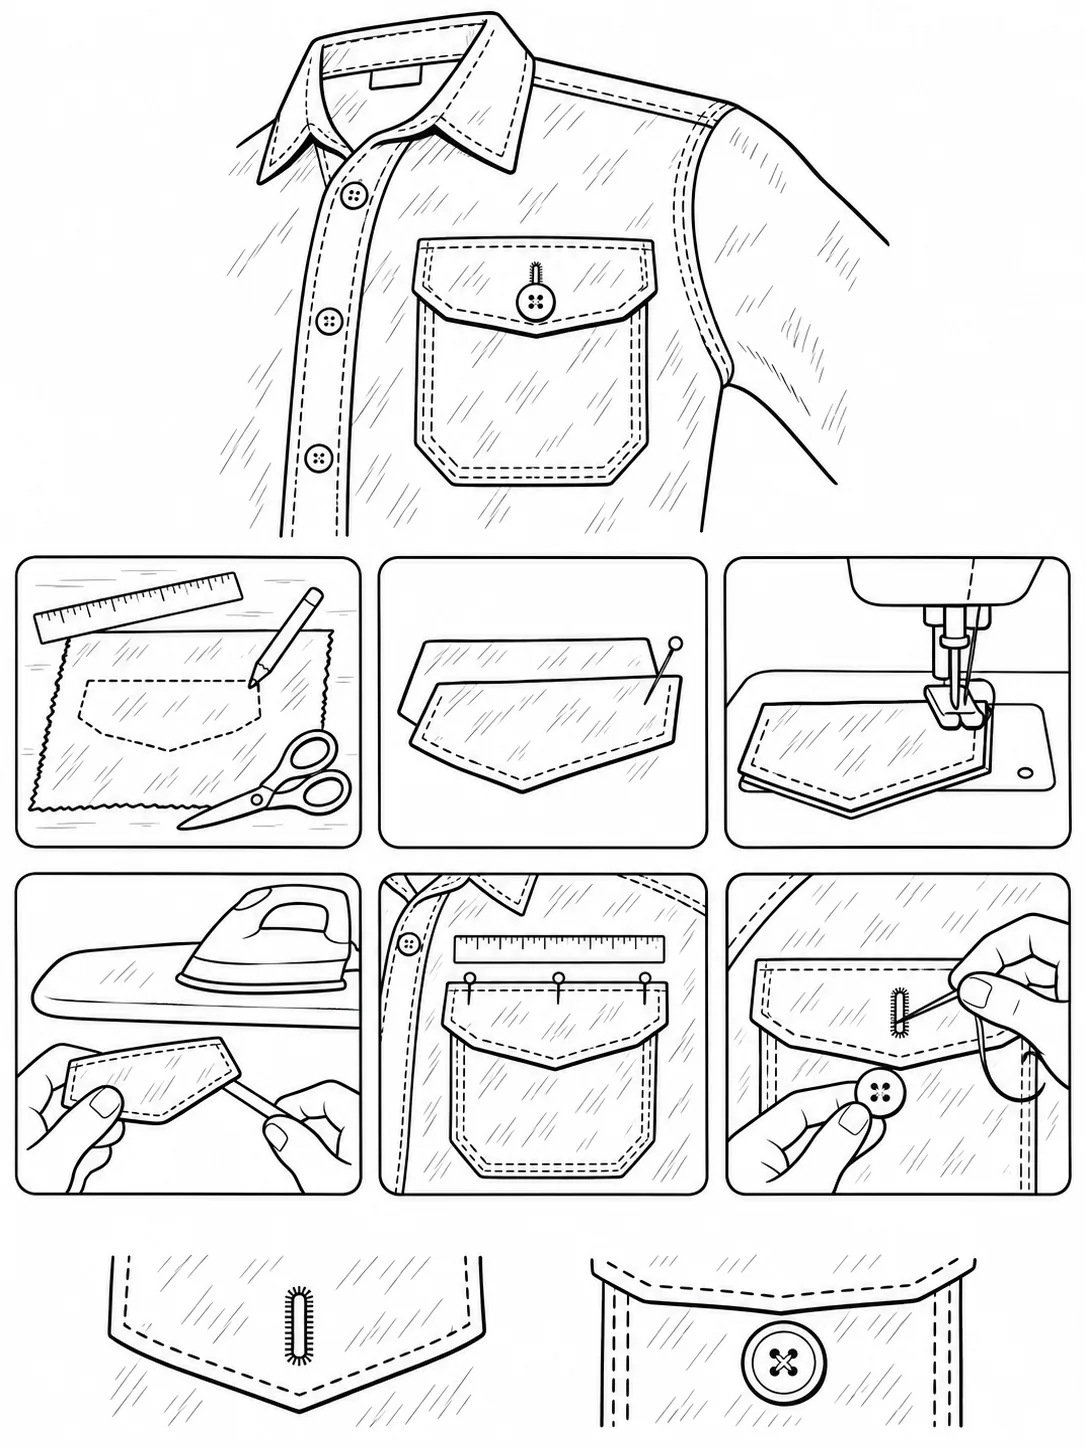
- Draw and cut out the pocket flap shape from denim fabric using a ruler and pencil.
- Pin the edges of the flap and sew along the sides with a sewing machine.
- Press the flap with an iron to flatten seams.
- Fold and press the edges, then topstitch for a finished look.
- Pin the flap onto the shirt above the pocket and sew it in place.
- Mark and sew a buttonhole on the flap.
- Sew a button onto the pocket to match the buttonhole.
A diy button-up pocket flap is a clever way to refresh an old denim shirt and add secure storage for small essentials. This craft is perfect for anyone looking to upcycle clothing while keeping items safe and accessible. The sturdy button closure keeps your belongings secure and gives the shirt a classic, timeless look. When working with denim, use a strong needle and thread to ensure the pocket flap stays durable and long-lasting.