DIY Button-Fastened Travel Jewelry Roll
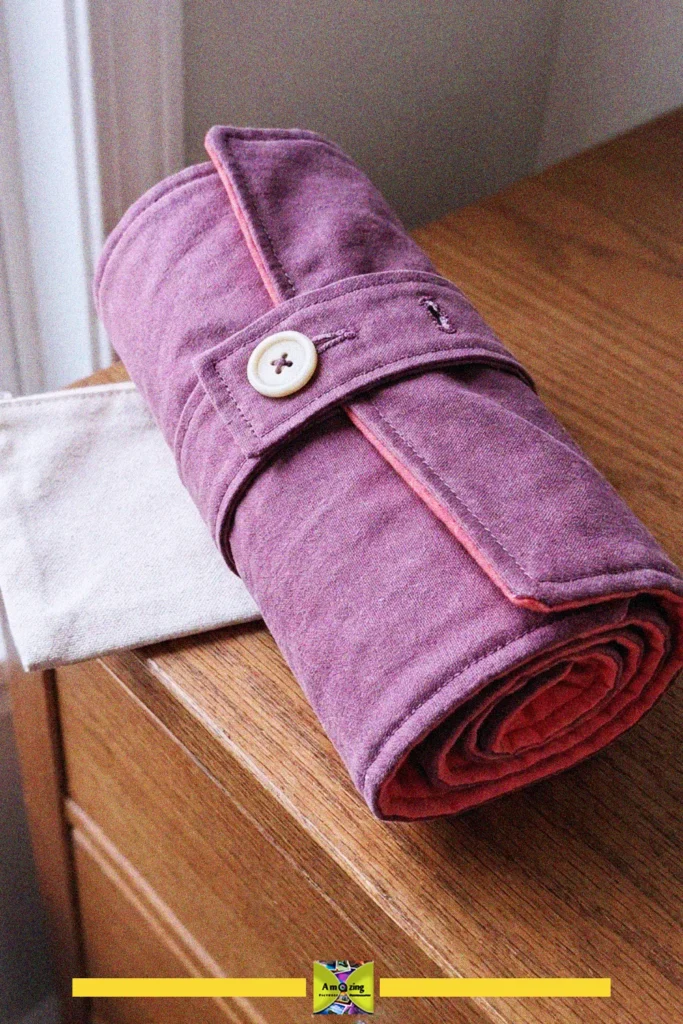
Make your travels easier with this DIY button-fastened travel jewelry roll. It keeps your jewelry neatly organized and secure in a stylish, compact package.
- Difficulty
- Medium
- Time
- 45 minutes
Materials
- Fabric pieces
- Ruler
- Scissors
- Sewing machine
- Pins
- Iron
- Needle and thread
- Button
How to make it
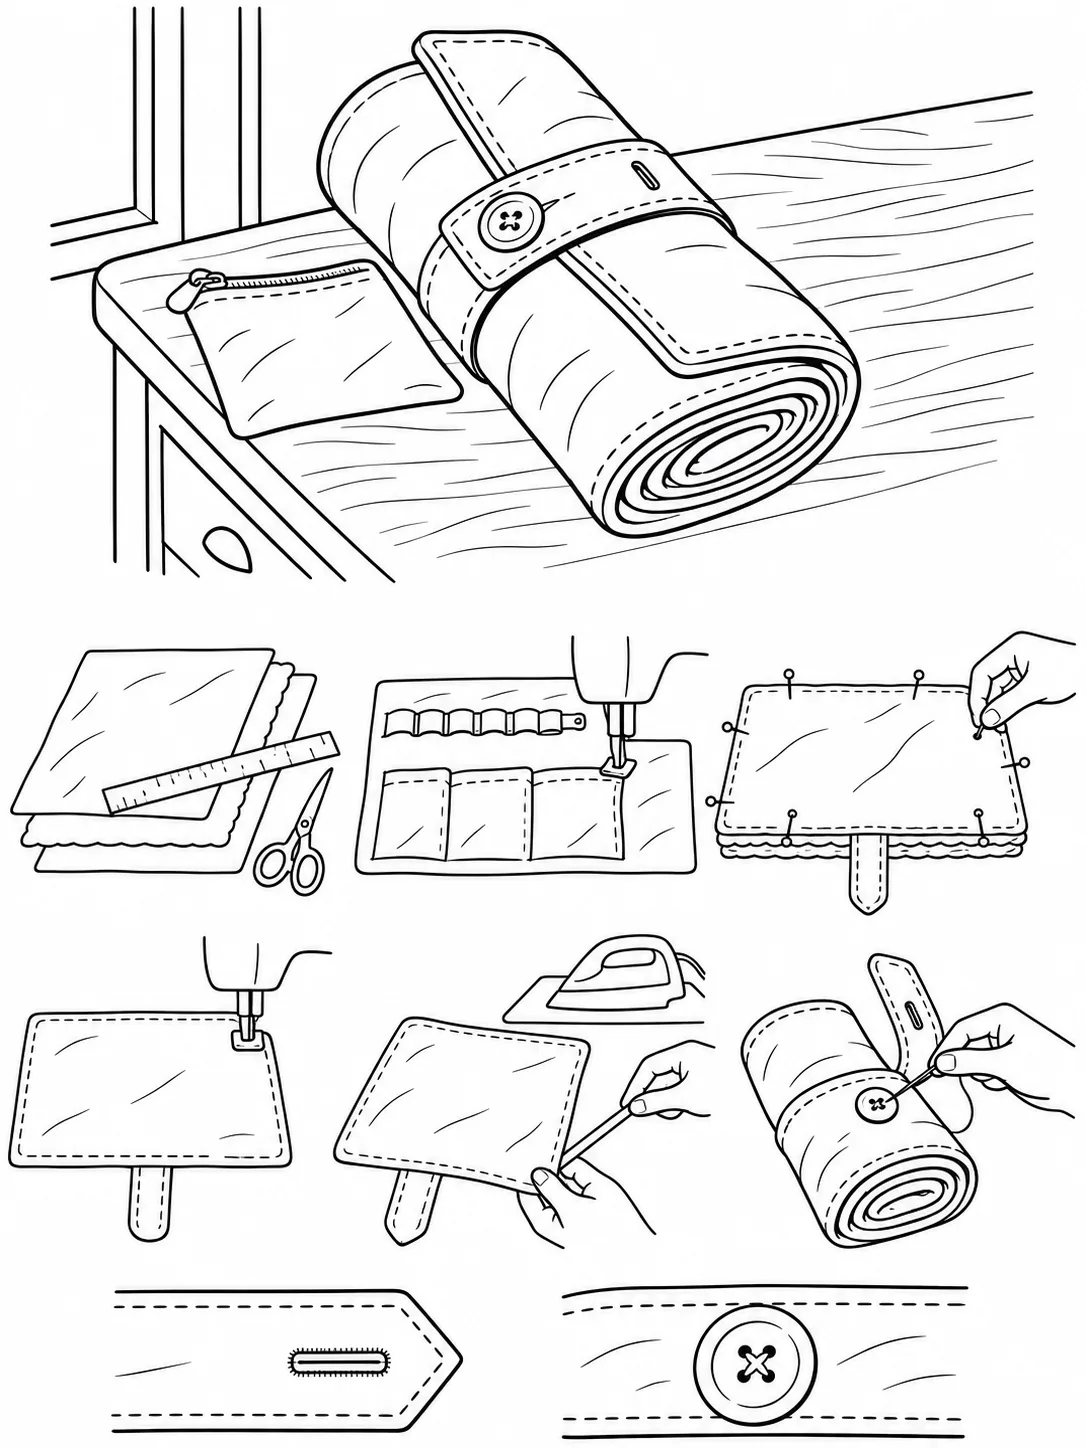
- Cut fabric pieces to size using a ruler and scissors.
- Sew pockets and sections onto the main fabric piece.
- Pin the layers together and sew around the edges.
- Sew the flap and strap in place.
- Iron the finished piece for a neat look.
- Trim any excess threads.
- Roll up the jewelry holder and sew on a button for fastening.
- Create a buttonhole on the strap and finish with a button.
A diy travel jewelry roll is a handy and stylish way to keep your jewelry safe and organized when you are on the go. This roll features a soft purple fabric and a secure button closure, making it perfect for travel. Its compact design fits easily into your luggage or bag, helping you avoid tangled necklaces and misplaced earrings. The button-fastened strap ensures everything stays in place, while the soft material protects your jewelry from scratches. For best results, keep the roll away from sharp objects to avoid damaging the fabric and always fasten the button securely before packing.