DIY Wool Neck Warmer With Reclaimed Buttons
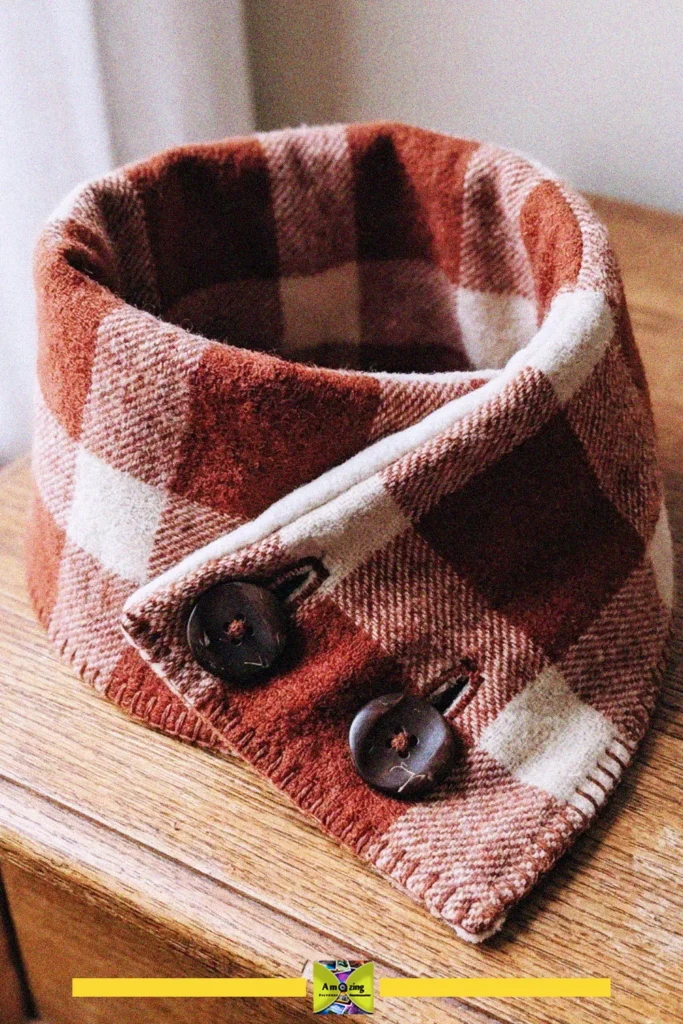
Make your own stylish and eco-friendly accessory with this DIY wool neck warmer. Featuring reclaimed buttons and soft plaid fabric, it's a perfect project for cozy comfort and sustainable fashion.
- Difficulty
- Medium
- Time
- 40 minutes
Materials
- Wool fabric
- Lining fabric
- Scissors
- Ruler
- Pins
- Needle
- Thread
- Buttons
How to make it
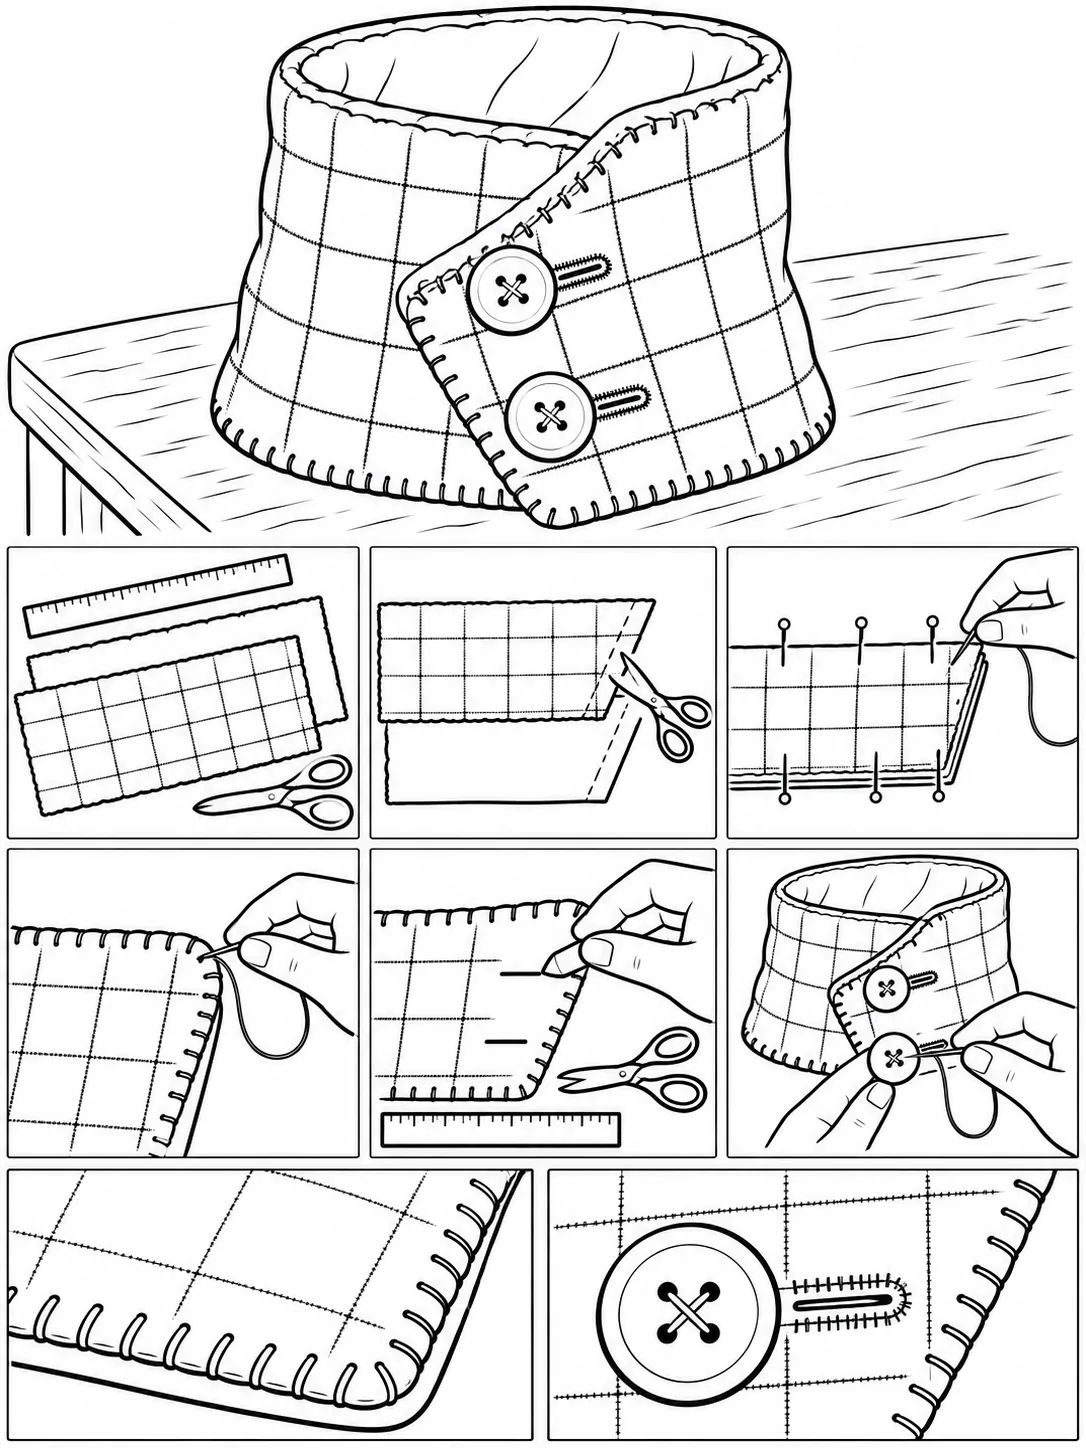
- Cut wool and lining fabric to size using a ruler and scissors.
- Pin the layers together along the edges.
- Sew around the edges with a blanket stitch.
- Continue stitching all around the fabric.
- Mark and cut buttonholes on one end.
- Sew buttonholes securely.
- Sew buttons onto the other end.
- Finish by checking all stitches and trimming any loose threads.
A diy wool neck warmer is a simple and stylish accessory that keeps your neck warm and comfortable during chilly days. This project uses soft plaid wool and reclaimed buttons for a sustainable touch. The neck warmer is perfect for anyone who loves upcycling and wants to add a cozy, handmade piece to their wardrobe.nThe thick wool fabric and large buttons make this neck warmer both practical and fashionable, offering warmth and a secure fit. Its classic plaid pattern adds a timeless look, making it suitable for everyday wear or as a thoughtful handmade gift.nWhen working with wool and buttons, use sharp scissors for clean edges and securely fasten the buttons to prevent them from coming loose. Always check for any sharp edges on buttons before wearing to ensure comfort and safety.