DIY Magnetic Photo Display From a Cookie Sheet
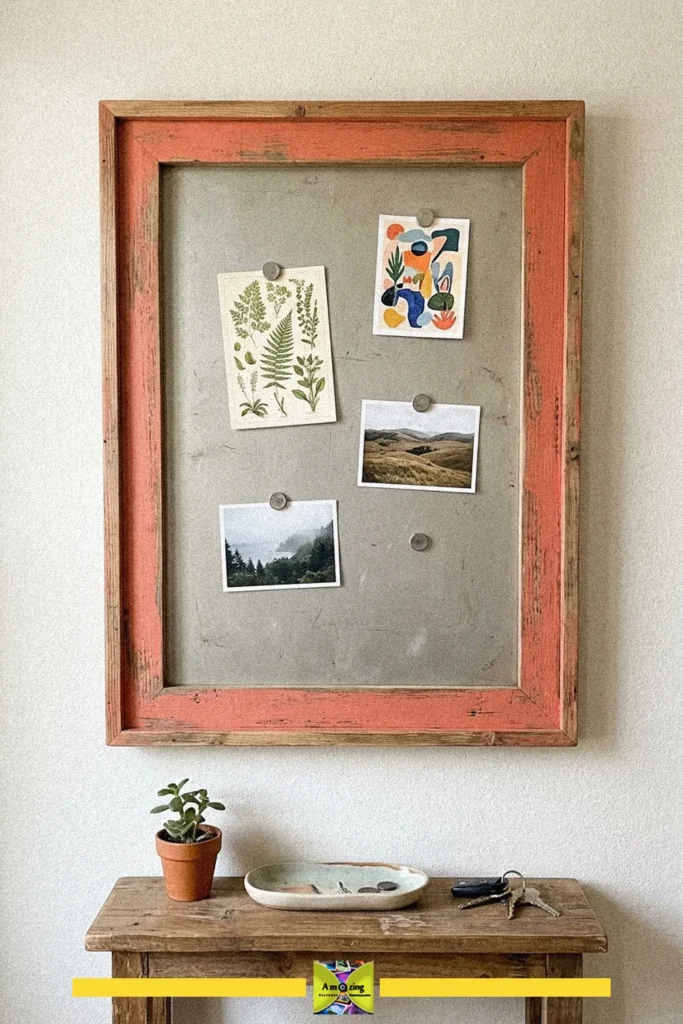
Create a unique DIY magnetic photo display from a cookie sheet to showcase your favorite memories and art. This easy project adds both style and function to your home decor.
- Difficulty
- Easy
- Time
- 35 minutes
Materials
- cookie sheet
- cleaning cloth
- wood trim pieces
- paint or wood stain
- paintbrush
- glue or adhesive
- magnets
- photos or notes
- hanging hardware
How to make it
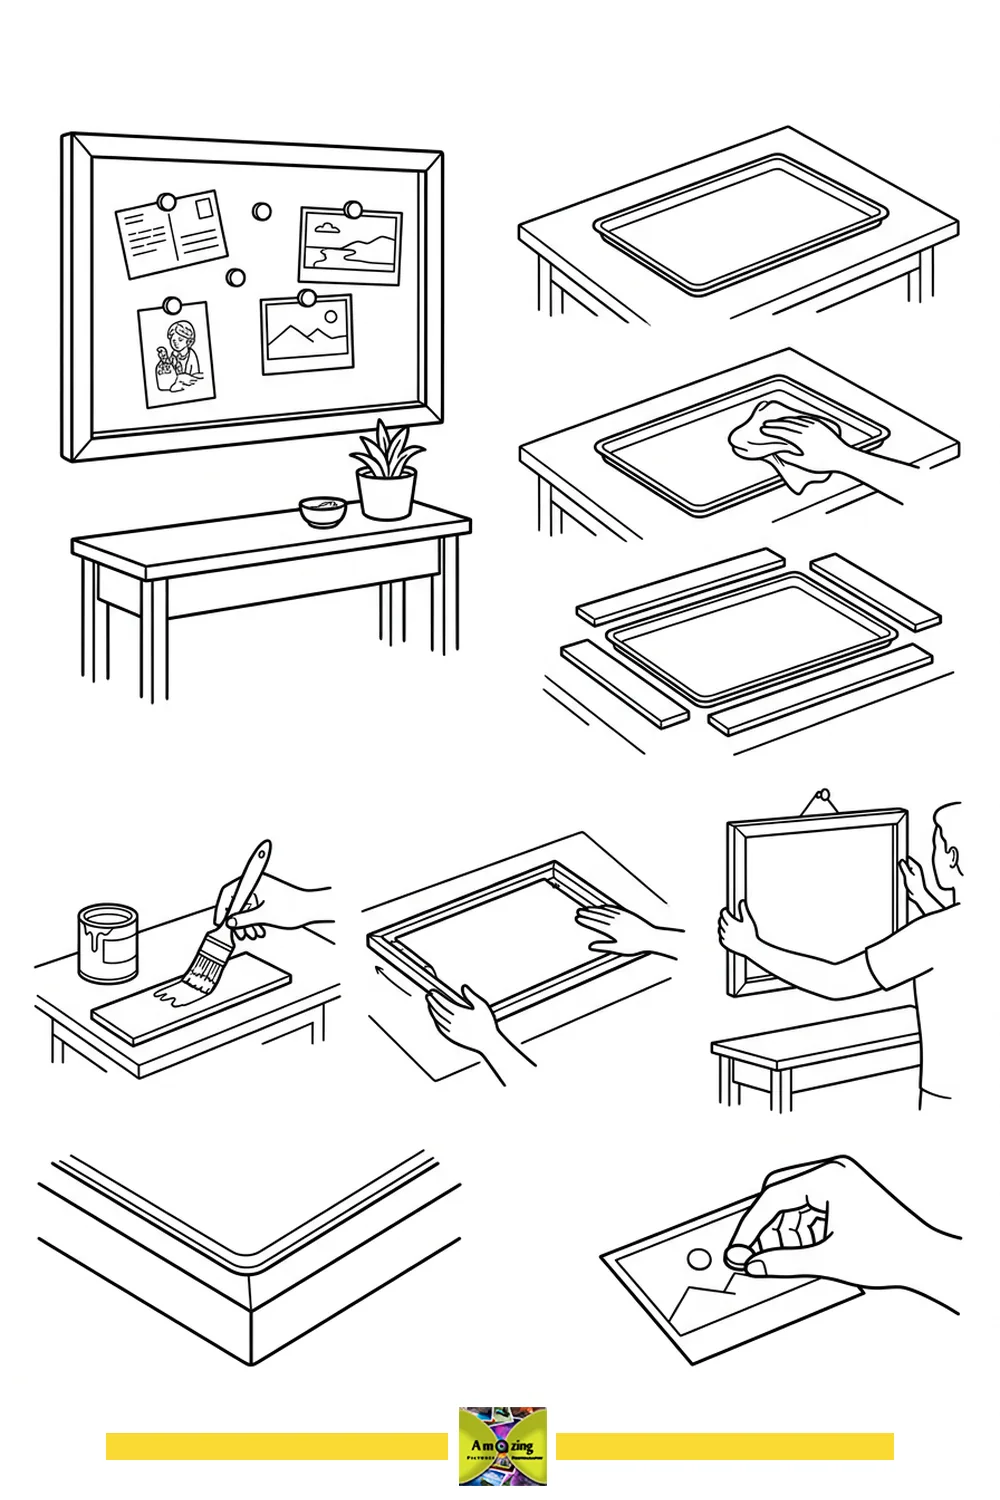
- Place the cookie sheet on a flat surface.
- Wipe the cookie sheet clean with a cloth.
- Arrange wood trim pieces around the edges of the cookie sheet.
- Paint or stain the wood trim and let it dry.
- Attach the trim to the cookie sheet with glue or adhesive.
- Add hanging hardware to the back.
- Hang the finished display on the wall.
- Attach photos or notes using magnets.
A diy magnetic photo display is a fun and practical way to keep your favorite photos, art, and notes visible and organized. This project uses a cookie sheet framed with rustic wood for a charming, farmhouse-inspired look.
The magnetic surface allows you to easily swap out pictures and artwork whenever you like, making it perfect for entryways, kitchens, or offices. The addition of a small table underneath provides extra space for keys and small items.
For best results, use strong magnets to securely hold heavier items in place. Be sure to hang the display securely on the wall to prevent accidents, especially if placing heavier objects nearby.