DIY Wooden Entryway Catchall Tray
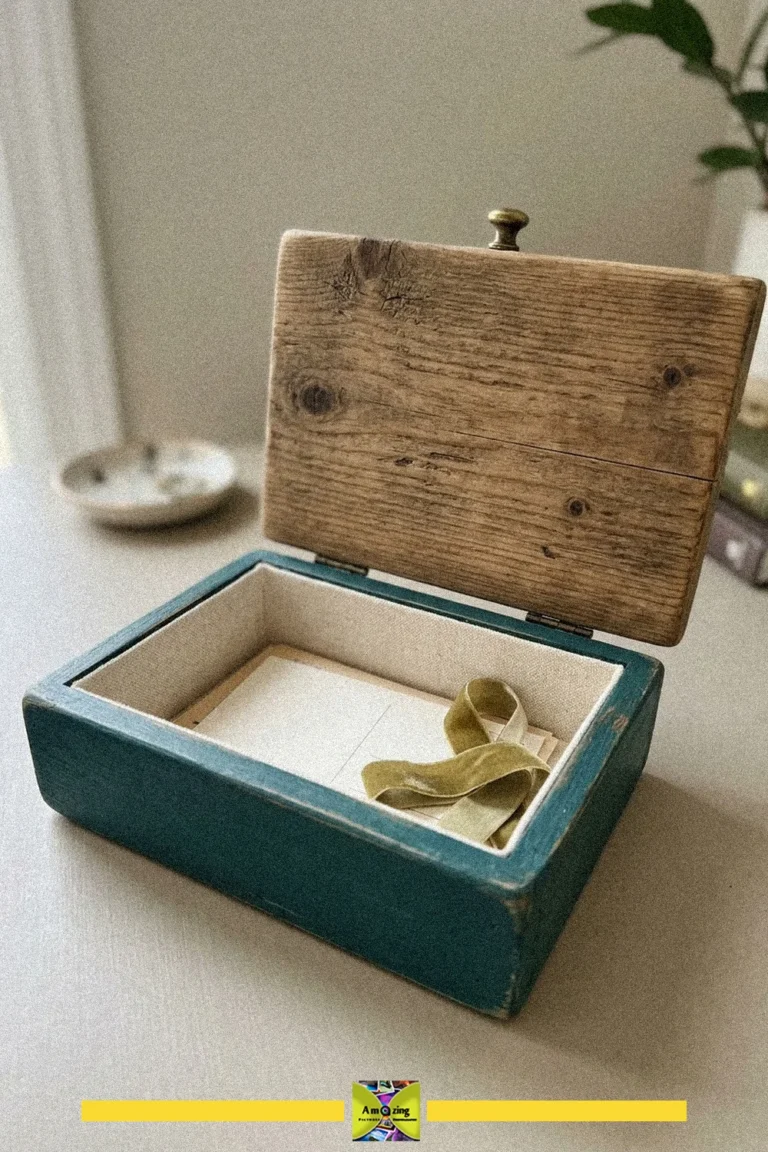
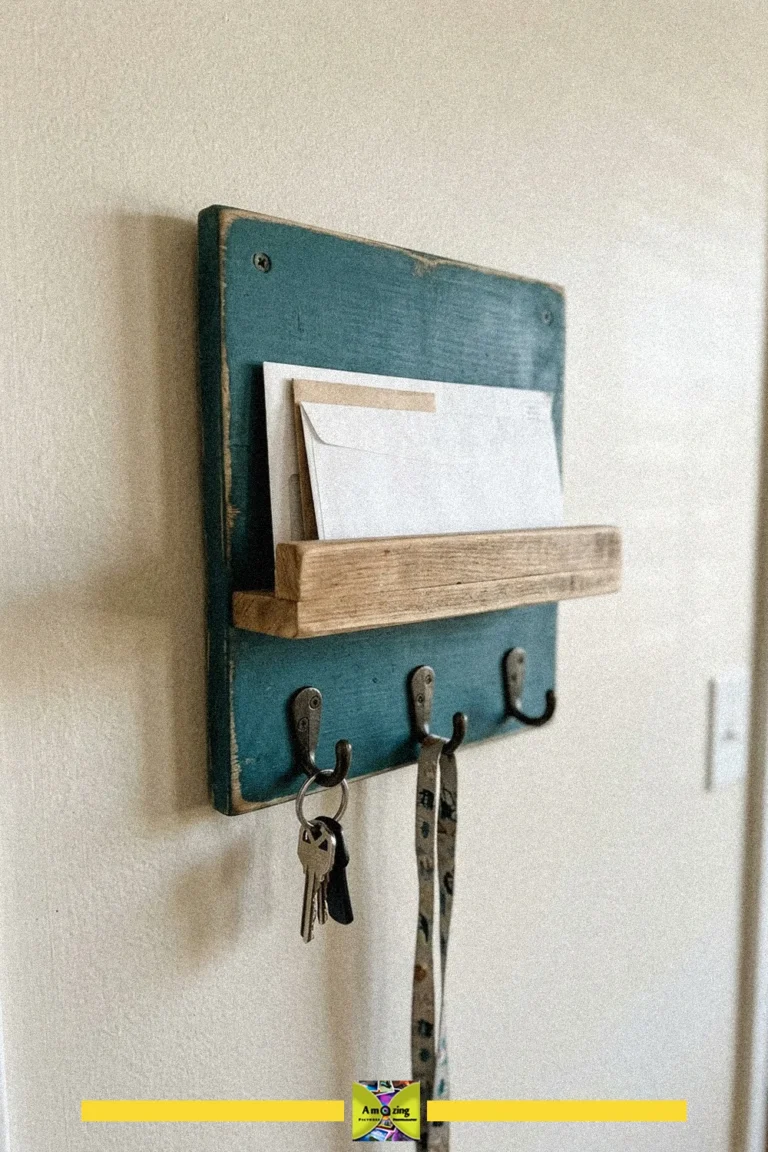
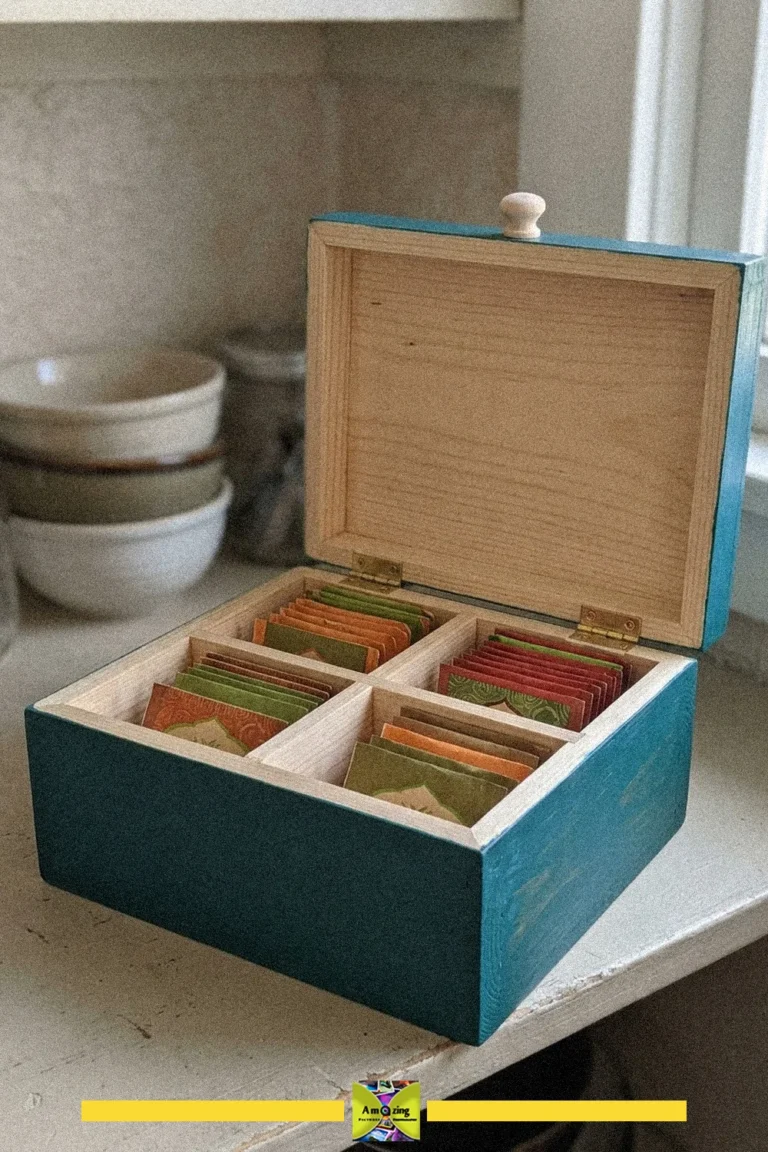
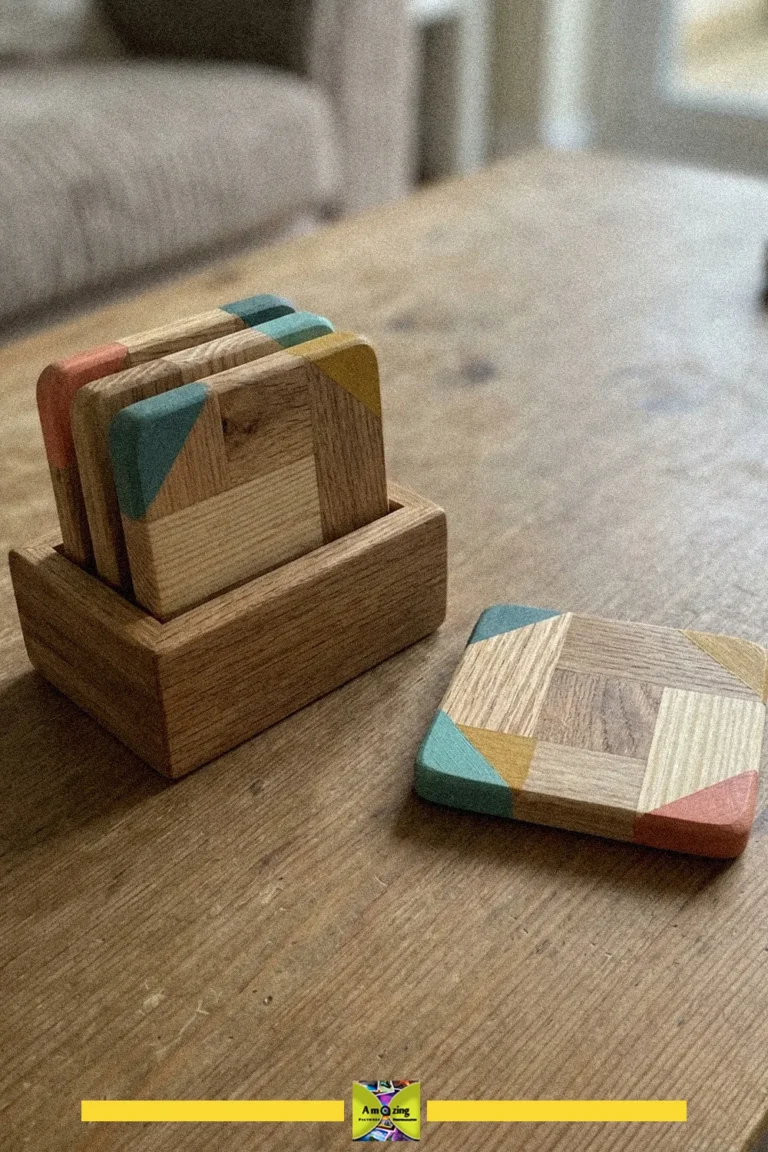
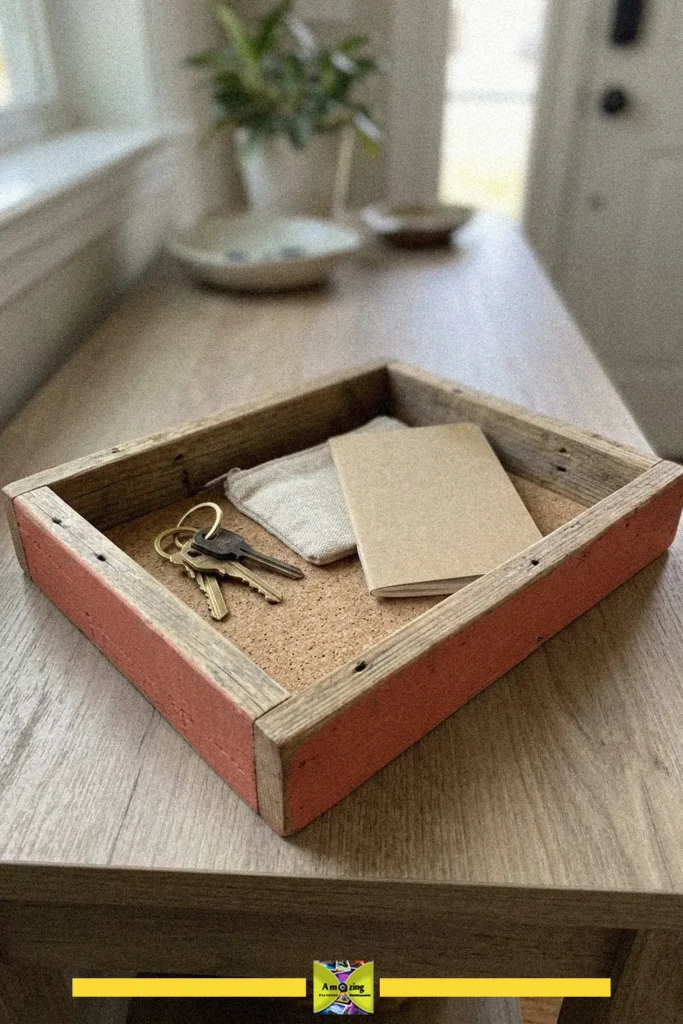
Keep your entryway tidy with this DIY wooden catchall tray. It’s a stylish and practical way to organize keys, wallets, and other essentials by the door.
- Difficulty
- Easy
- Time
- 35 minutes
Materials
- wooden boards
- glue
- hammer
- nails
- ruler
- utility knife
- sandpaper
- paintbrush
How to make it
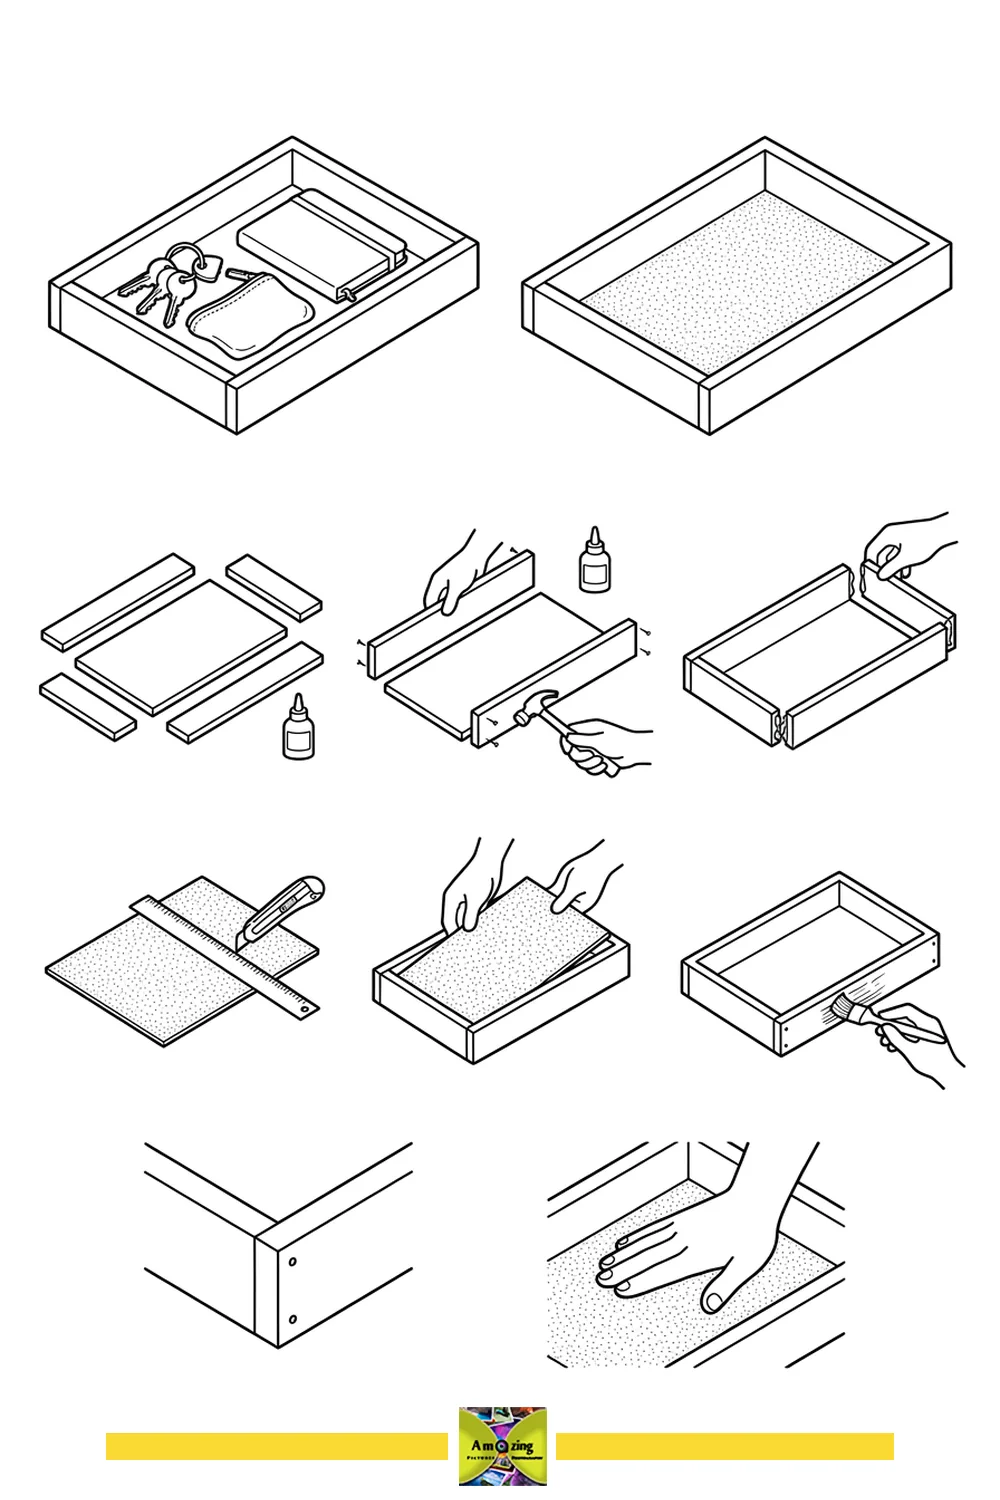
- Lay out all wooden pieces and glue.
- Attach and glue the side pieces to the base, then secure with nails.
- Glue and attach the remaining sides to form a tray.
- Measure and cut the base insert to fit using a ruler and utility knife.
- Place the insert into the tray base.
- Brush on a finish or sealant to protect the wood.
- Check corners and edges for secure assembly.
- Smooth the surface with sandpaper for a finished look.
A diy wooden entryway tray is a great way to keep your keys, wallet, and other essentials organized right by your door. This project is perfect for adding a rustic, functional accent to your home. The sturdy wood frame and cork base make it both durable and stylish, ensuring your everyday items have a dedicated spot. Place it on a console table or shelf for easy access as you come and go. When using wood and cork, make sure to check for any sharp edges or splinters before placing your items inside to keep everything safe and scratch-free.