DIY Scrap Wood Geometric Wall Art
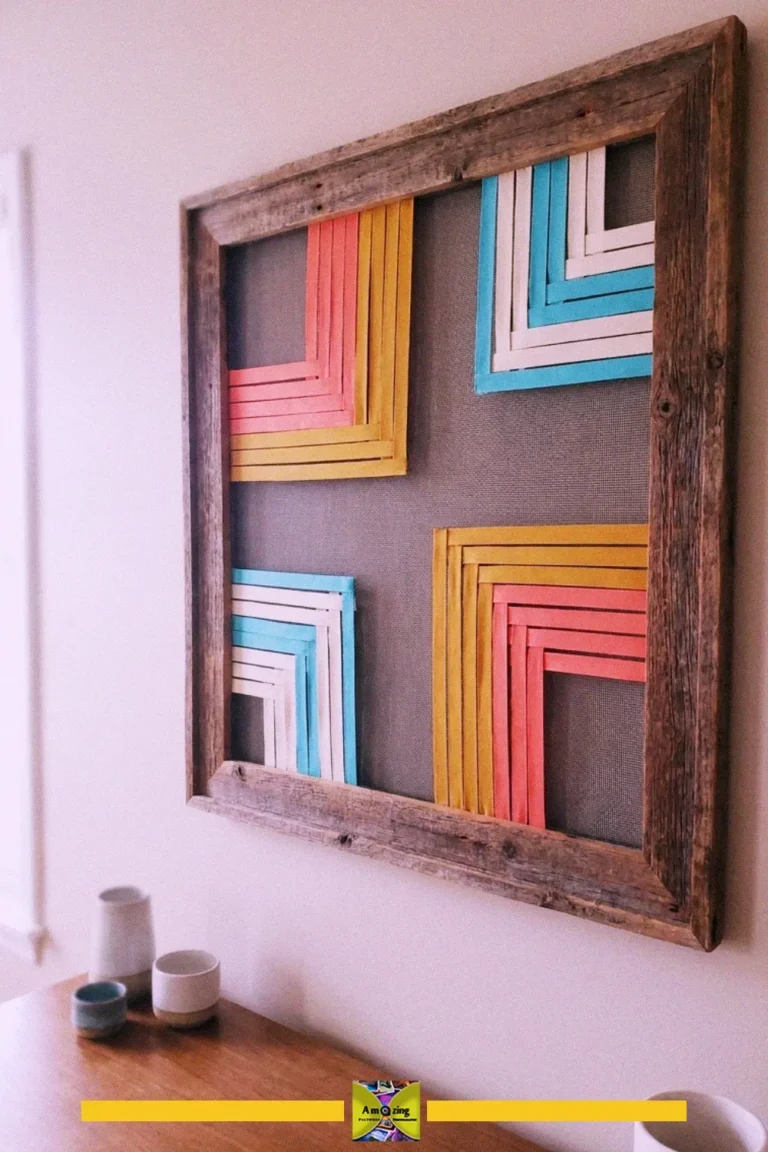
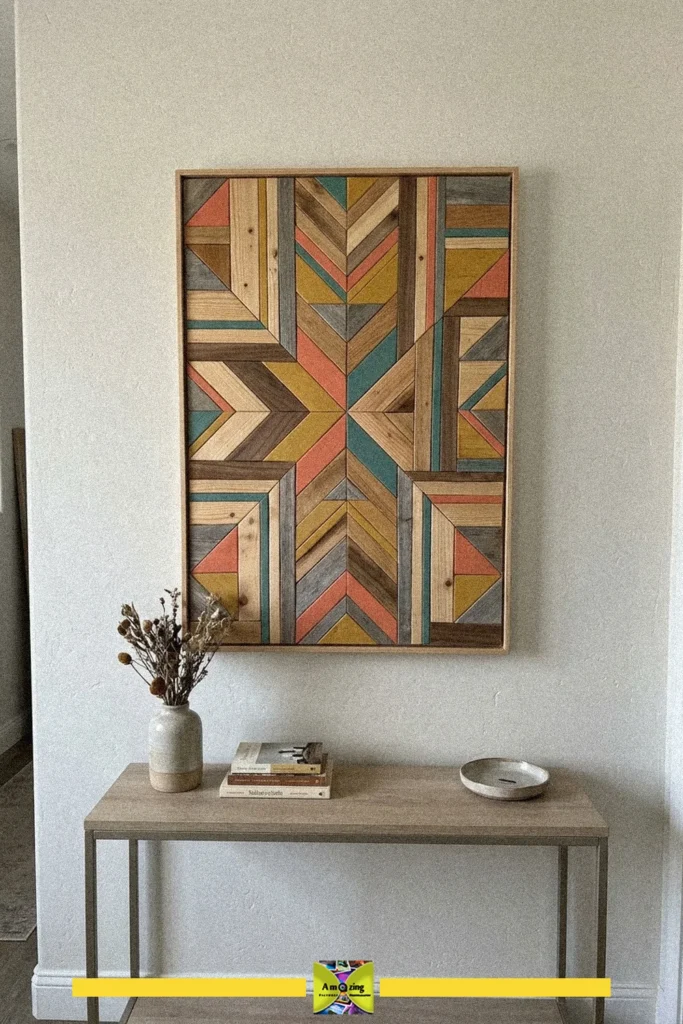
Transform leftover wood into stunning geometric wall art with this easy DIY project. This craft is perfect for adding a pop of color and style to any room in your home.
- Difficulty
- Medium
- Time
- 45 minutes
Materials
- scrap wood pieces
- glue
- paint or wood finish
- paintbrush
- wooden board or backing
- frame
- hammer
- sawtooth hanger
- screws
- screwdriver
How to make it
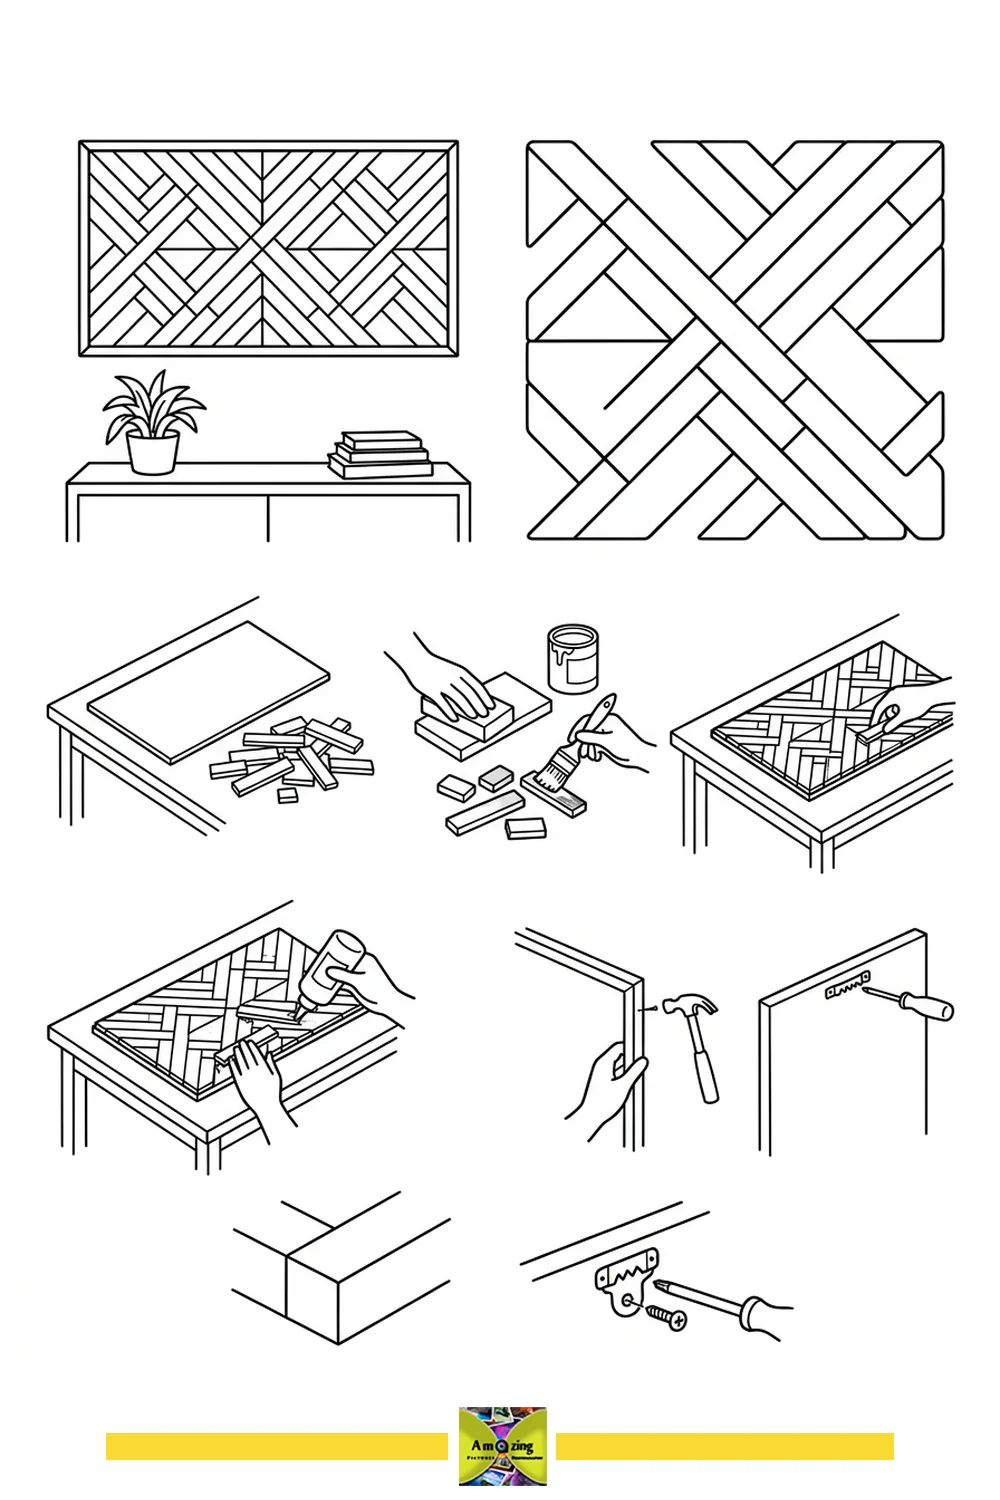
- Arrange scrap wood pieces on a board in a geometric pattern.
- Sand the wood pieces for a smooth finish.
- Paint or stain the wood pieces as desired.
- Glue the pieces onto the backing board.
- Allow the glue to dry completely.
- Attach a frame around the board.
- Hammer a sawtooth hanger onto the back.
- Secure the hanger with screws using a screwdriver.
DIY scrap wood wall art is a creative way to turn leftover wood into a beautiful geometric centerpiece for your home. This craft is ideal for adding a modern, colorful accent to any blank wall.
The bold geometric patterns and vibrant colors make this wall art a standout decor piece. It’s a great way to showcase your creativity while upcycling materials you already have on hand.
When working with scrap wood, always sand the edges thoroughly to avoid splinters and ensure a smooth, safe finish for your wall art.