DIY Fabric Book Sleeve With Vintage Button Closure
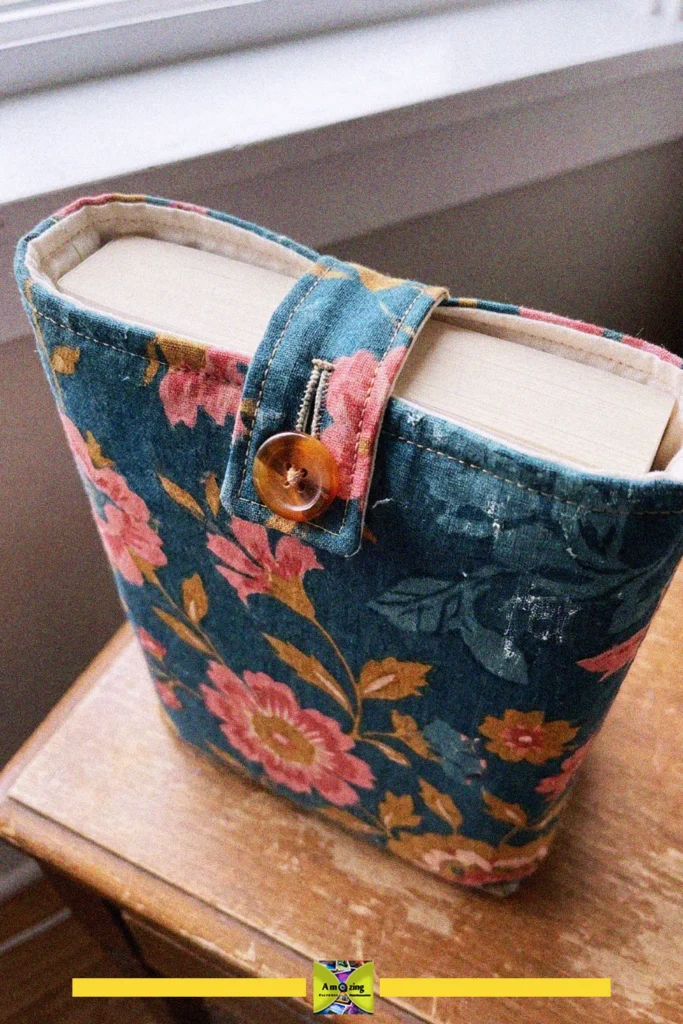
Make your own DIY fabric book sleeve with a vintage button closure to protect your favorite books in style. This charming sleeve is perfect for book lovers who want to keep their reads safe and looking great.
- Difficulty
- Easy
- Time
- 40 minutes
Materials
- Patterned fabric
- Ruler
- Scissors
- Pins
- Sewing machine
- Thread
- Iron
- Needle
- Vintage button
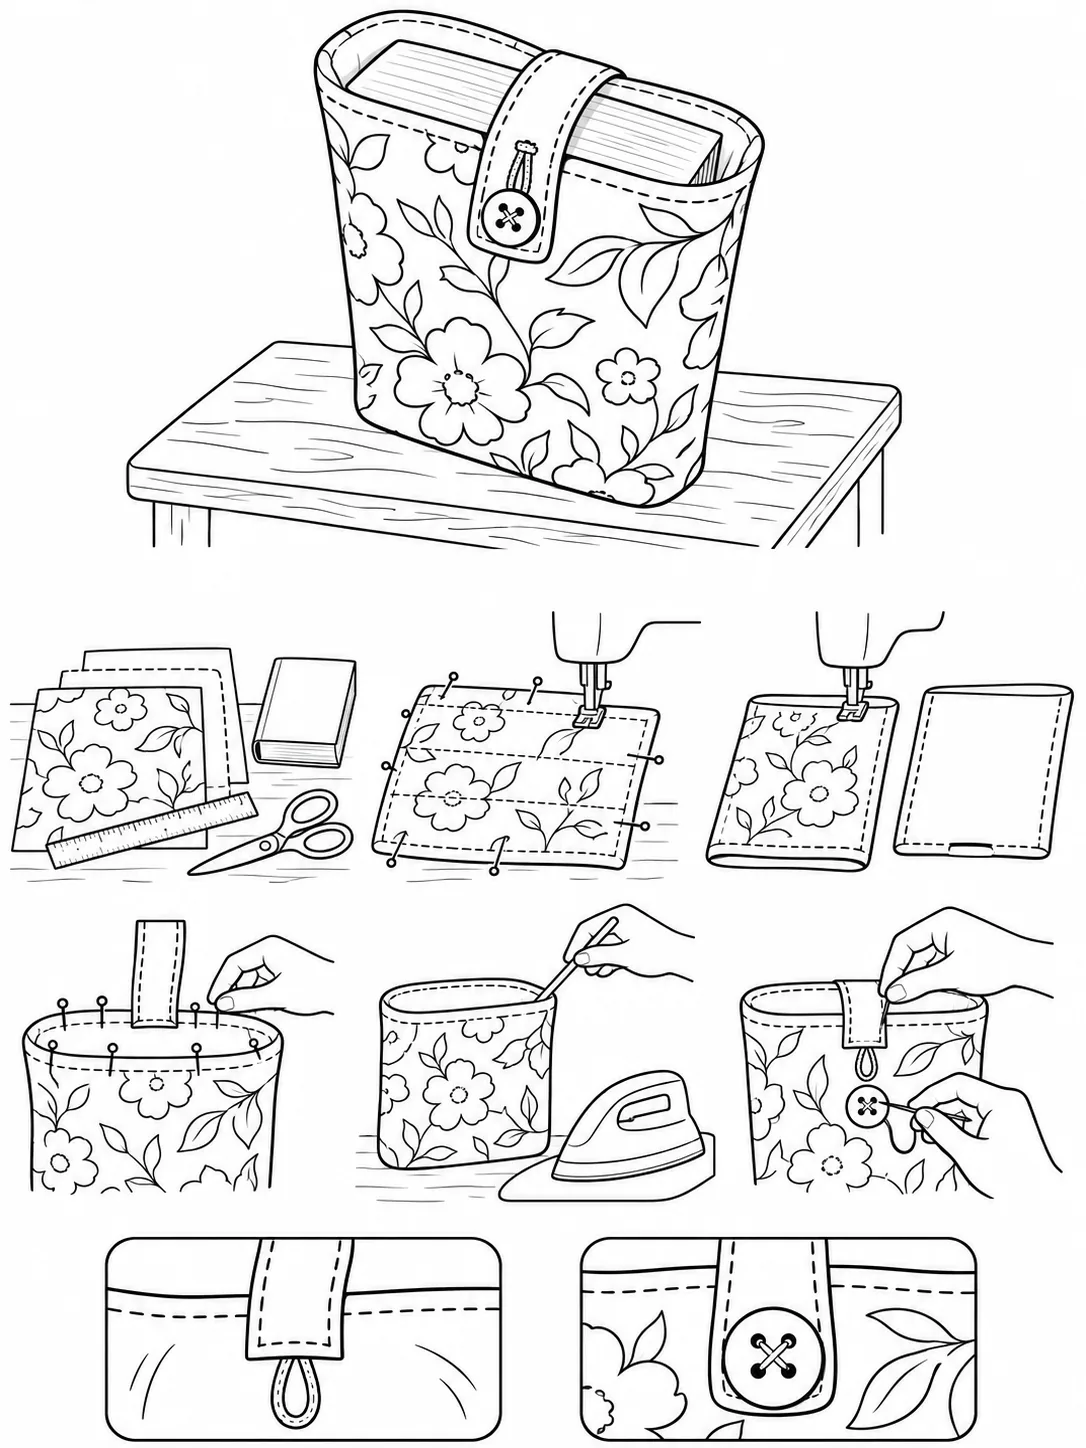
How to make it
- Measure and cut out fabric pieces using a ruler and scissors.
- Pin the fabric pieces together and sew along the edges with a sewing machine.
- Fold and sew the fabric to form the sleeve shape.
- Pin and sew the strap to the top edge of the sleeve.
- Turn the sleeve right side out and press with an iron.
- Attach the strap and sew a buttonhole at the end of the strap.
- Sew a vintage button onto the front of the sleeve to complete the closure.
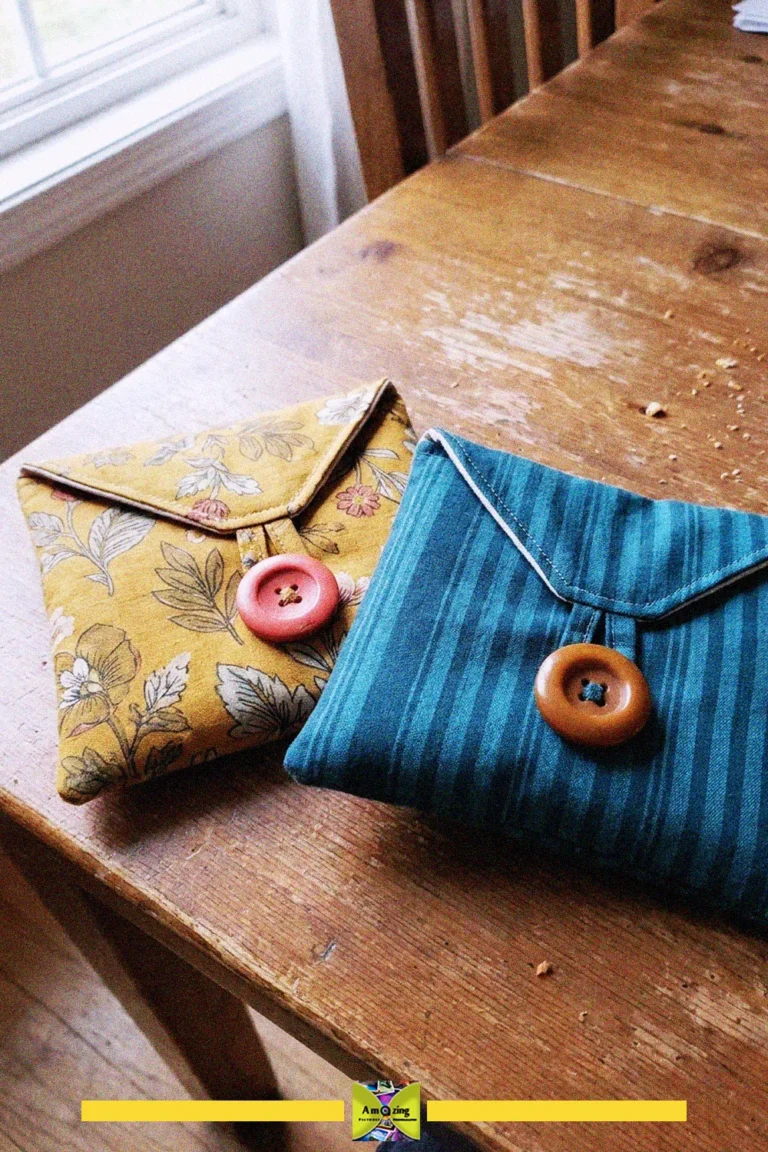
A diy fabric book sleeve is a handy way to protect your favorite books from damage while adding a touch of personal style. This sleeve features a floral fabric and a vintage button closure, making it both functional and attractive. The padded design helps prevent bent corners and scratches, making it perfect for carrying books in your bag or while traveling.
The vintage button closure not only secures your book but also adds a unique, charming detail to the overall look. The floral fabric gives the sleeve a cozy, handmade feel that stands out from store-bought options. It’s a thoughtful gift idea for any book lover who values both style and protection for their reads.
When choosing fabric, opt for a sturdy cotton or canvas to ensure durability and easy cleaning. Always check that the button is securely attached to avoid losing it during use. This project is a great way to upcycle fabric scraps and personalize your reading accessories.