DIY Scrap Wood Photo Block
Create a stylish DIY scrap wood photo block to showcase your favorite cards or photos. This easy upcycling project adds a warm, rustic touch to your home decor.
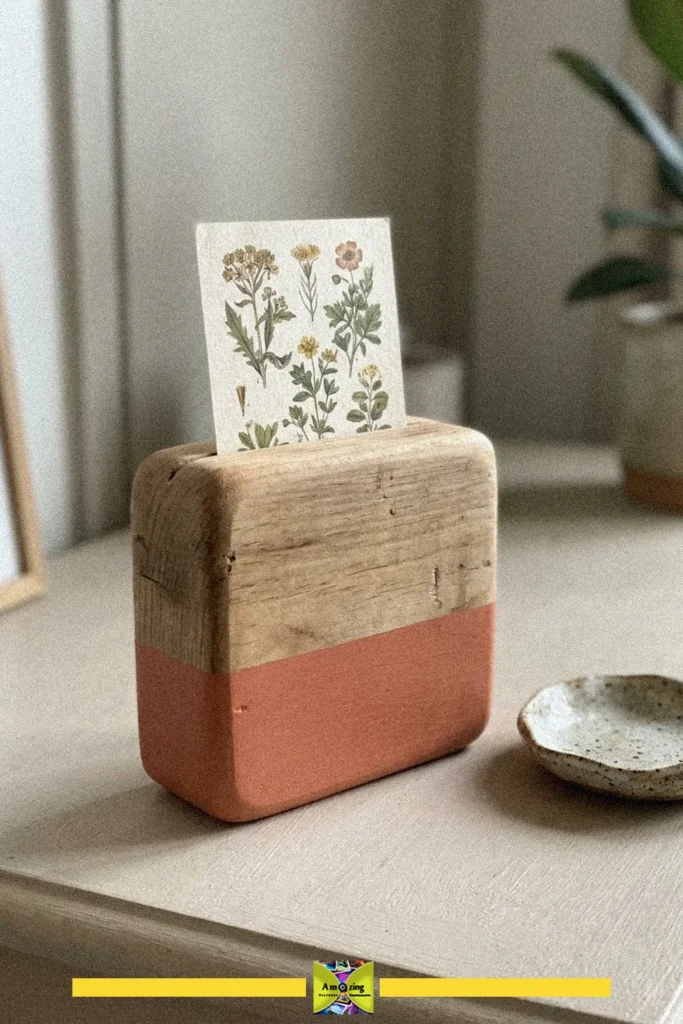
- Difficulty
- Easy
- Time
- 25 minutes
Materials
- scrap wood block
- pencil
- hand saw
- ruler or measuring tape
- screwdriver or chisel
- sandpaper
- paintbrush
- paint or wood finish
- photo
How to make it
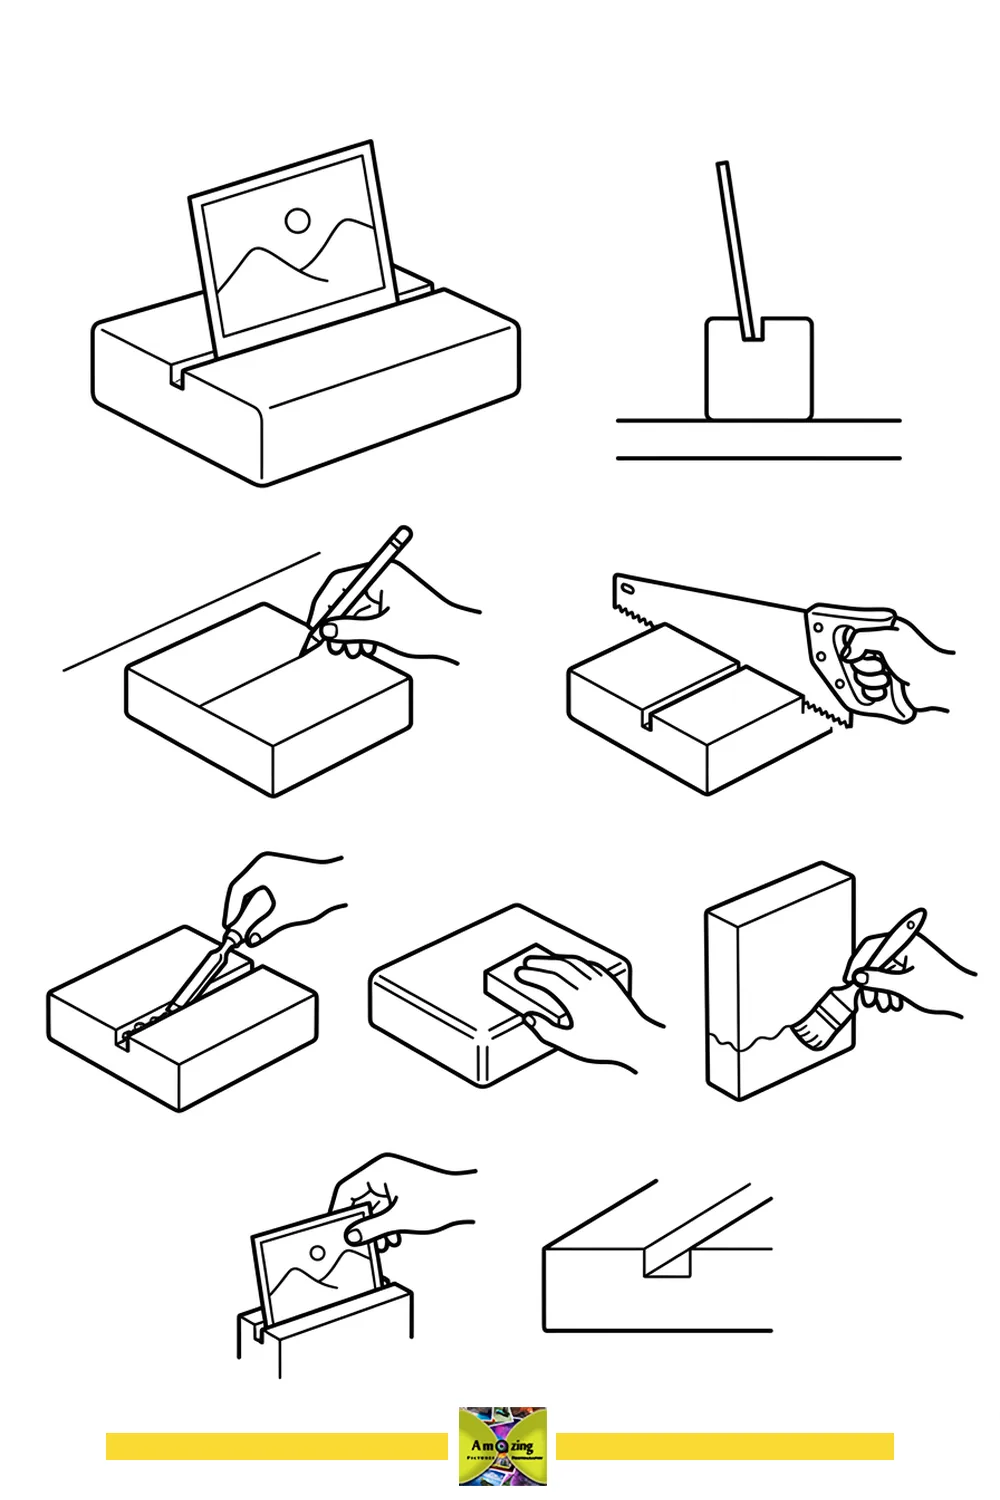
- Mark a line on the scrap wood block where the photo slot will go.
- Use a hand saw to cut along the marked line to create a slot.
- Widen the slot with a screwdriver or chisel to fit the photo.
- Sand the entire wood block to smooth the surfaces and edges.
- Paint or finish the block as desired and let it dry.
- Insert your photo into the slot to display.
A diy scrap wood photo block is a creative way to display your favorite cards or photos using leftover wood. This project is perfect for adding a rustic, handmade accent to your desk or shelf.
The sturdy wooden block with a painted bottom provides a stable base, making it both decorative and functional for holding prints or notes. Its simple design blends well with any decor style.
When sanding or painting the wood, be sure to work in a well-ventilated area and use protective gloves to avoid splinters or skin irritation.