Repair a Trouser Waistband With a Sew-On Button
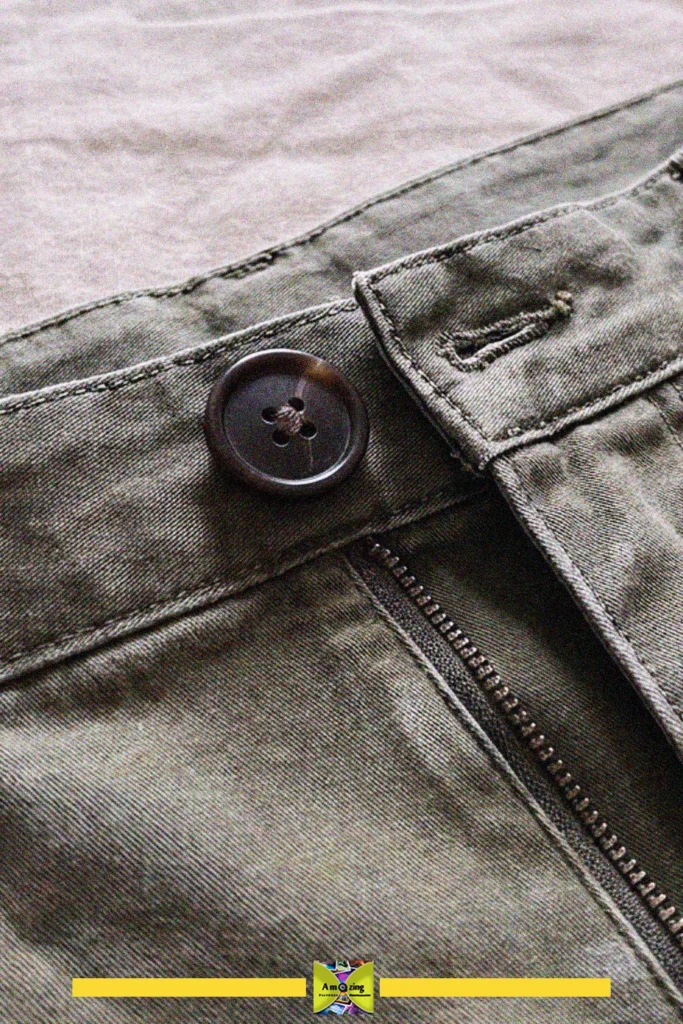
Fixing a trouser waistband with a sew-on button is a simple way to extend the life of your favorite pants. This easy repair is perfect for anyone looking to upcycle or mend their wardrobe.
- Difficulty
- Easy
- Time
- 20 minutes
Materials
- Measuring tape or ruler
- Pencil or fabric marker
- Needle
- Thread
- Button
- Scissors
How to make it
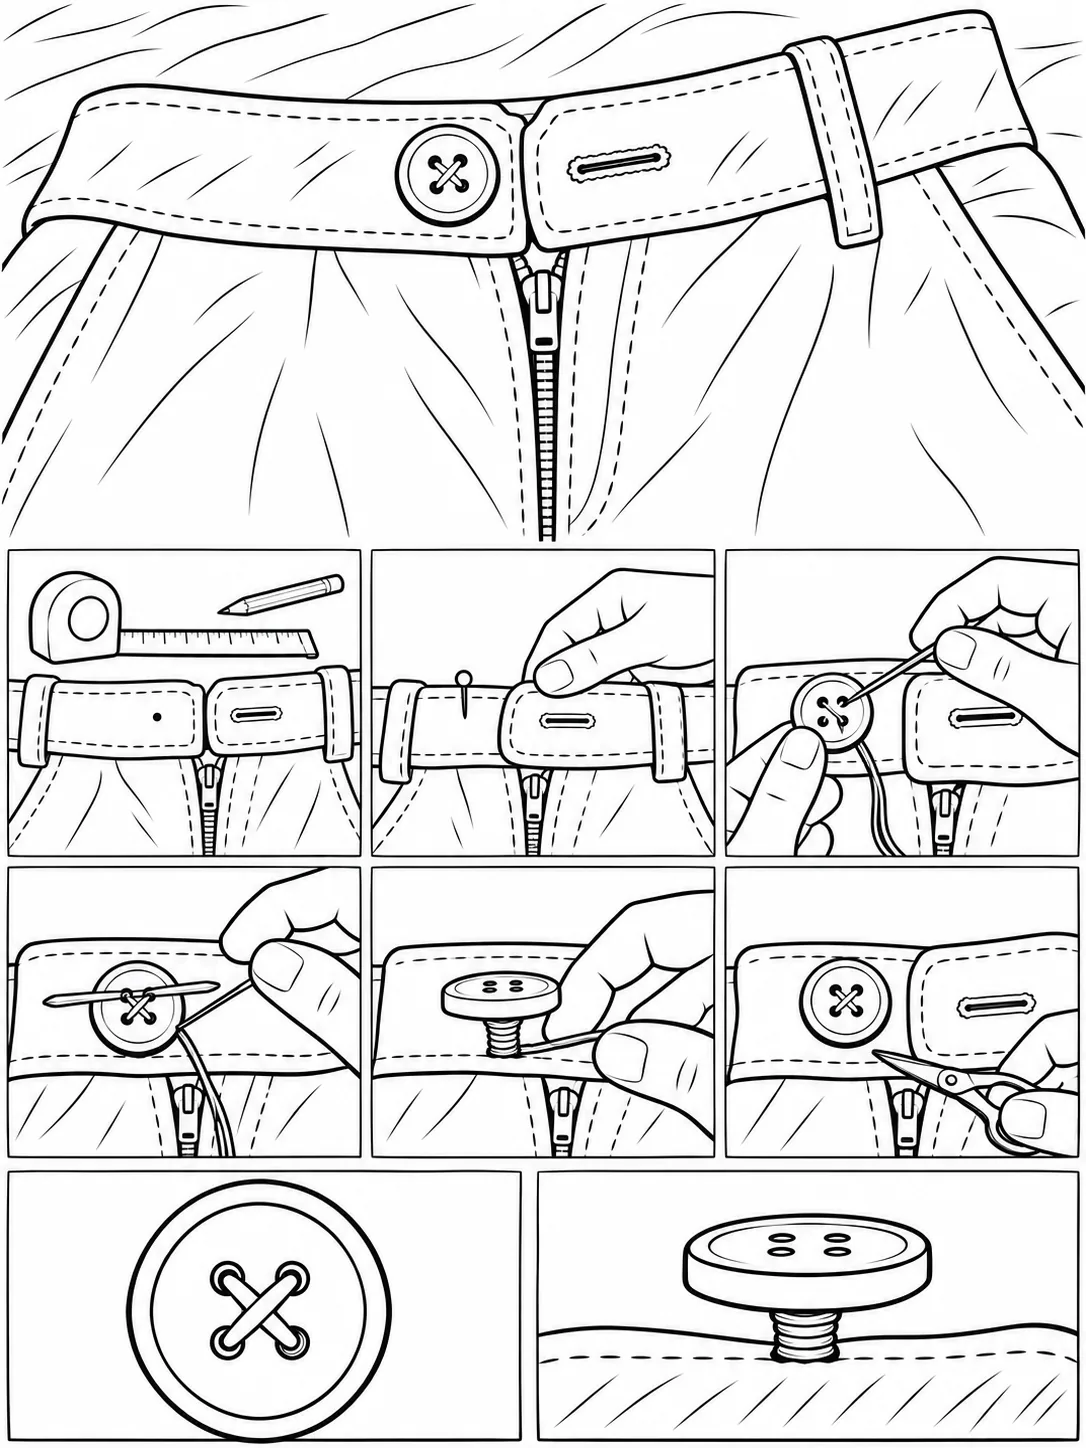
- Measure and mark the spot for the new button on the waistband.
- Thread the needle and knot the end.
- Push the needle through the fabric from the back to the front at the marked spot.
- Sew the button onto the waistband by passing the needle through the holes multiple times.
- Secure the button by wrapping the thread under the button and knotting it.
- Trim any excess thread with scissors.
- Check that the button is firmly attached.
Repair trouser waistband with this easy sew-on button method, perfect for giving your trousers a second chance and keeping them wearable. This simple fix is handy because it restores function and saves you from replacing otherwise good pants. When sewing on a button, make sure to use strong thread and secure stitches for a long-lasting repair.