Hey there, gorgeous! Applying makeup for the first time can be challenging for some girls. With so many tools and products available, it can be overwhelming to know where to start. After many attempts, we’ve discovered an easy step-by-step guide to applying makeup like a pro. We’ve created this “HOW TO” article to make your first makeup experience as simple and enjoyable as possible. Just follow these straightforward steps! Find the best answer to How to Apply Makeup!

STEP 1 : Primer
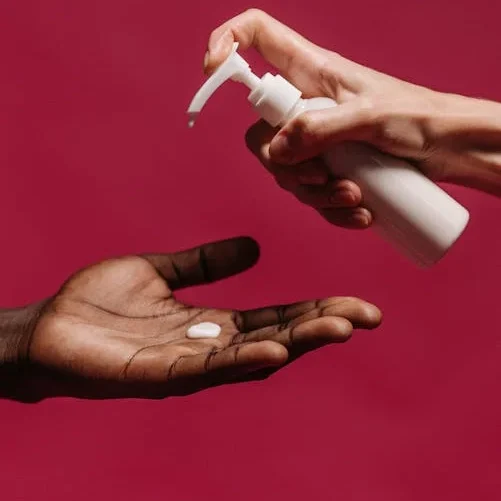
This is an essential first step. Before starting your makeup, you need to prepare your skin for the products to come. Choose the best primer that matches your skin type, and be sure to clean your skin thoroughly first. The cleaner your skin is, the smoother the final result will be. Make a note of this!
To choose the right primer that matches your skin, it’s important to first identify your skin type!
For Oily Skin: try to Opt for an oil and shine control primer to help minimize excess oil,
For dry Skin: you have to use a hydrating primer to maintain moisture throughout the day,
For large Pores: the best solution is to try a pore-minimizing primer for a refined, smooth finish.
What happens when you don’t wear primer? when you put the makeup directly onto your face and then within a couple of hours it just sinks into your pores and the makeup is all gone so primer prevents that from happening

STEP 2 : Foundation
I know Wearing Foundation can sometimes feel uncomfortable for you. But It’s important to choose a shade that matches your skin tone, and you should also consider your skin type to find the best product for you. Watch the video down below and learn more about it.
Key tips for choosing foundation:
- Skin type:
- Oily skin: Matte foundations control shine.
- Dry skin: Hydrating or dewy foundations keep your skin glowing.
- Coverage:
- Full coverage: Hides blemishes, acne scars, and imperfections.
- Light coverage: Offers a natural, sheer finish for a fresh-faced look.
- Color match: Always test foundation on your jawline to find the perfect shade for your undertone (yellow or pink).
For application, use a buffing brush for full coverage or a damp makeup sponge for a natural finish.
STEP 3 : Concealer
Step three is concealer. Choose a shade about two shades lighter than your foundation or natural skin tone and apply it mainly to the under-eye area to brighten it up and get rid of shadows. You can apply it to the inner corner and blend with your finger or a beauty blender for a more natural look, rather than using a brush, which removes too much product.
Concealer is amazing for making you look more awake. So whether you’re doing just a tinted moisturizer or foundation powder, it doesn’t matter—you still want to do concealer because we all have shadows around our eye area. Getting rid of those shadows is going to make you look so much fresher and more awake. It is absolutely key. All blended out, skin looks beautiful and fresh. Love it!
STEP 4 : Powder
Step four is applying powder, which comes in loose and compact forms that are quite similar, so it often comes down to personal preference. Remember that less is more when using powder; while some trends involve applying a lot, it’s best for everyday life to use just the right amount.
Apply powder to areas where you get shiny or where your makeup breaks down due to skin oil, focusing on spots that usually become oily. Combination skin requires powder, but very dry skin can skip it.
Key areas to apply include the chin, cheeks, forehead, bridge of the nose, and around the nose. If you experience oiliness or creasing under the eyes, you can apply powder there too. After applying the powder, your makeup is locked in place and will stay put all day, regardless of what you do.
STEP 5 : Blush and Bronzer
After creating a flawless canvas, it’s essential to add color with blush and bronzer. While some may not prefer bronzer, I personally love it for its glow, applying it even when tanned.
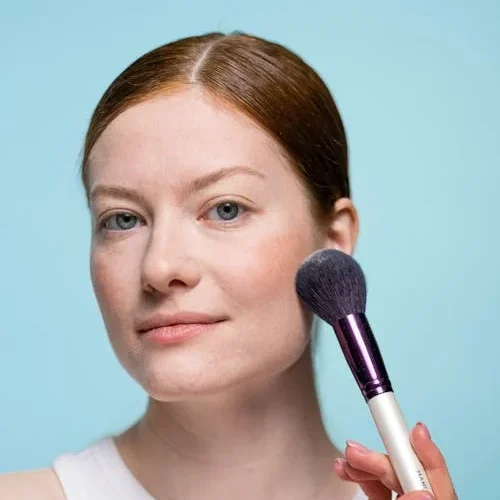
To apply bronzer, create a number three shape starting from the forehead, along the cheekbone, and down the jawline using a fluffy brush!
Blush is my favorite; it brightens the face and should be applied to the apples of the cheeks, blending toward the ears. If too much is applied, a clean or powder brush can be used to soften the edges. Choose blush colors like pink, peach, or rose based on your skin tone and mood. Blush is transformative, and I sometimes add it to my nose for a rosy touch. Now, we’re all rosy and bronzy!

STEP 6 : Eyebrows
Eyebrows vary from person to person, with some having full brows and others having sparse ones. To enhance your brows, use an eyebrow brush with a spoolie on one end and an angled brush on the other. The spoolie helps brush the hairs up for visibility, while the angled brush is for filling in with brow powder. Depending on your brow fullness, you may only need brow gel or, if more filling is required, brow powder or a pencil. Personal preference plays a big role, so experiment to find what suits you best.
A useful guideline is to start your brows at the side of your nose and end at the outer corner of your eye. Don’t skip brow maintenance! For detailed filling techniques, refer to an in-depth HOW TO article, as there’s much more to explore. That’s my tip!
STEP 7 : Lashes
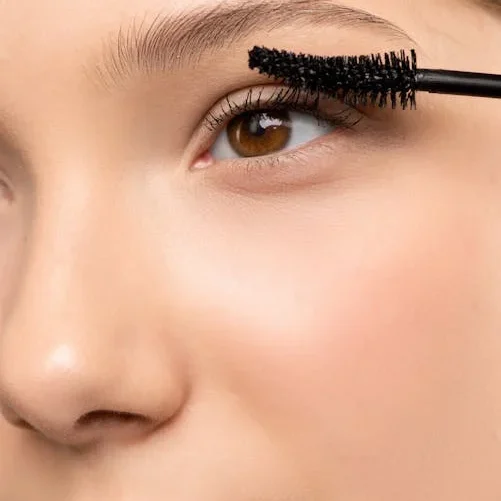
For an everyday look, I recommend curling your lashes and applying mascara as they enhance your eyes with minimal effort. Curling creates a noticeable lifting effect, changing the appearance significantly. Choose an eyelash curler with a tight grip to maintain the curl longer, and select a volumizing, black, and lengthening mascara that suits you. My favorite is from Process. The transformation is quick—your eyes can go from drab to fab in seconds. Despite some hesitance, using mascara truly makes a big difference.
STEP 8 : Highlighter
Highlighter adds a lovely final touch to your skin. I personally prefer a powder highlighter for everyday use because it’s so easy. I recommend choosing a shade that matches your skin tone; I love a beautiful golden hue for myself.
Key areas to apply include the inner corners of the eyes for a pop, down the bridge of the nose to create a thinner appearance, on top of the cheekbones for a beautiful glow, and around the eyebrows for a fresh look. It’s not necessary for everyday wear, but if you have time, pop a little highlighter, and I promise you it’ll make you feel better.

STEP 9 : Lips
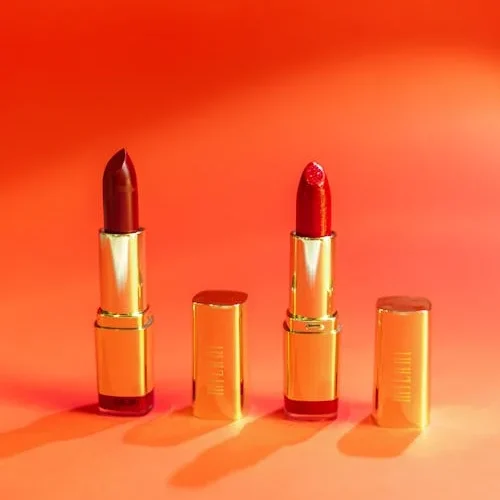
This is, again, a personal preference. You can do a lip gloss, a lip balm, a lipstick—whatever you want. But I really recommend putting something on your lips. It’s going to complete the whole look.
There are so many amazing options out there nowadays. Some people love gloss, some hate it. Some love lipstick, some hate it. So, try out different things to see what you personally like. I love this one from Too Faced—it’s amazing! This is the Lip Injection Lip Gloss, and the shade is Glossy Bossy. I love this!
That’s it! How to Apply Makeup step by step, from beginning to end. Hopefully, I explained everything for you. If I missed anything, please leave it for me in the comments!