Transform any space with this comprehensive guide to creating a built-in look using IKEA Havsta cabinets and a stylish coffee bar. This tutorial walks you through the process from start to finish, providing detailed steps to recreate this stunning storage solution.
Identifying the Need for Functional Storage
Initially, the designated wall featured a large brown bulletin board. The concept was appreciated as a command center, however, there was a need to conceal everyday items and create a charging station for the vacuum, addressing the lack of outlets in the closets. The goal was to achieve something more functional and aesthetically pleasing, while providing ample storage.
Choosing the Right Cabinets
The table was repositioned to the corner, freeing up space for cabinetry. Due to a return air vent and limited walk space, a shallow depth was necessary. The IKEA Havsta cabinets were selected for their suitable depth and compatibility with the nine-foot ceilings. Smaller units can be built upon using methods such as baseboard extensions. Two by fours were incorporated between and beneath each upper cabinet for reinforcement and to elevate them closer to the ceiling. The gap at the top was concealed with crown molding.
Modifying the Cabinets for a Built-In Look
The Havsta cabinets have a slight lip at the top and a perfectly square base. To achieve a seamless built-in appearance, they were inverted so the square base was at the floor and ceiling, positioning the lipped edges in the middle.
Securing the Cabinets
To create a built-in aesthetic, remove the baseboard to allow the cabinets to sit flush against the wall. The 2x4s serve to increase the height of the cabinets and secure them to the ceiling. These are screwed into the studs, and then screwed into the bottom of those 2x4s, and down through the top and bottom of the cabinets for maximum stability. The original backing is thin, so plywood can be added to the back for extra security. Screw the frame into as many studs as possible.
Finishing Touches and Trim Work
After securing the frame, the next step involves concealing the 2x4s. Fluted trim can be incorporated around the middle. Crown molding (a 1×4 with cove molding) is used to cover any gaps at the top. The baseboards included with the cabinets are used along the bottom. Picture molding can be added to the exposed sides of the cabinets. Drywalling over the sides is an option to achieve a truly built-in look.
Preparing for Paint
Before painting, the finishing work is crucial: caulking, wood filling, sanding, and wiping everything down. This attention to detail contributes to a more professional finish.
Painting the IKEA Havsta Cabinets
Painting IKEA furniture can be tricky. The Havsta cabinets are listed as being made out of solid wood on the IKEA website.
Priming and Painting Techniques
Zinsser B-I-N primer should be used to help the paint adhere to the surfaces. After priming, use a fine-grit sandpaper to smooth the surface. The primer may cause wood fibers to stand up, and sanding removes these. Wipe down with a tack cloth to prepare a smooth primed surface for painting. Triangles can be used to prop up the doors during painting. The paint color used is Magnolia Coffee Nook, but a Benjamin Moore Advanced Trim paint can be color-matched to this shade. Two coats of paint should be applied, following the can’s directions and allowing for curing between coats.
Installing and Adjusting Doors
Once everything is painted and cured, the cabinet doors can be installed. IKEA assembly can sometimes be frustrating, particularly with cabinet doors. Custom doors could be installed later, using the same base, for a solid wood upgrade. Gaps may be visible. Adjust the doors to minimize rubbing and potential paint chipping.
Addressing Wear and Tear
Paint chipping has been observed on one cabinet, which is heavily used by children. Chipping may also occur where the doors rub. Adjustments to the doors can prevent this. A protective layer over the paint could also be tested.
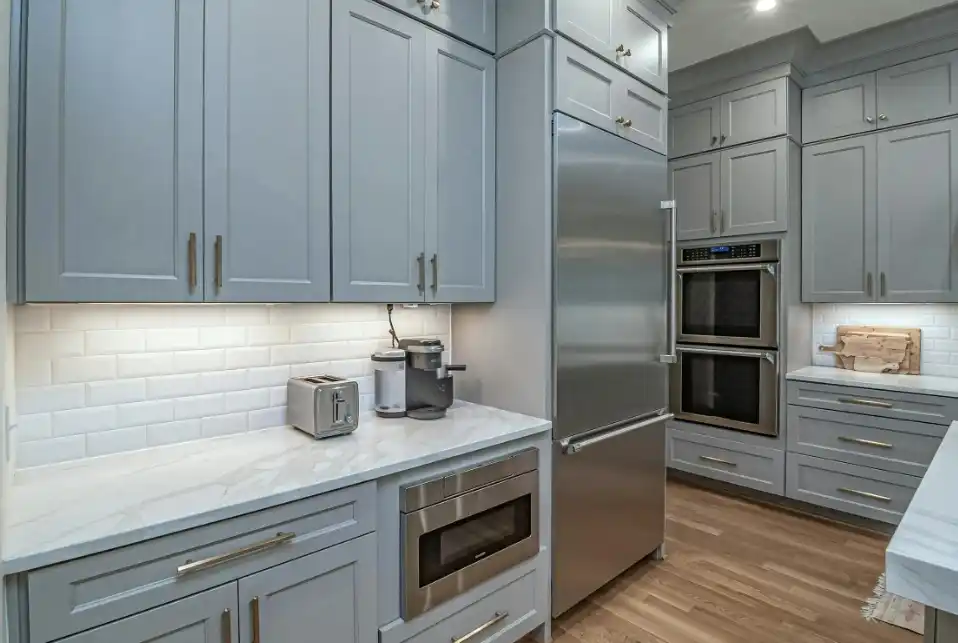
Creating the Coffee Bar
The coffee bar incorporates a countertop and floating shelves, adding warmth with wood tones and brass accents.
Backsplash and Countertop
Pole wrap is used as a backsplash, stained “Dark Walnut” to match other wood accents. A remnant piece of quartz from a local supplier was used for the countertop, costing approximately $300. Floating shelves add an easy touch.
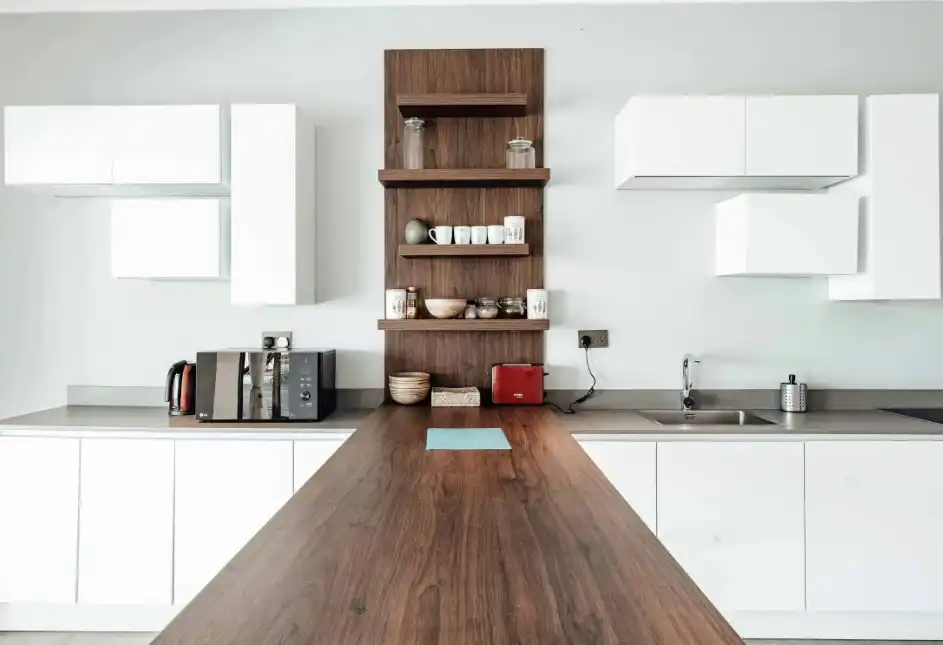
Floating Shelves and Hardware
Follow a DIY tutorial (such as one from @AngelaRoseHome) using 1x2s screwed into studs, wrapped in plywood, and finished with a 1×2 across the front. Asymmetrical shelves can allow space for a coffee maker. Guardrails (pulls from cb2) are used asymmetrically. A 3’ metal rod was run through a hole drilled in the side of the cabinet to create coffee hooks. The hole was filled, sanded, and painted. The rod was Rub ‘n Buffed gold to match.
Electrical and Lighting
A hole saw was used to drill a hole for an outlet to bring power to the coffee bar. This was run through the cabinetry to a power strip. A light feature was added. Wood putty is used on stained wood, and the backsplash was sealed.
Project Costs and Timeline
The project cost approximately $2,000 and took about a month to complete, including recording and editing time. Without these additional tasks, the project could likely be completed in half the time.
Accessibility Considerations
The placement of the knobs may be difficult to reach for some. Choosing aesthetics over functionality can be a personal decision.