You seriously won’t believe this! Think recycling is just about throwing things in a bin? Guess again! Look what can be done with something as basic as an old water bottle. It was transformed, like actually turned, into this gorgeous, clear, heart-shaped plastic bottle gift box. And they put this delicate, super stylish flower arrangement inside. But here’s the clever part… instead of covering up that it’s made of plastic, they used the transparency as a window. It actually makes the flowers pop and looks incredibly sophisticated. Trust me, you have to see how this came to life!
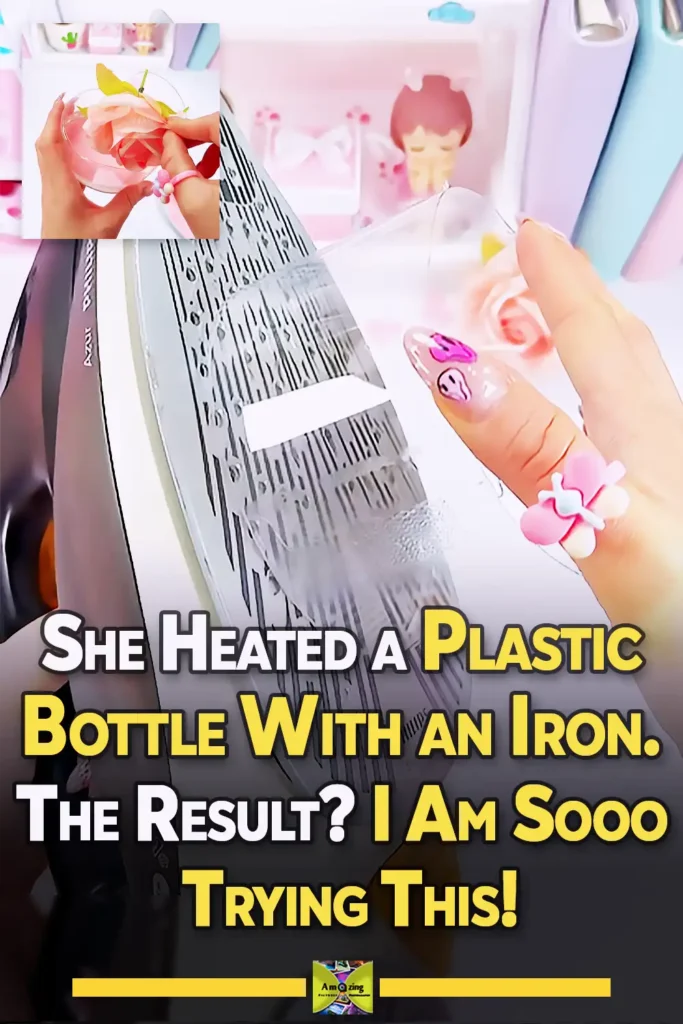
Alright, here’s how it all comes together! You start with a big, clear plastic bottle and slice off the neck and base so you’re left with a smooth cylinder… Then-and this is where the magic happens—you gently warm the plastic and bend it into shape… forming the rounded tops and sharp bottom of a heart! Once that clear frame is ready, you trace it onto cardboard to build a solid base and a matching lid. Throw on some pink craft foam or pretty paper, and wrap decorative trim around those cut edges to hide any rough spots and make it look totally seamless. Pop a soft artificial rose inside, top the lid with a handmade pink bow, and boom—you’re done! With just an old bottle, some cardboard, scissors, and a few basic crafts, you turns everyday household waste into a gorgeous heart-shaped gift box that works perfectly as room decor, romantic packaging, or a super thoughtful keepsake!
Here is the step-by-step process broken down into a table to make thing more clear:
| Step | What to Do | Materials or Tools | Helpful Tip |
|---|---|---|---|
| 1. Clean the bottle | Wash the clear plastic bottle thoroughly, remove the label, and allow it to dry completely. | Large clear plastic bottle, soap, water | Choose a smooth bottle without deep ridges or printed designs. |
| 2. Mark the center section | Draw two horizontal cutting lines around the bottle, leaving a wide cylindrical section in the middle. | Permanent marker, ruler | A wider section creates a taller display box. |
| 3. Cut the bottle | Carefully remove the neck and bottom portions, keeping only the clear center section. | Craft knife, strong scissors | Begin with a small craft-knife opening, then continue cutting with scissors. |
| 4. Smooth the edges | Trim away sharp or uneven pieces from both cut edges. | Scissors, fine sandpaper | Wear protective gloves because freshly cut plastic can be sharp. |
| 5. Soften the plastic | Warm the plastic very gently so it becomes easier to reshape. | Low-heat iron or hair dryer, heat-resistant surface | Do not melt or burn the plastic. Work in a ventilated space and use adult supervision. |
| 6. Form the heart shape | Press one side inward to create the top heart indentation, then pinch the opposite side into a pointed bottom. | Warm plastic cylinder, hands or protective gloves | Adjust both rounded sides until the heart looks balanced. |
| 7. Check the frame | Stand the transparent heart frame upright and correct any uneven curves. | Heart-shaped plastic frame | The shape should sit flat without leaning heavily to one side. |
| 8. Trace the heart panels | Place the plastic frame on cardboard and trace around it twice—once for the base and once for the lid. | Cardboard, pencil or marker | Keep the frame steady so both outlines match its exact shape. |
| 9. Cut the cardboard hearts | Carefully cut out both traced cardboard pieces. | Scissors or craft knife | Trim gradually rather than cutting too far inside the outline. |
| 10. Prepare the colored covering | Trace the cardboard hearts onto pink craft foam, cardstock, or decorative paper and cut out matching pieces. | Pink craft foam or cardstock, pencil, scissors | Make the lid covering slightly larger when a small overhang is desired. |
| 11. Cover the cardboard | Glue the pink pieces onto the cardboard hearts and smooth out bubbles or wrinkles. | Craft glue or hot glue | Allow the panels to dry flat before attaching them to the box. |
| 12. Attach the base | Glue one covered heart panel securely to the bottom edge of the transparent frame. | Hot-glue gun or strong craft glue | Apply glue in small sections so the heart shape stays aligned. |
| 13. Decorate the bottom edge | Wrap a patterned ribbon or decorative strip around the lower edge to hide the join. | Decorative ribbon, glue, scissors | Measure the strip before gluing and overlap the ends neatly at the back. |
| 14. Prepare the lid | Use the second covered heart panel as the top. Add a narrow cardboard or foam border underneath when a fitted lid is needed. | Second heart panel, cardboard strip, glue | Test the lid before decorating to ensure it sits securely. |
| 15. Decorate the upper edge | Add matching patterned trim around the top of the transparent frame or lid. | Decorative ribbon or paper strip, glue | Use the same trim at the top and bottom for a coordinated finish. |
| 16. Make the bow | Cut strips of pink craft foam or paper, form them into loops, and glue them into a decorative bow. | Pink foam or cardstock, scissors, glue | Add a small center strip to hide the glued bow ends. |
| 17. Attach the bow | Fix the finished bow to the center of the heart-shaped lid. | Handmade bow, glue | Let the glue dry completely before lifting the lid by the bow. |
| 18. Arrange the flower | Place an artificial rose, small gift, chocolates, or lightweight keepsake inside the transparent box. | Artificial rose or chosen gift | Trim the flower stem so the bloom faces outward through the clear wall. |
| 19. Add the lid | Position the decorated lid over the box and make any final adjustments. | Completed lid | Avoid forcing the lid, as thin plastic can bend or crack. |
| 20. Display the finished box | Use the completed craft as gift packaging, room décor, a flower display, or a keepsake container. | Finished heart-shaped box | Keep it away from candles, heaters, and direct high heat. |
The impact of this project didn’t just stop at the initial idea—the comment section straight-up exploded with excitement! People were pouring in with praise, obsessing over how precise the execution was and how stunning the final result turned out. But it didn’t end there. Viewers basically became active partners in the whole creative process; some started calling for office desk makeover ideas, while others suggested taking the bottle technique and giving it an ocean-themed, colorful twist! And of course, there were plenty of hilarious moments… like when one follower joked: ‘In my head, I could easily do this!’ It really shows how a simple tutorial video can transform into an interactive hangout spot that inspires people worldwide to jump in! share their own ideas, and get genuinely excited about creating stuff!
@GirlCrafts
This DIY plastic bottle craft is total proof that upcycling doesn’t take crazy skills or a huge budget! Something you’d normally just toss in the trash turns into a stunning transparent flower box, an eye-catching centerpiece, or a super memorable gift! all it takes is a little patience and creativity… The end result is sweet, practical, and packed with personality. Plus, the whole project leaves you with that awesome realization: the best craft supplies were right there in your recycling bin all along!