DIY Scrap Wood Desktop File Sorter
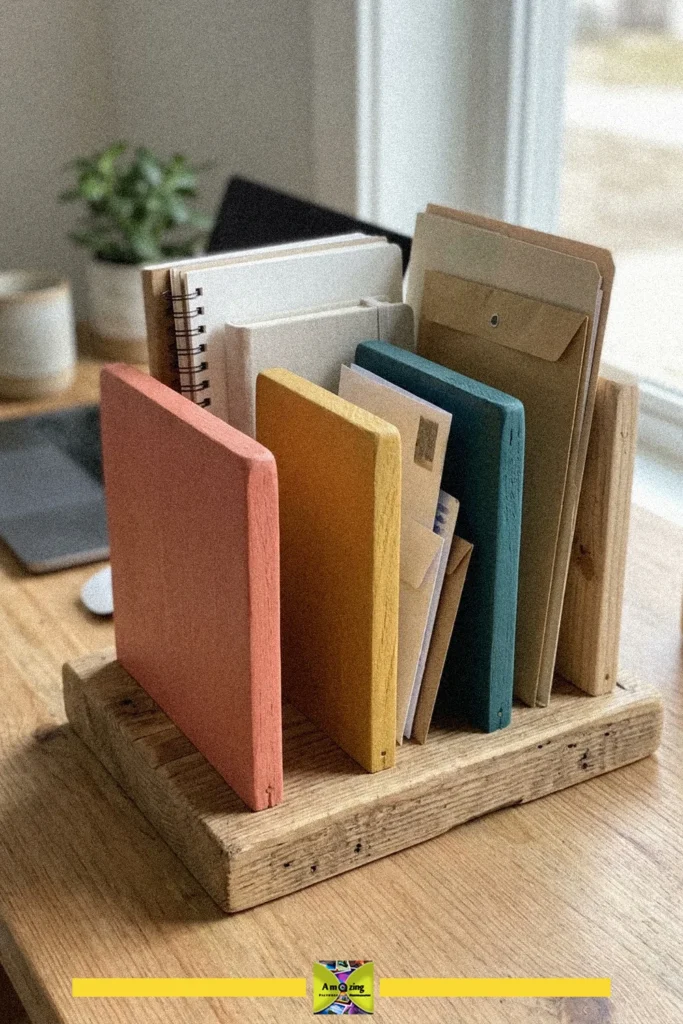
Tidy up your desk with this DIY scrap wood desktop file sorter. It's perfect for keeping folders, notebooks, and mail organized in a stylish, eco-friendly way.
- Difficulty
- Easy
- Time
- 30 minutes
Materials
- scrap wood pieces
- wood glue
- ruler
- pencil
- screws
- screwdriver
- sandpaper
How to make it
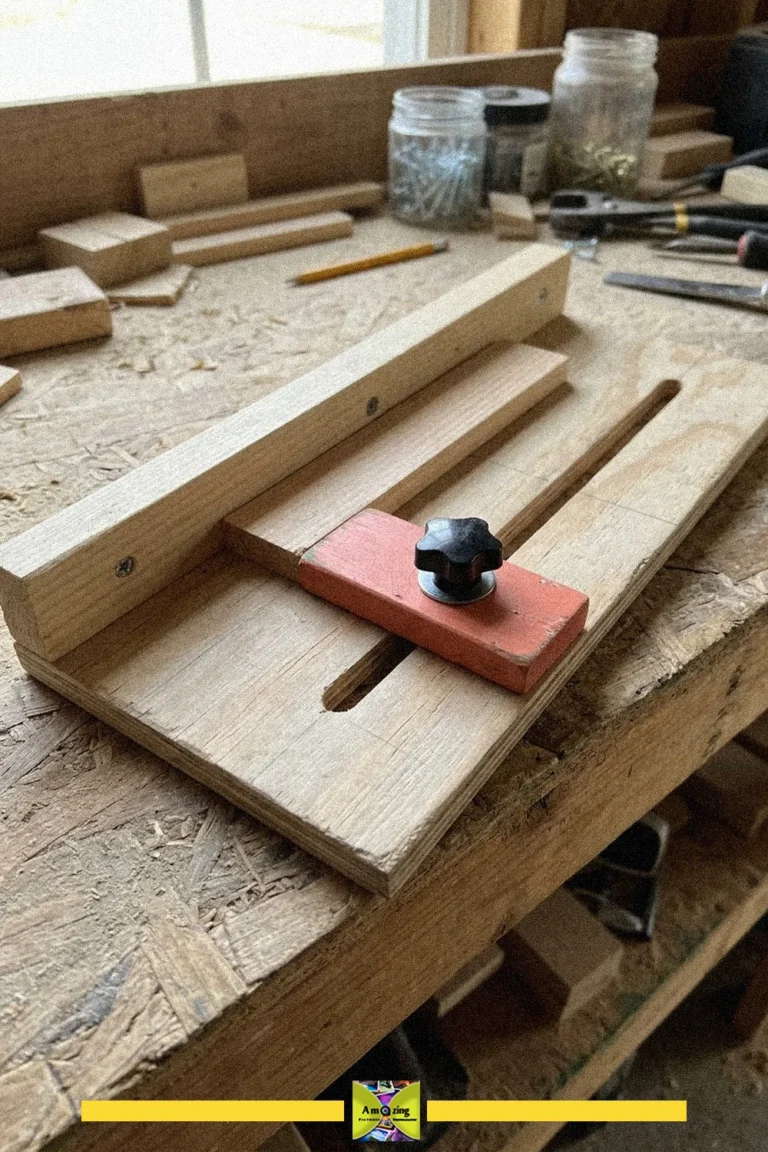
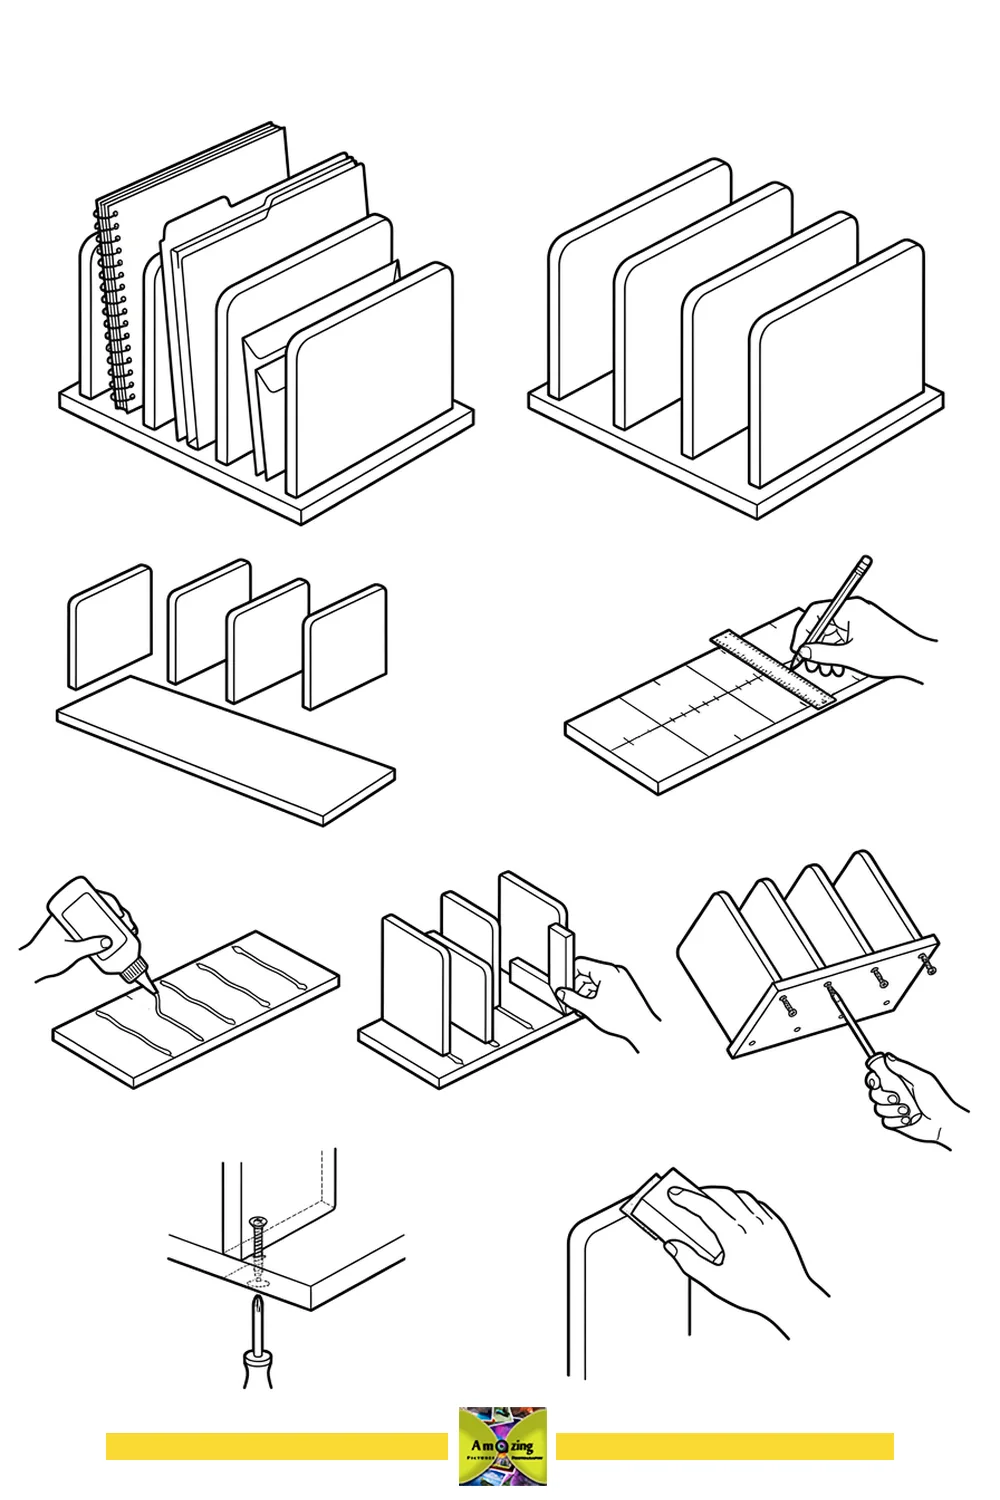
- Arrange the scrap wood pieces for the base and dividers.
- Measure and mark equal sections on the base using a ruler and pencil.
- Apply wood glue to the base where the dividers will be attached.
- Position the dividers upright on the glued sections.
- Secure the dividers with screws from the bottom of the base.
- Tighten all screws to ensure stability.
- Sand all edges and surfaces for a smooth finish.
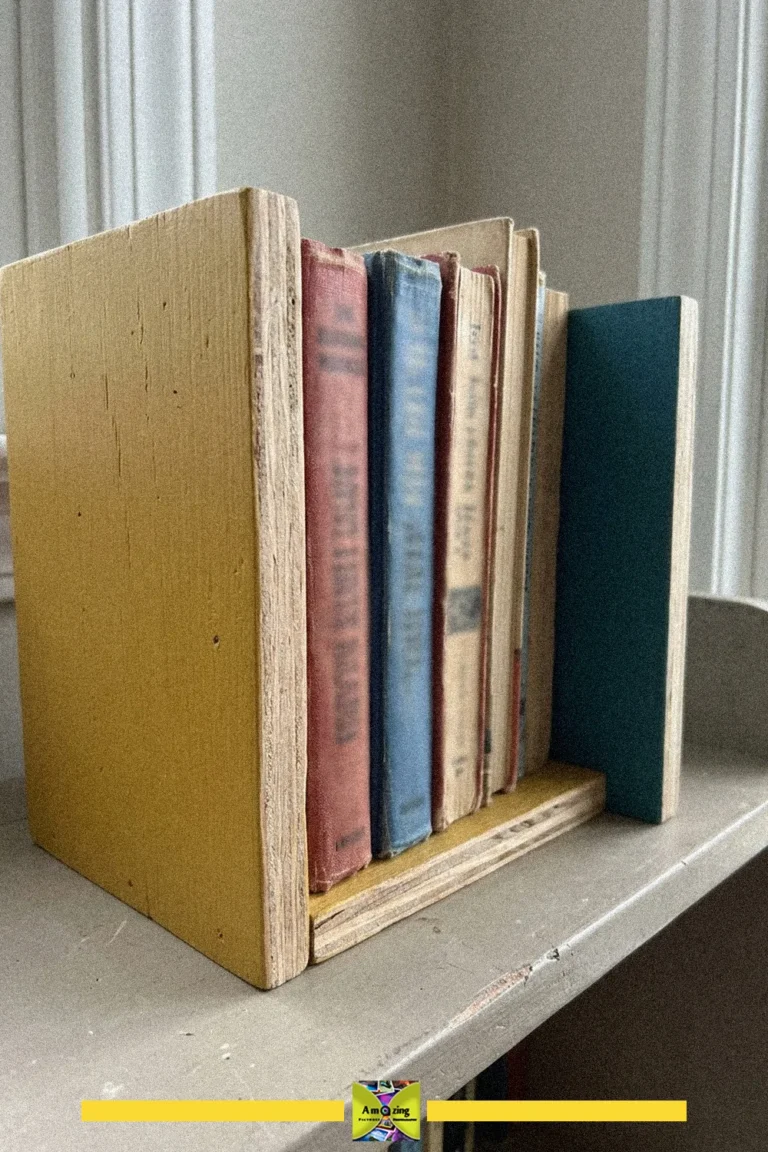
A diy scrap wood file sorter is a practical and attractive way to keep your desk organized. This project uses reclaimed wood to create slots for folders, notebooks, and mail, helping you stay clutter-free.
The visible design features multiple sections in different colors and natural wood tones, making it both functional and decorative for any workspace. It is sturdy and fits well on a desktop or table.
When working with scrap wood, always sand rough edges thoroughly to prevent splinters. Place the sorter within easy reach for maximum convenience and to keep your most-used items accessible.