Want to turn leftover bubble wrap into a unique and beautiful journal? If so, learn how to transform simple materials into a stunning, soft fabric-covered journal that’s not only perfect for junk journaling but also ideal for showing off your creative flair.
Ever look at a piece of bubble wrap and think it could be your next favorite journal? Perhaps you will after this!
Indeed, this DIY project is perfect for junk journaling, repurposing materials, or simply wanting something totally unique. So, let’s get started and unleash your creativity!
If you’re not interested in reading everything here! Just check out From Bubble Wrap To Beautiful: The DIY Junk Journal Hack You’ll Want To Try at the bottom of this article…
Why Bubble Wrap Works For a Journal Cover
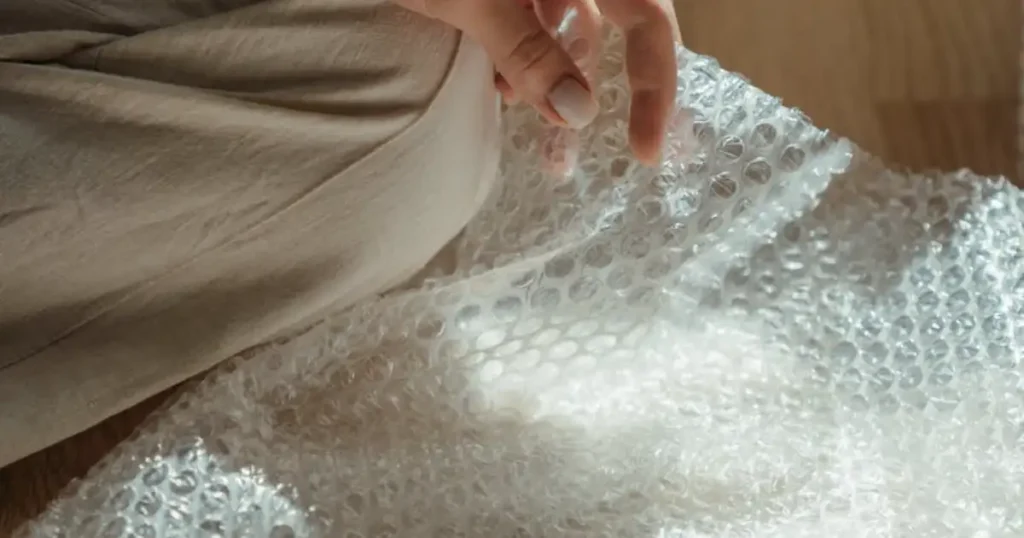
Before throwing away that packaging, consider this: bubble wrap has a soft, cushioned texture, which makes it perfect for creating a soft cover junk journal. Moreover, it’s lightweight and flexible, so it can look much more expensive than it really is when wrapped in fabric. Additionally, using bubble wrap helps reduce waste that would otherwise end up in landfills. In conclusion, that’s a win for both your workspace and the planet.
Step-By-Step: Turning Bubble Wrap Into a Soft Fabric Journal Cover
Cut Your Bubble Wrap
First, trim the bubble wrap to the desired journal cover size. However, make sure to add a little extra for the edges. These will be folded over later for a neat finish.
Choose and Prep Your Fabric
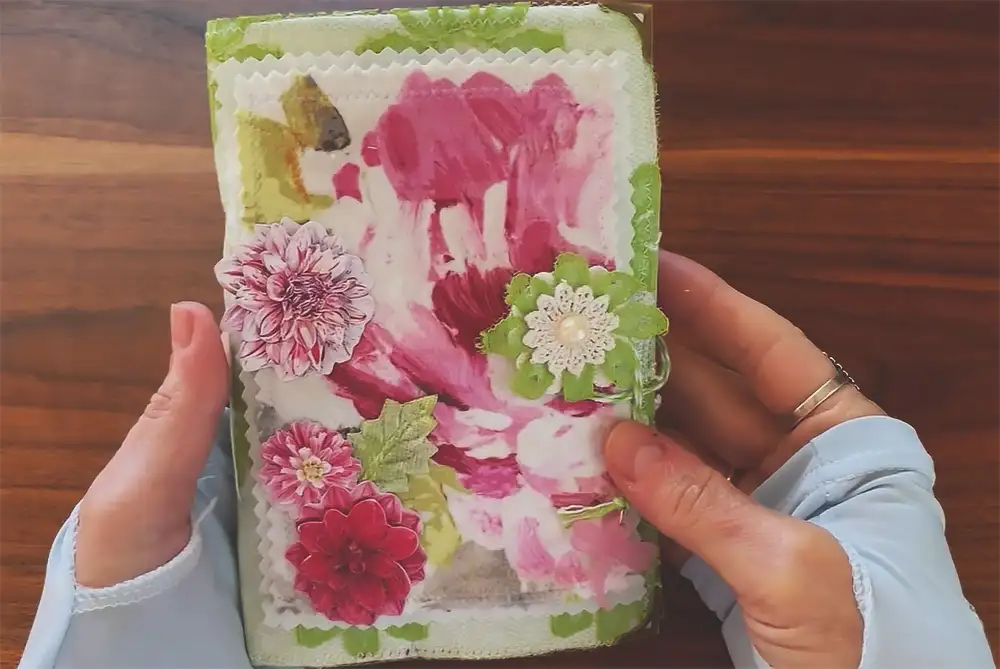
Choose a fabric that feels great and matches the journal’s style. For instance, floral prints create a cottagecore vibe, while denim scraps add rustic charm. Additionally, remember to iron out any wrinkles to ensure it wraps smoothly.
Wrap and Secure the Bubble Wrap
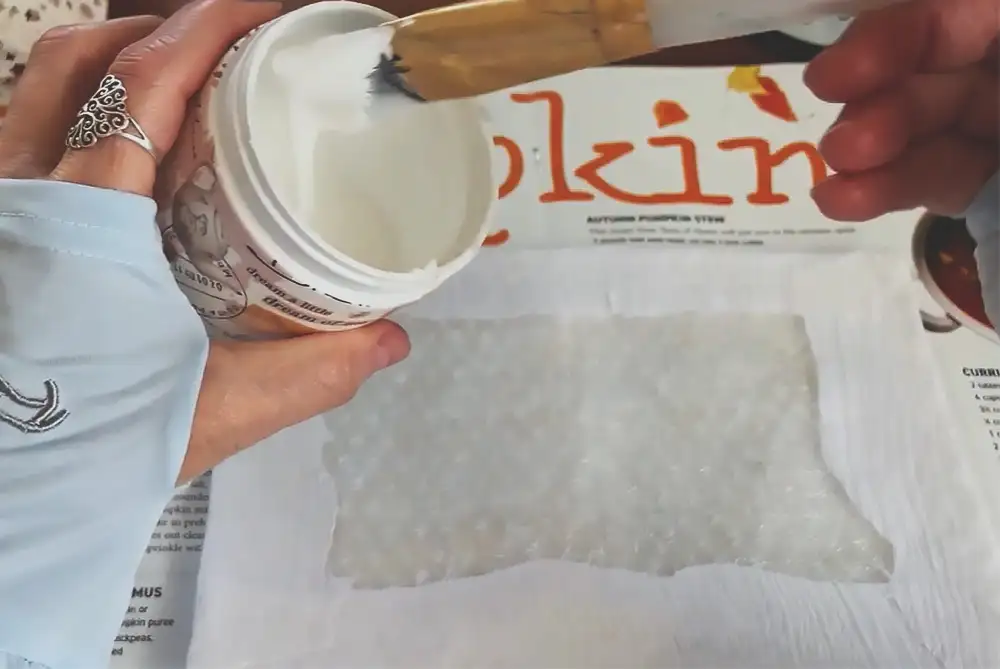
Lay the fabric face down. Then, the bubble wrap should be placed in the center, with the edges folded over. Next, the fabric should be secured to the back side of the bubble wrap using glue. Finally, pull it taut, so there are no lumps or bumps.
Create Your Pages
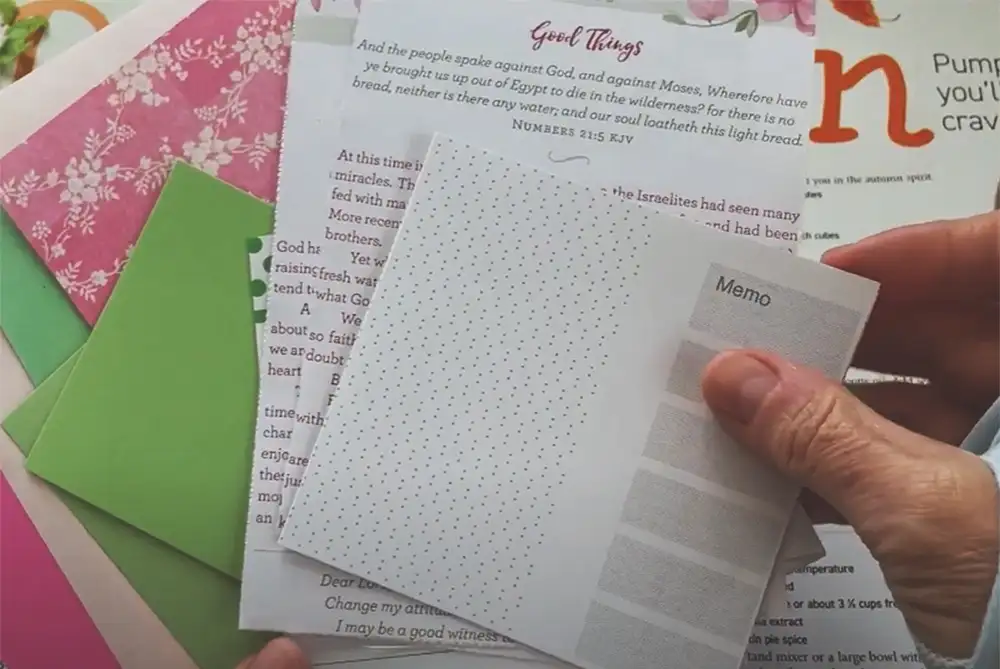
Cut the paper to fit inside the cover. Then, you can choose to keep the pages plain; alternatively, pages from old books can be mixed in for a true junk journal aesthetic.
Bind It All Together
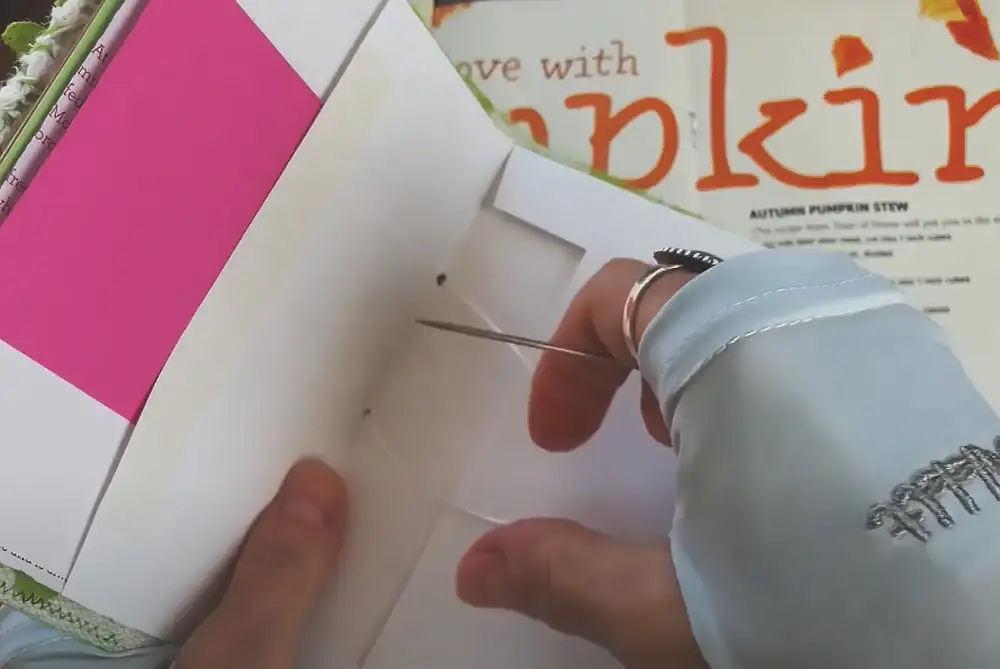
Line up the pages inside the cover and then bind them. For instance, a single stitch can be sewn down the middle by hand. Alternatively, staples can be used, or you might consider using glue in a pre-made notebook insert.
Add a Closure

Wrap ribbon, lace, or elastic around the journal for that final polished touch.
Why This DIY Is a Game-Changer
This project primarily focuses on giving old materials a new purpose. Specifically, upcycling bubble wrap into fabric-covered journals offers an affordable and eco-friendly way to customize stationery using recycled materials. Moreover, since each journal is handmade, no two will ever be alike. As a result, they can be matched to different seasons, used as thoughtful gifts, or sold at craft fairs.
Extra Tips To Level Up Your Journal
1-Try adding pockets inside the covers to store notes or pressed flowers.
2-Use lace or embroidery on the cover for a vintage feel.
3-Add fabric scraps and ribbon tabs to pages for extra texture.
Why This Project Is Trending
The DIY and junk journaling community has been buzzing with upcycling ideas lately. Indeed, all the right notes are hit by this project, as it is creative, affordable, and sustainable. Furthermore, people love projects that turn common items into functional art.
Final Thoughts
Next time a package arrives wrapped in bubble wrap, save some for your next crafting session. With a little fabric, glue, and imagination, a DIY soft cover junk journal can be created. It will be as unique as the thoughts jotted inside. Whether it is used for sketching, scrapbooking, or daily notes, it is proved by this project that sometimes the best supplies are the ones that were about to be thrown away.