Looking to make a birthday extra special? This tutorial on creating a beautiful rose-style cake is your answer. It’s not just about a cake; it’s about creating something memorable and visually stunning, even if you’re a beginner.
Setting the Foundation
First things first, you need a solid base. Bake your favorite cake recipe and make sure the layers are even. Level the tops with a serrated knife for a flat surface. This part is crucial for a polished final look. Then, apply a crumb coat – a thin layer of frosting that catches all the loose crumbs. Let it chill in the fridge for about 30 minutes. This step is key for a smooth final frosting layer.
Crafting the Buttercream Roses
Buttercream roses are the stars of this show. You’ll need a piping bag fitted with a petal tip, like the Wilton 104. The tutorial suggests using a stiff consistency buttercream because it holds shape better. Color your buttercream with your desired shades. The video recommends blending light and dark hues for a natural rose look.
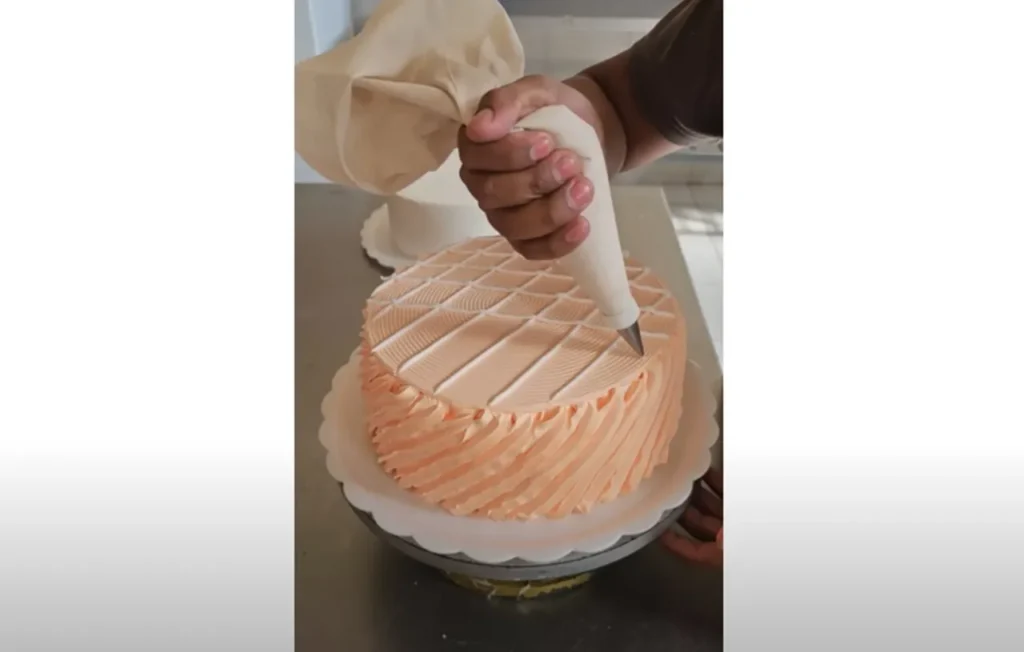
Piping Techniques
Now, let’s get into the nitty-gritty of piping those roses. Hold your piping bag at a 45-degree angle and start from the center of the rose outward. Apply gentle, continuous pressure to form the petals, rotating your work as you go. The video breaks down this technique in a way that’s easy to follow, even if you’re new to cake decorating.
Practice on parchment paper until you get the hang of it. This practice helps you refine your technique before you pipe directly onto the cake. Once ready, start from the bottom of the cake and work your way up. Overlap the petals slightly to create a full, lush look. The tutorial shows how to vary the size and direction of the roses, making your cake look organic and natural.
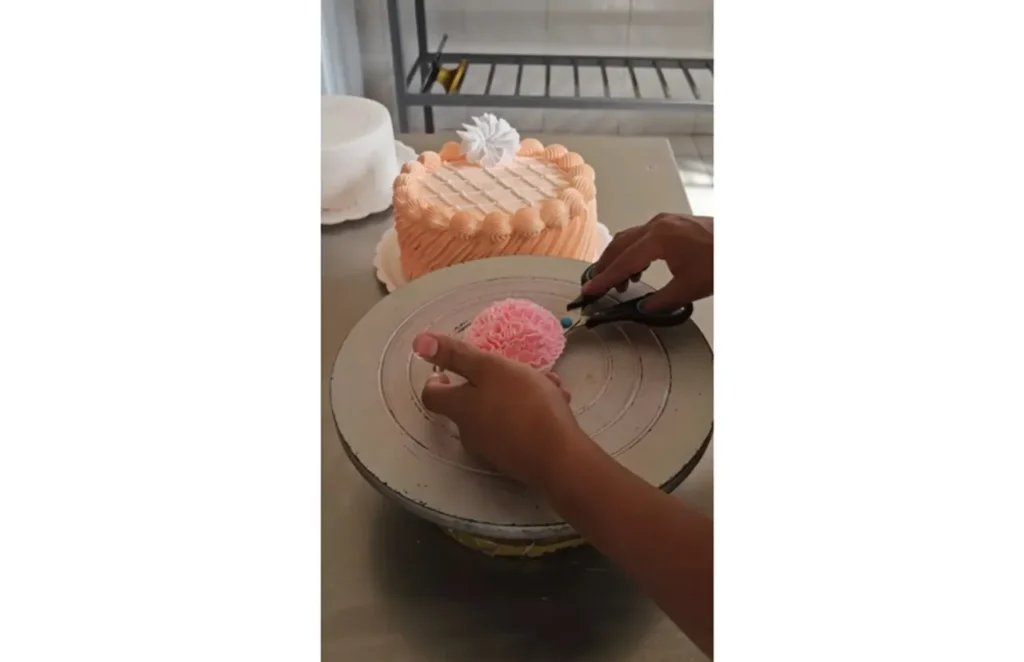
Adding Final Touches
After you’ve piped all your roses, it’s time for the finishing touches. Use a small leaf tip to pipe leaves around the roses. This not only fills in gaps but also adds a touch of greenery, enhancing the overall design. Adding edible pearls or a bit of glitter can also elevate your cake’s elegance.
Pro Tips for Success
The tutorial is packed with useful tips. Here are some highlights:
Consistency is Key: The buttercream’s consistency is crucial. Too soft, and your roses won’t hold shape; too stiff, and it’s hard to pipe. Aim for a consistency that’s firm but pliable.
Practice Makes Perfect: Don’t be discouraged by imperfect roses at first. Practice on parchment paper until you feel confident.
Keep it Cool: If your buttercream gets too soft, chill it in the fridge for a few minutes.
Rotate as You Pipe: Rotate the cake or parchment paper as you pipe to achieve uniformity.

Inspiration and Creativity
While the tutorial provides a specific method, don’t be afraid to get creative. Experiment with different colors, sizes, and arrangements of roses. Incorporate other flowers or decorative elements to make your cake unique. Cake decorating is all about personal expression and making something special.
Final Thoughts
Creating a rose-style cake is a rewarding experience. With some practice and patience, you can make a cake that’s not only delicious but also visually stunning. Whether it’s for a birthday, anniversary, or any special occasion, a rose-style cake is sure to impress.
For a detailed, step-by-step guide, watch the full tutorial in the video down below, and don’t forget to share this with your friends and family… Happy baking!

