DIY Lid Handle for a Wooden Storage Box
Upgrade your storage with this DIY lid handle for a wooden box. This project adds both function and charm to your home organization.
- Difficulty
- Easy
- Time
- 25 minutes
Materials
- wooden box with lid
- handle or knob
- screw
- drill
- paint or finish
- paintbrush
- sandpaper
- ruler
- pencil
How to make it
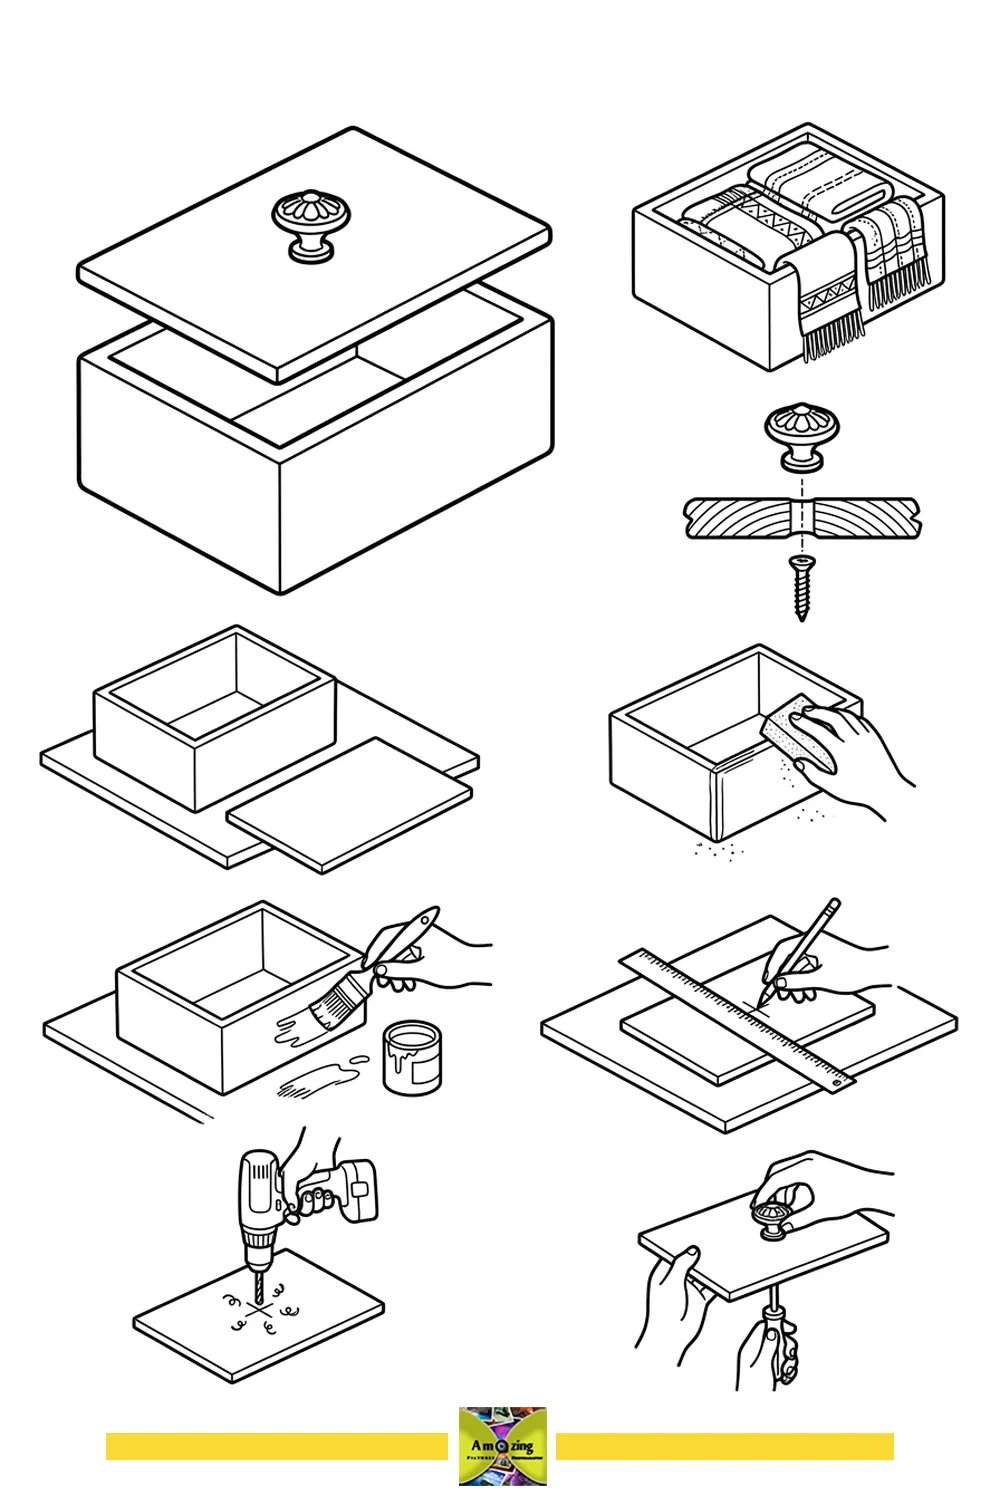
- Sand the wooden box and lid for a smooth finish.
- Use a ruler and pencil to mark the center of the lid.
- Drill a hole at the marked spot on the lid.
- Paint or finish the box and lid as desired and let dry.
- Attach the handle or knob to the lid using a screw.
A diy lid handle is an easy way to upgrade a wooden storage box and make it more practical for everyday use. This project is perfect for organizing scarves, accessories, or small household items in style.
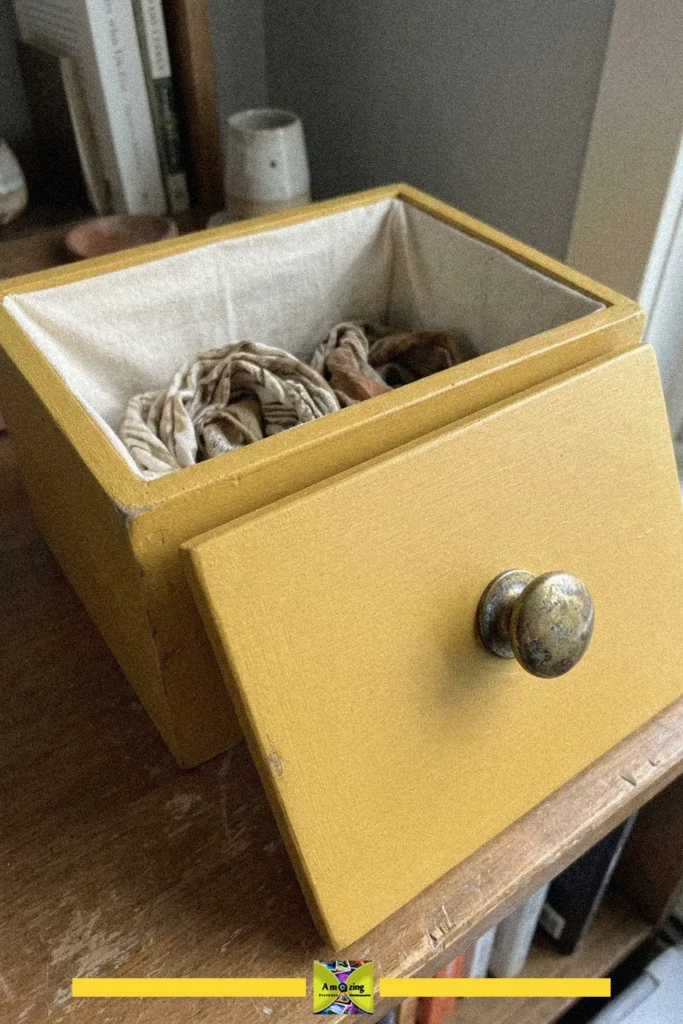
The visible vintage-style knob adds a touch of character and makes the box easy to open, while the painted finish gives it a cheerful, modern look. The fabric lining keeps contents safe and tidy.
When choosing a handle for your lid, make sure it is securely attached and comfortable to grip, especially if you plan to store heavier items inside the box.