DIY Scrap Wood Drill Bit Organizer
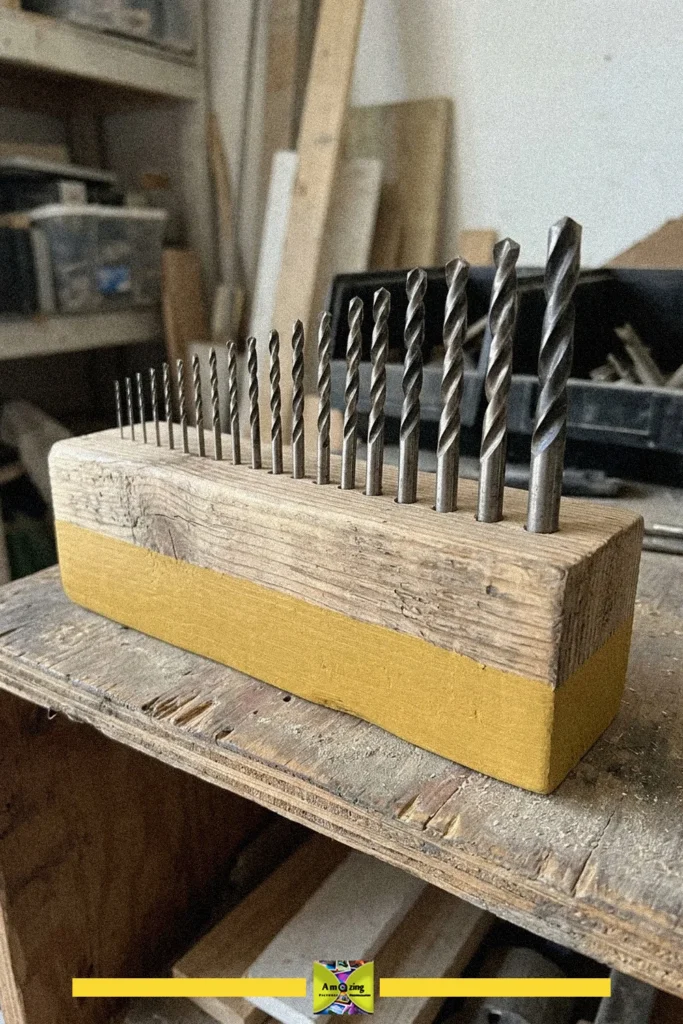
Organize your drill bits with this easy DIY scrap wood drill bit organizer. Perfect for keeping your workspace tidy and your tools within reach.
- Difficulty
- Easy
- Time
- 25 minutes
Materials
- scrap wood block
- drill bits
- pencil
- drill
- sandpaper
- paintbrush
- wood finish or paint
- ruler or measuring tape
- stop collar (optional)
How to make it
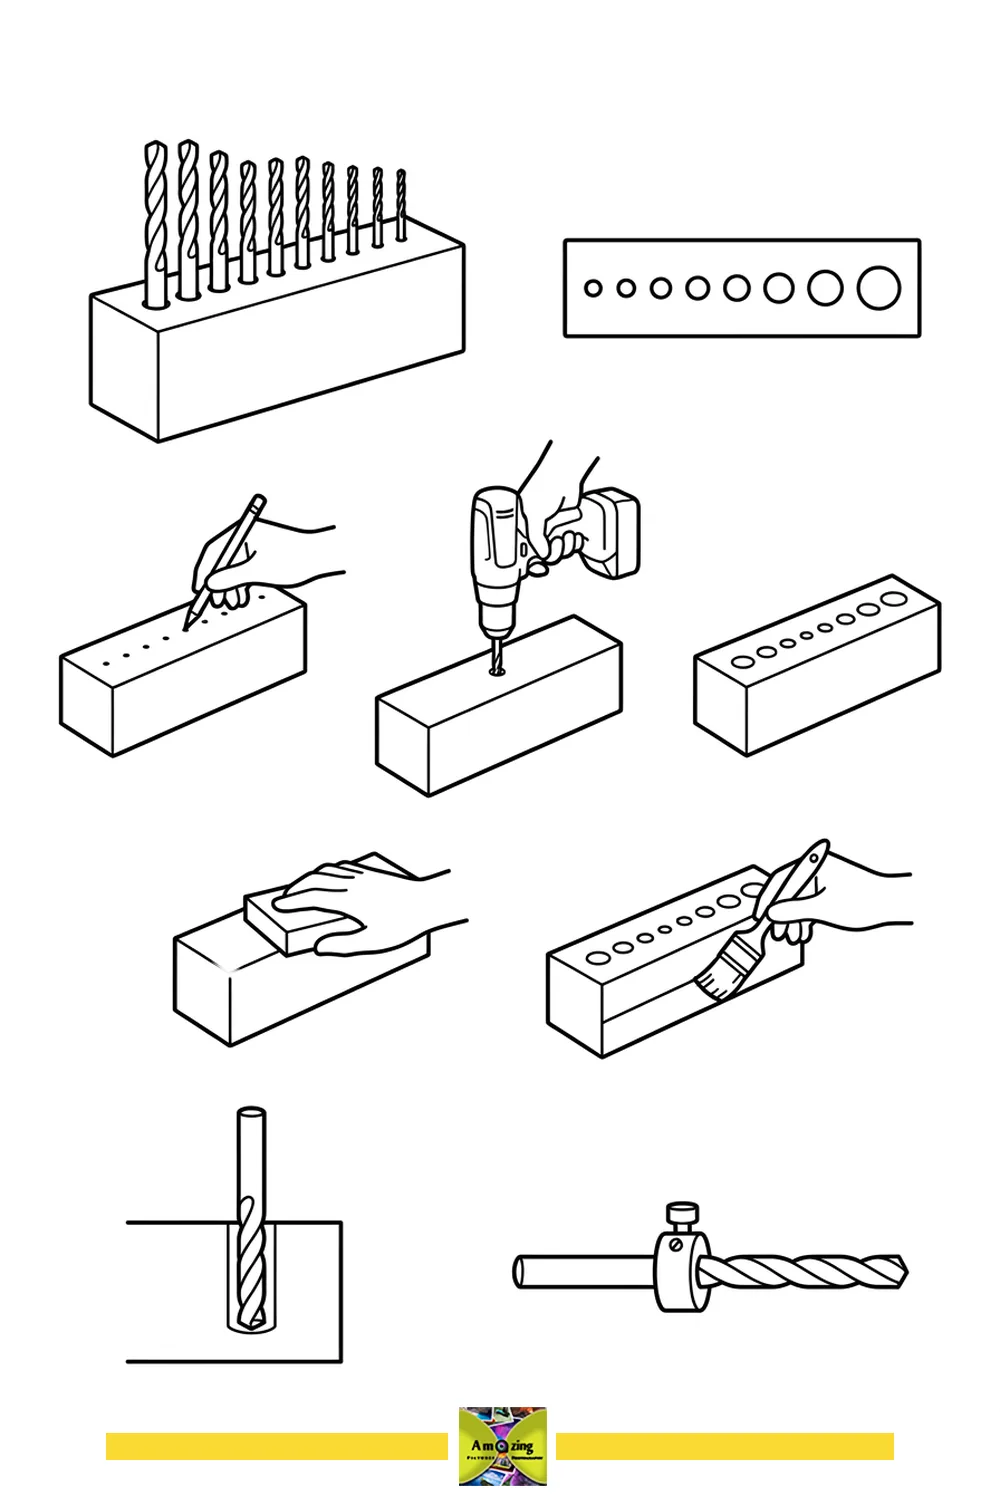
- Select a block of scrap wood and gather your drill bits.
- Mark evenly spaced points on the wood block for each drill bit size.
- Use a drill to make holes at each marked point, matching the drill bit sizes.
- Check that all holes are drilled cleanly and fit the bits.
- Sand the block to smooth any rough edges or surfaces.
- Apply a wood finish or paint with a brush for a polished look.
- Let the finish dry completely before use.
- Insert your drill bits into the corresponding holes for organized storage.
- Optionally, use a stop collar on the drill bit for consistent hole depth.
A diy scrap wood drill bit organizer is a clever way to keep your drill bits sorted and easy to find. This project uses a simple block of scrap wood to create a practical storage solution for your workspace.
The organizer keeps your drill bits upright and arranged by size, making it easy to grab the one you need without searching through a drawer. Its compact design is perfect for small workbenches or shelves.
When making or using this organizer, always ensure the block is stable and placed on a flat surface to prevent it from tipping over while selecting or storing bits.